Currently, Modelscope ai video is not working. Here is an alternative.
Loading…
Step-by-Step Guide: How to Generate a Video from an Image?
Step 1: Upload Your Input Image
This is the starting point of the entire process.
How to do it:
- Drag and drop your image into the “Drop Image Here” box
OR - Click “Click to Upload” and select an image from your device
Tips:
- Use high-quality images (clear subject, good lighting)
- Portraits, landscapes, and product images work very well
- Avoid blurry or extremely compressed images
Step 2: Write the Prompt (Most Important Step)

The Prompt tells the AI how the image should move.
Default example:
make this image come alive, cinematic motion, smooth animation
How to write a better prompt:
- Mention camera movement: slow zoom, pan, tilt
- Describe motion: hair flowing, clouds moving, subtle body movement
- Add style: cinematic, realistic, dramatic lighting
Better prompt examples:
- “Cinematic slow zoom, soft lighting, natural body movement, realistic motion”
- “Epic cinematic shot, camera dolly in, subtle wind movement, smooth animation”
Step 3: Set Video Duration
Duration (seconds)
- The model runs at 16 FPS
- Allowed range: 8–80 frames
- Recommended: 3–5 seconds
Best practice:
- Short videos = smoother results
- Start with 3.5 – 5 seconds for best quality
Step 4: Open Advanced Settings (Optional but Powerful)
Click Advanced Settings ▼ to unlock fine-tuning options.
Step 5: Negative Prompt (Very Important)
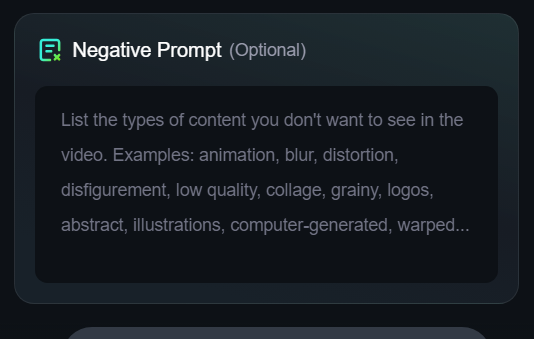
The Negative Prompt tells the AI what to avoid.
Already provided (recommended):
- Blurry details
- Overexposure
- Bad anatomy (extra fingers, distorted face)
- Static frames
- Low quality or JPEG artifacts
Do not remove this unless you know what you’re doing.
It greatly improves output quality.
Step 6: Seed (Randomness Control)
Seed Value
2147483647
What it does:
- Controls randomness in generation
Options:
- Fixed seed → repeatable results
- Randomize seed → new variation every time
Recommendation:
- Turn ON Randomize Seed if you want different outputs
- Turn it OFF if you want consistent results
Step 7: Inference Steps (Quality vs Speed)
Range: 1 – 30
Recommended: 6 – 12
- Lower = faster but less detail
- Higher = better motion but slower
Sweet spot: 6–10
Step 8: Guidance Scale (Motion Control)
Guidance Scale – High Noise Stage
Controls creativity early in generation.
- Recommended: 1 – 3
- Higher values = stronger prompt control
- Lower values = more natural motion
Guidance Scale 2 – Low Noise Stage
Controls final refinement.
- Recommended: 2 – 5
- Helps stabilize motion and details
If motion looks shaky, slightly increase this value.
Step 9: Generate the Video
Once everything is set:
Click Generate Video
The AI will:
- Analyze your image
- Apply motion based on your prompt
- Render frames
- Output a cinematic animated video
Best Settings for Beginners (Recommended Preset)
| Setting | Value |
|---|---|
| Duration | 3.5 – 5 seconds |
| Inference Steps | 6 |
| Guidance Scale (High Noise) | 1 – 2 |
| Guidance Scale 2 (Low Noise) | 2 – 4 |
| Seed | Randomized |
| Negative Prompt | Keep default |
Pro Tips for Better Results
- Use close-up images for human faces
- Avoid busy backgrounds
- Use cinematic language in prompts
- Shorter duration = smoother animation
- Generate multiple variations and pick the best