The Claude Code desktop app has some massive upgrades that make it easier and faster to build apps. The new Code tab lets you run code, preview your app, and manage terminal commands in one place.
It works like an agent manager, so you can work on projects without opening an IDE or installing a separate CLI.
Everything here runs directly inside the desktop app. Just a few weeks ago, none of this was possible.
Here is the workflow I use to build apps with Claude Code inside the desktop app.
| Plugin | What it adds | How to use |
|---|---|---|
| Superpowers | Brainstorming and agent skills for reviewing, debugging, and testing code | Install from Add plugins, then run the slash commands or pick skills |
| GitHub Connector | Repository access and project sync from GitHub | Connect account, select a repository, and start a session |
| SSH Remote Control | Remote project access over SSH | Add an SSH connection inside session setup |
| Web Preview | Run a dev server and open a live preview | Enable Preview and start the development server |
| Terminal Runner | Run project commands and scripts | Approve or bypass terminal command permissions |
| MCP Server Manager | Connect skills and tools through MCP servers | Install and manage MCP servers from Add plugins |
| Code Review Assistant | Automated code review suggestions | Trigger review through a slash command or skill |
| Test Runner | Testing orchestration and reporting | Run tests from the terminal or skill actions |
Big upgrades in Claude Code Desktop IDE
The Claude Code desktop interface shows your previous sessions on the left and lets you select a project folder to work on.
If your project is stored in GitHub, you can also select the branch to work on. I only have a main branch on this project.
There is a permissions option.
You can select auto accept edits, plan mode, or bypass permissions. Bypass permissions is disabled by default and should be used with caution.
Setup and first launch
Download the Claude Code desktop app and log in to your account.
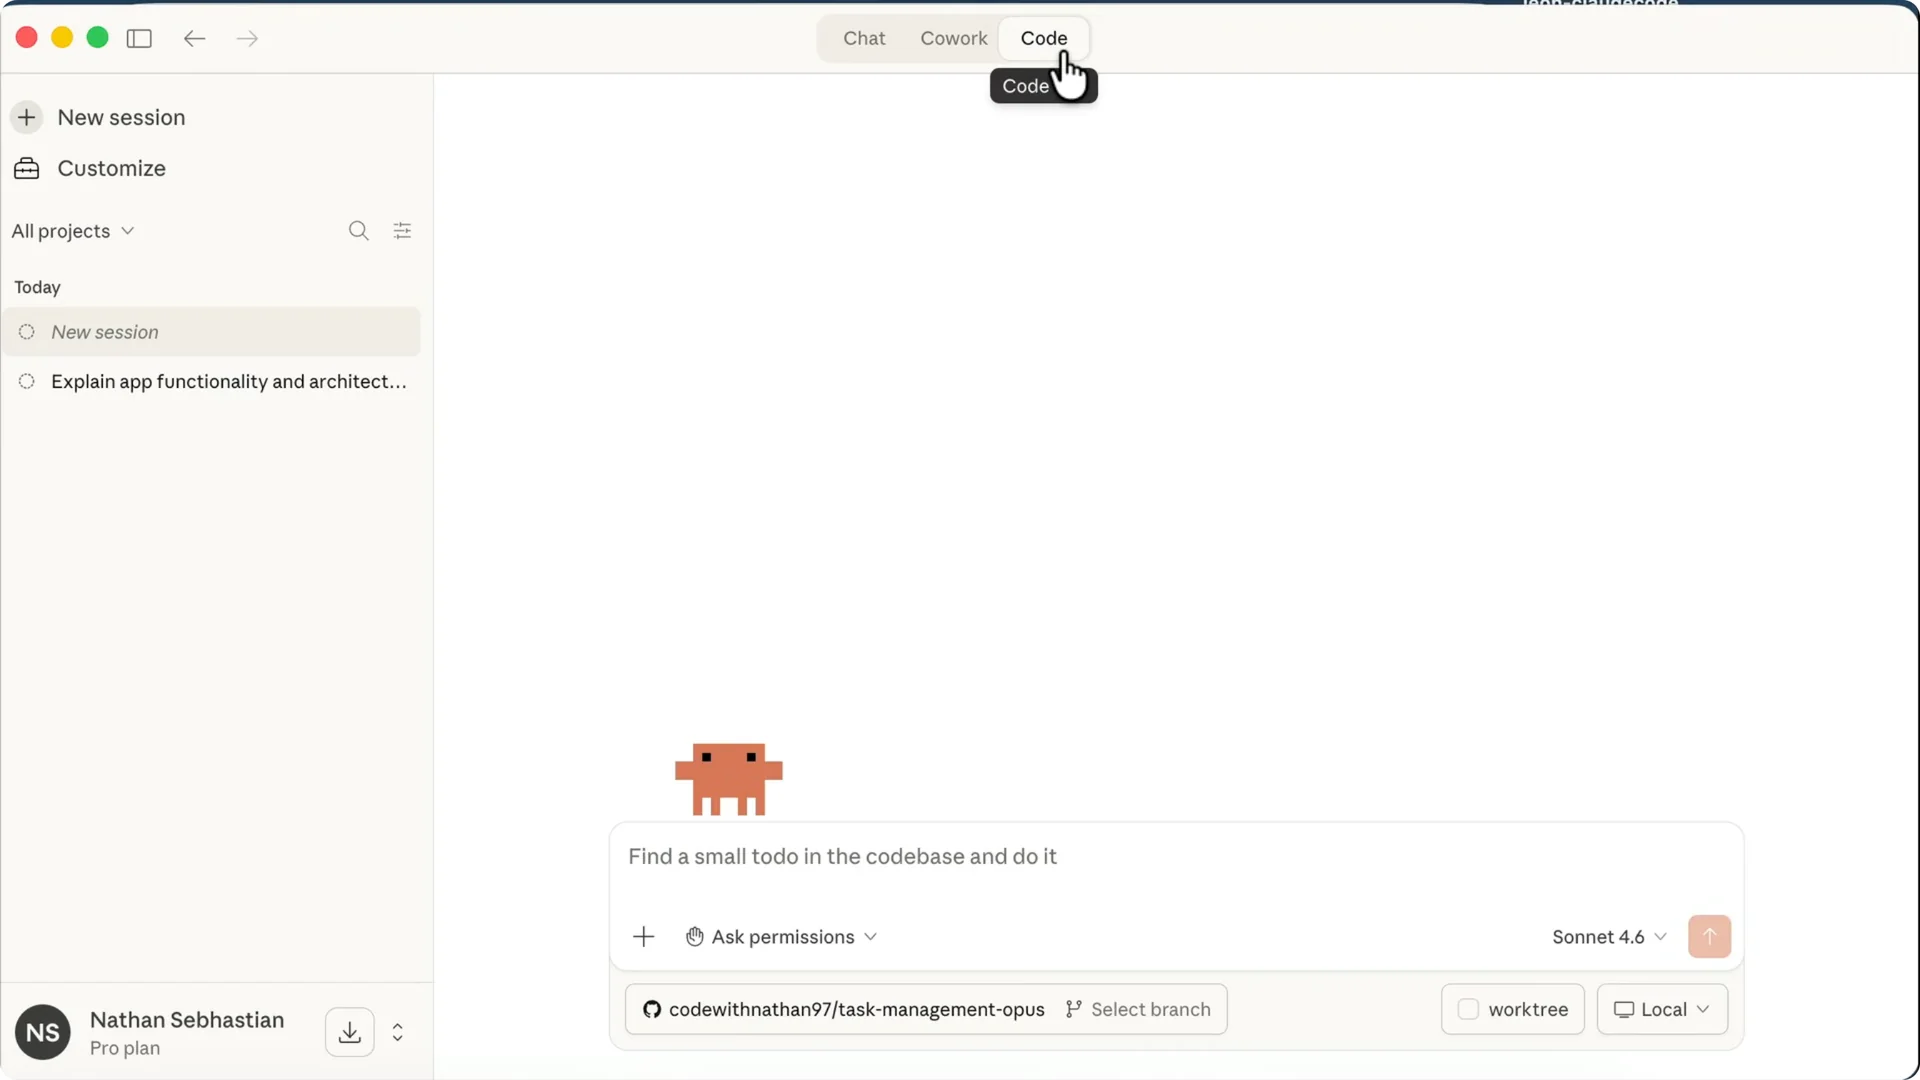
Click the Code tab at the top to open the IDE view.
You need an active subscription to see this option.
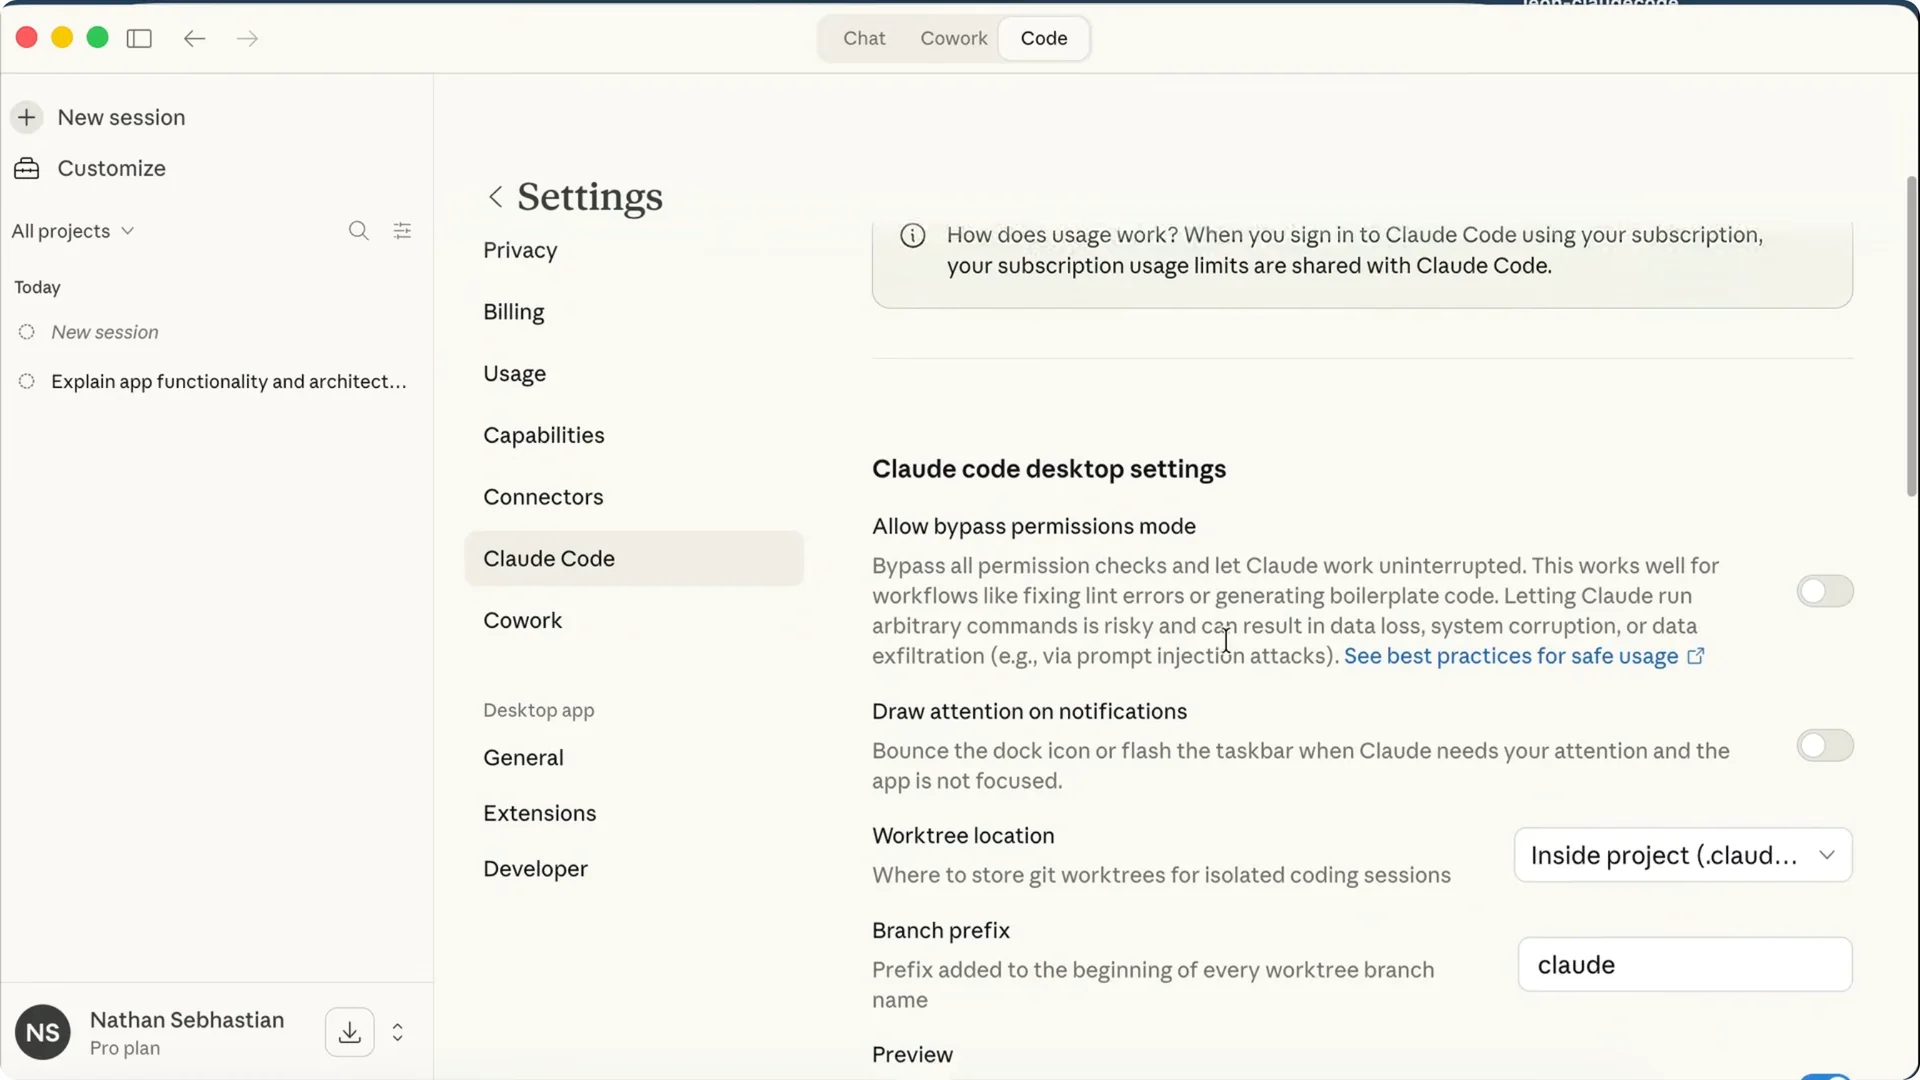
To enable bypass permissions, open Settings, select Claude Code, and toggle bypass permissions mode.
There is also a Preview option that allows Claude to run the development server and open a live preview.
Close Settings when done and start working on your project.
Sample app overview
Before I run a prompt, I will show the app I am working with. It is a personal finance app built using Next.js and other tech.
If we open the README or project notes, we can see the full stack.
It uses Next.js and TypeScript, Tailwind for styling, Drizzle for ORM, and an SQLite database. We can run the app using the command npm run dev.
The app opens in the browser with a dashboard and some charts.
We also have several pages active, and some are still in progress.
I will use Claude to build the Reports page. I want to see how it goes end to end.
Plan mode in Claude Code Desktop IDE
In Claude Code, I tell it I want to build the Reports and Insights page and ask for feature suggestions.
I switch to plan mode so Claude can suggest a comprehensive action plan.
For the model, I use Sonnet 4.6 because Opus is overkill for this app.
There is an option to run the session in a worktree if you want to work on multiple tasks at once. You can select to run the session locally or in the cloud using Claude Code Web.
You can also add SSH connection and remote control.
Run the prompt
Claude first scans the project and then asks questions to get a better picture of what we want to build.
It asks which charts I want on the Reports page, so I pick monthly income, spending by category, and budget versus actual spending.
For insights, I choose spending categories and biggest transactions.
I also want a date range filter. Claude continues, but I notice a message that says it failed to ask user about feature preferences.
My answers still go through and the agent proceeds to design the implementation plan.
Review and approve the plan
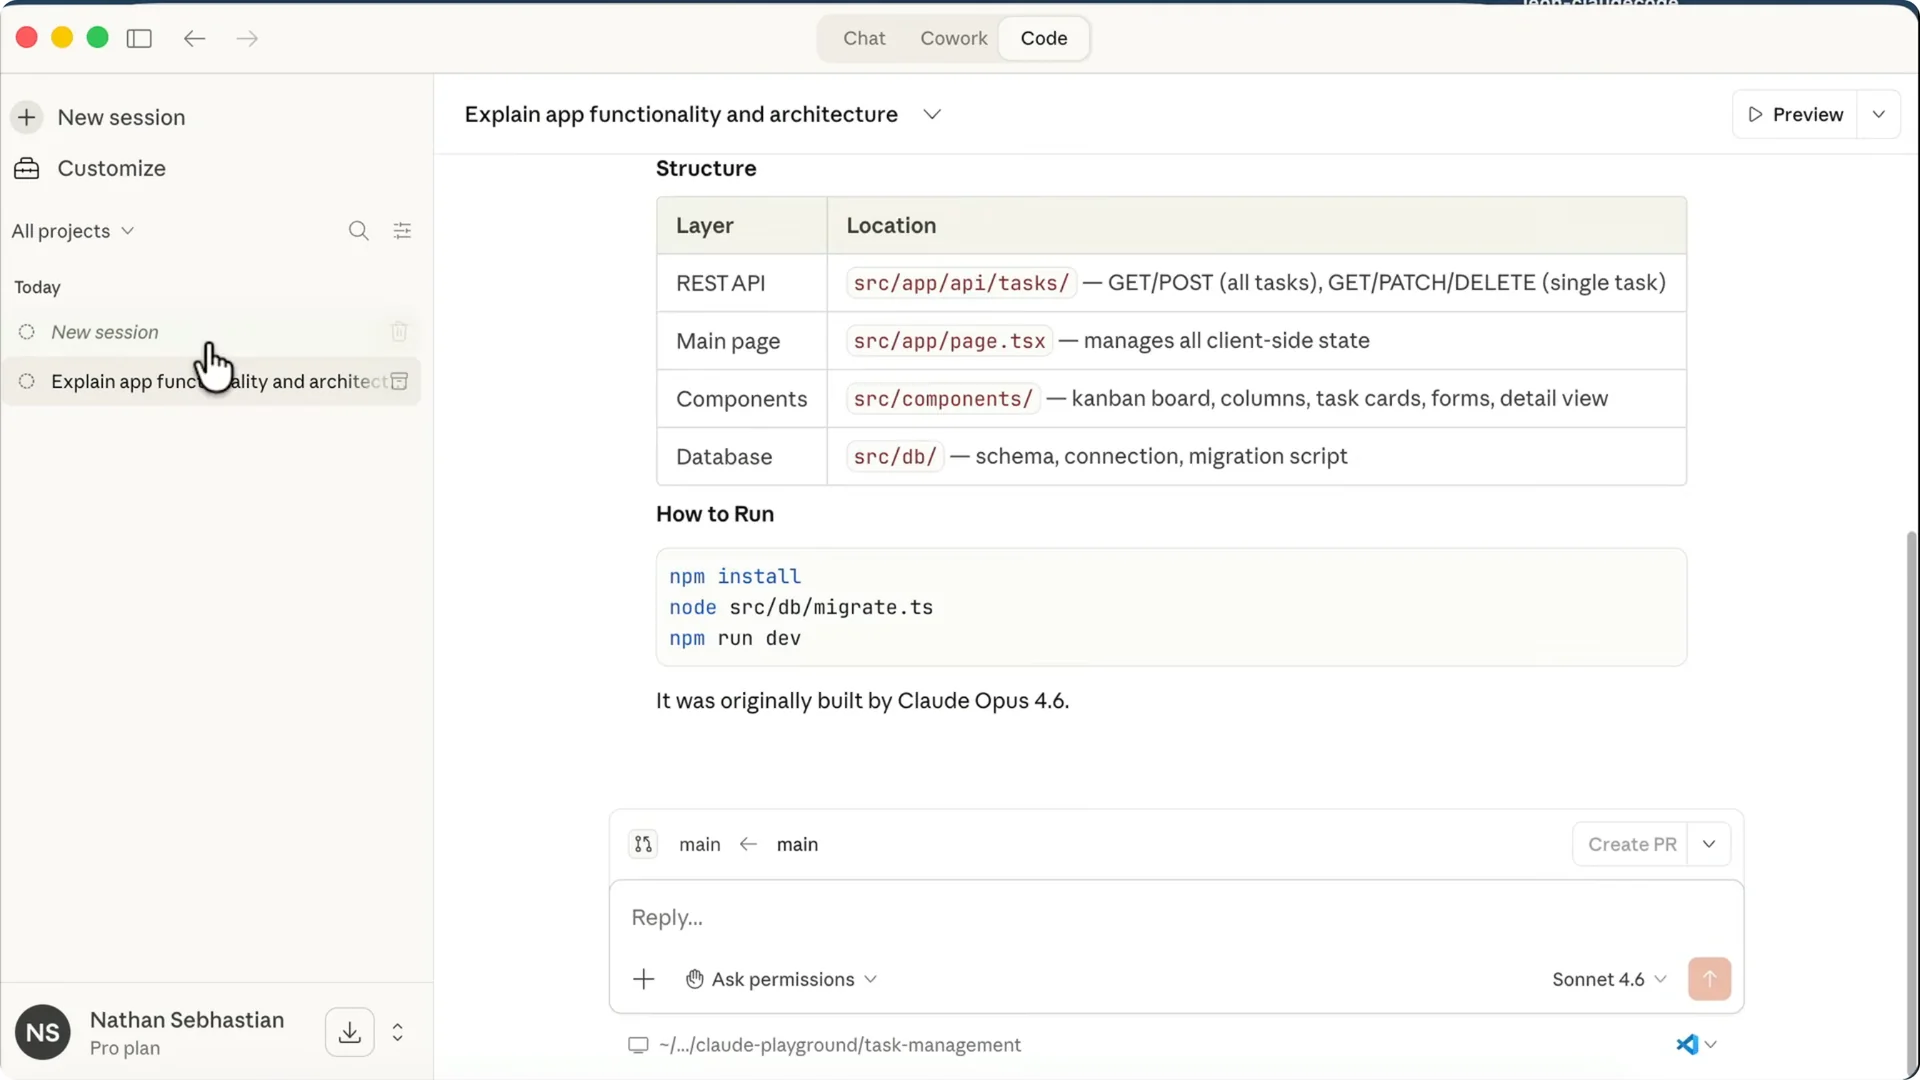
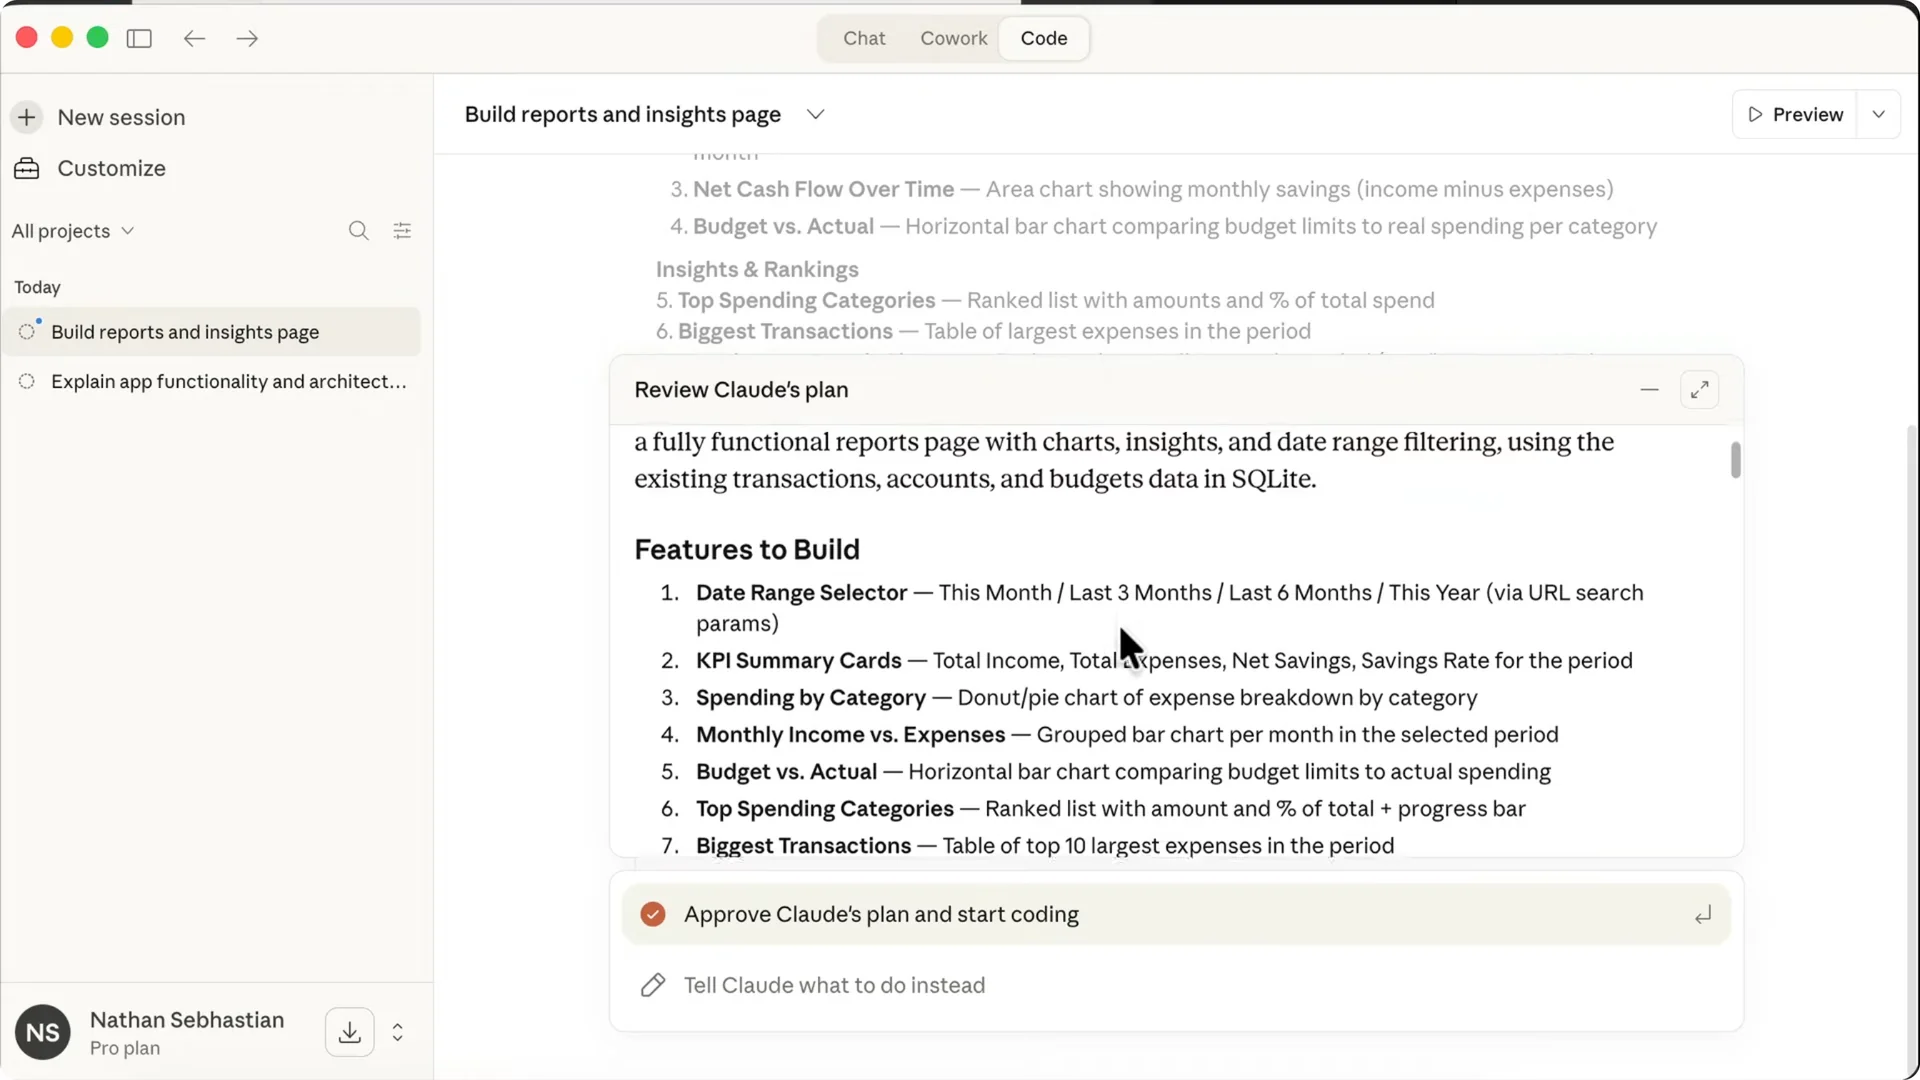
Claude Code generates an implementation plan in markdown similar to a terminal plan.
It lists the context, features to build, files to create and replace, the architecture, and the data queries.
It knows we are using a database and writes functions to query the data.
Claude will verify its own work by running the development server, confirming the features work, and running the build command.
If there is anything you want to change, you can tell Claude from the chat. I think this plan is good to go, so I approve it.
Once approved, Claude exits plan mode and begins making changes using the plan as the basis. It reads and edits files, and you can click entries to see more detail.
You can always view the plan at any time by clicking the plan icon to open the markdown file.
Making edits and permissions
You can open the project files using an IDE from the bottom right side.
I have VS Code and Cursor installed, so I can open the project over there and it opens in the same window I used before.
Back in Claude Code, it asks for approval to edit a component and I allow for the session.
If you want to skip the hassle of granting permissions, change the permission to auto accept edits.
If you want Claude to run terminal commands or use skills without asking, enable bypass permissions.
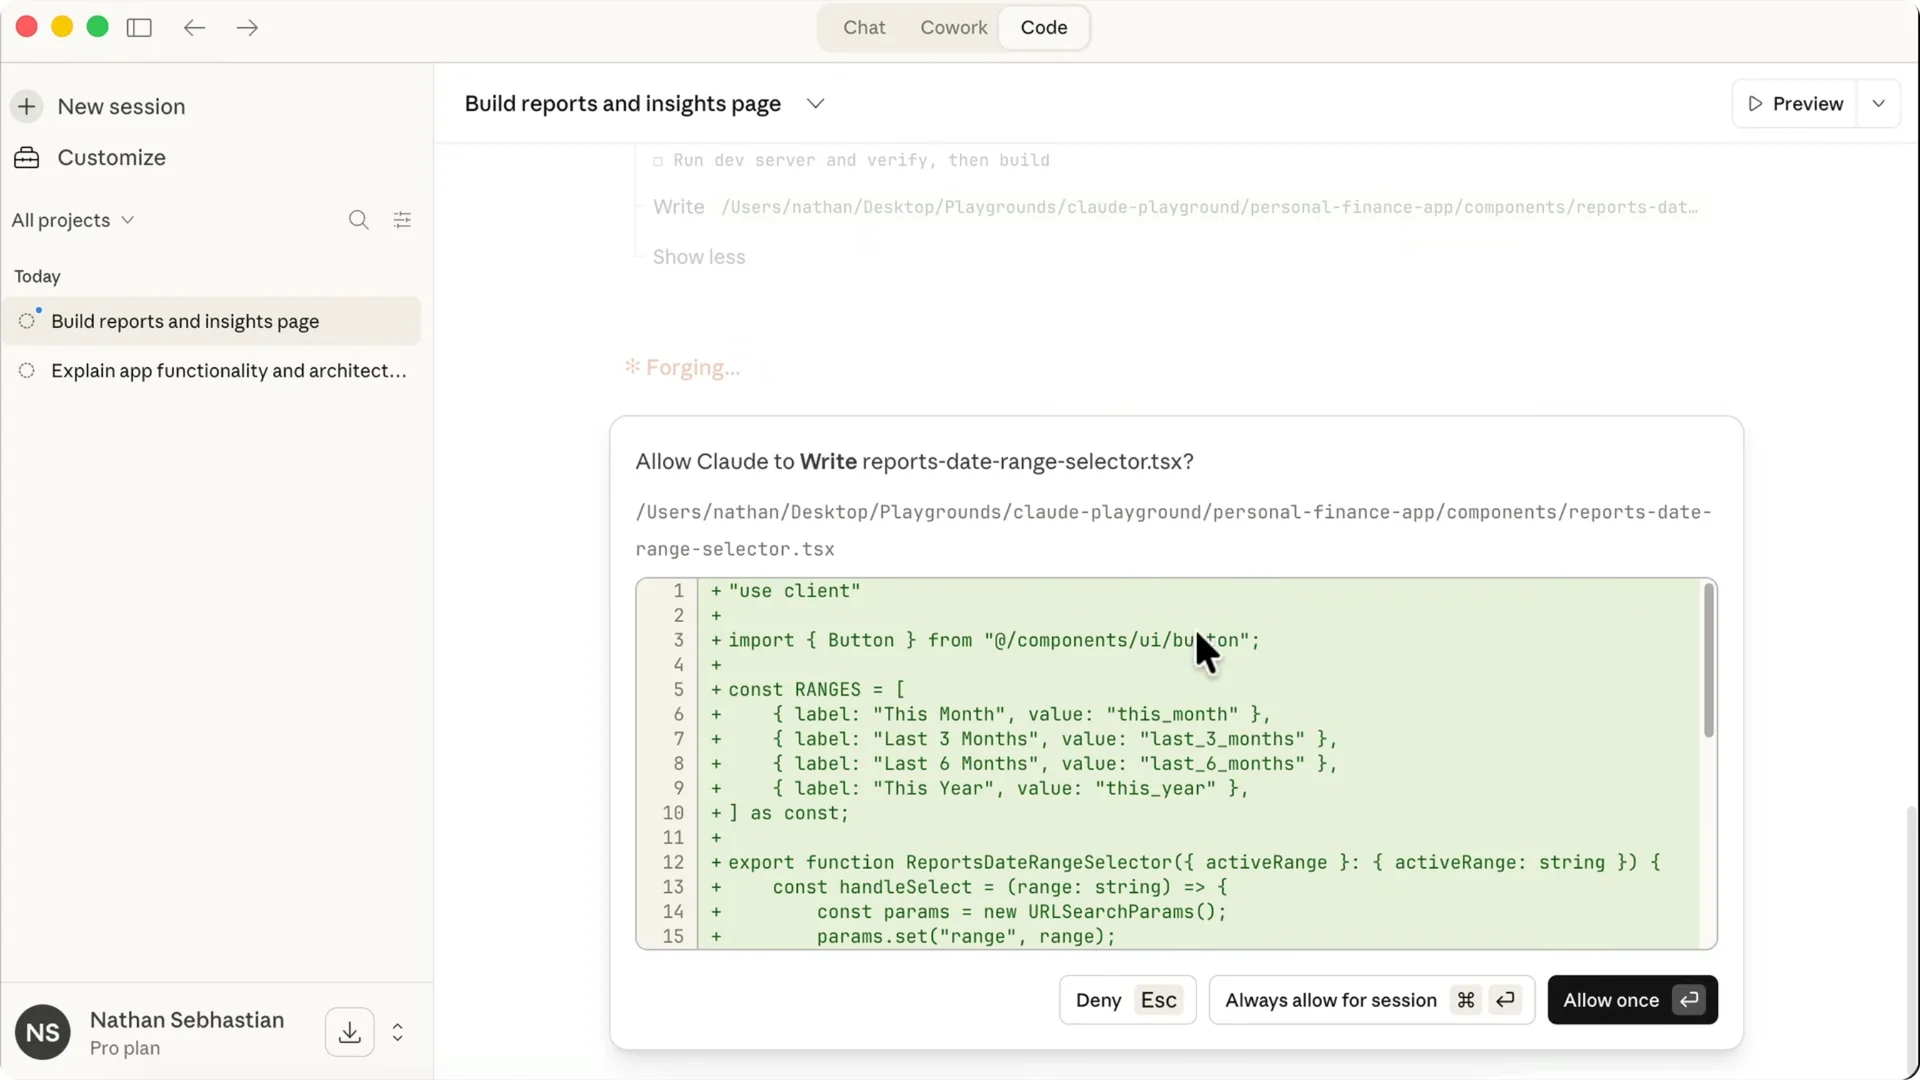
This option is dangerous as it allows Claude to edit and delete files without asking. Use it with caution.
You will see black borders around the session window to highlight that Claude is running autonomously.
Preview and QA
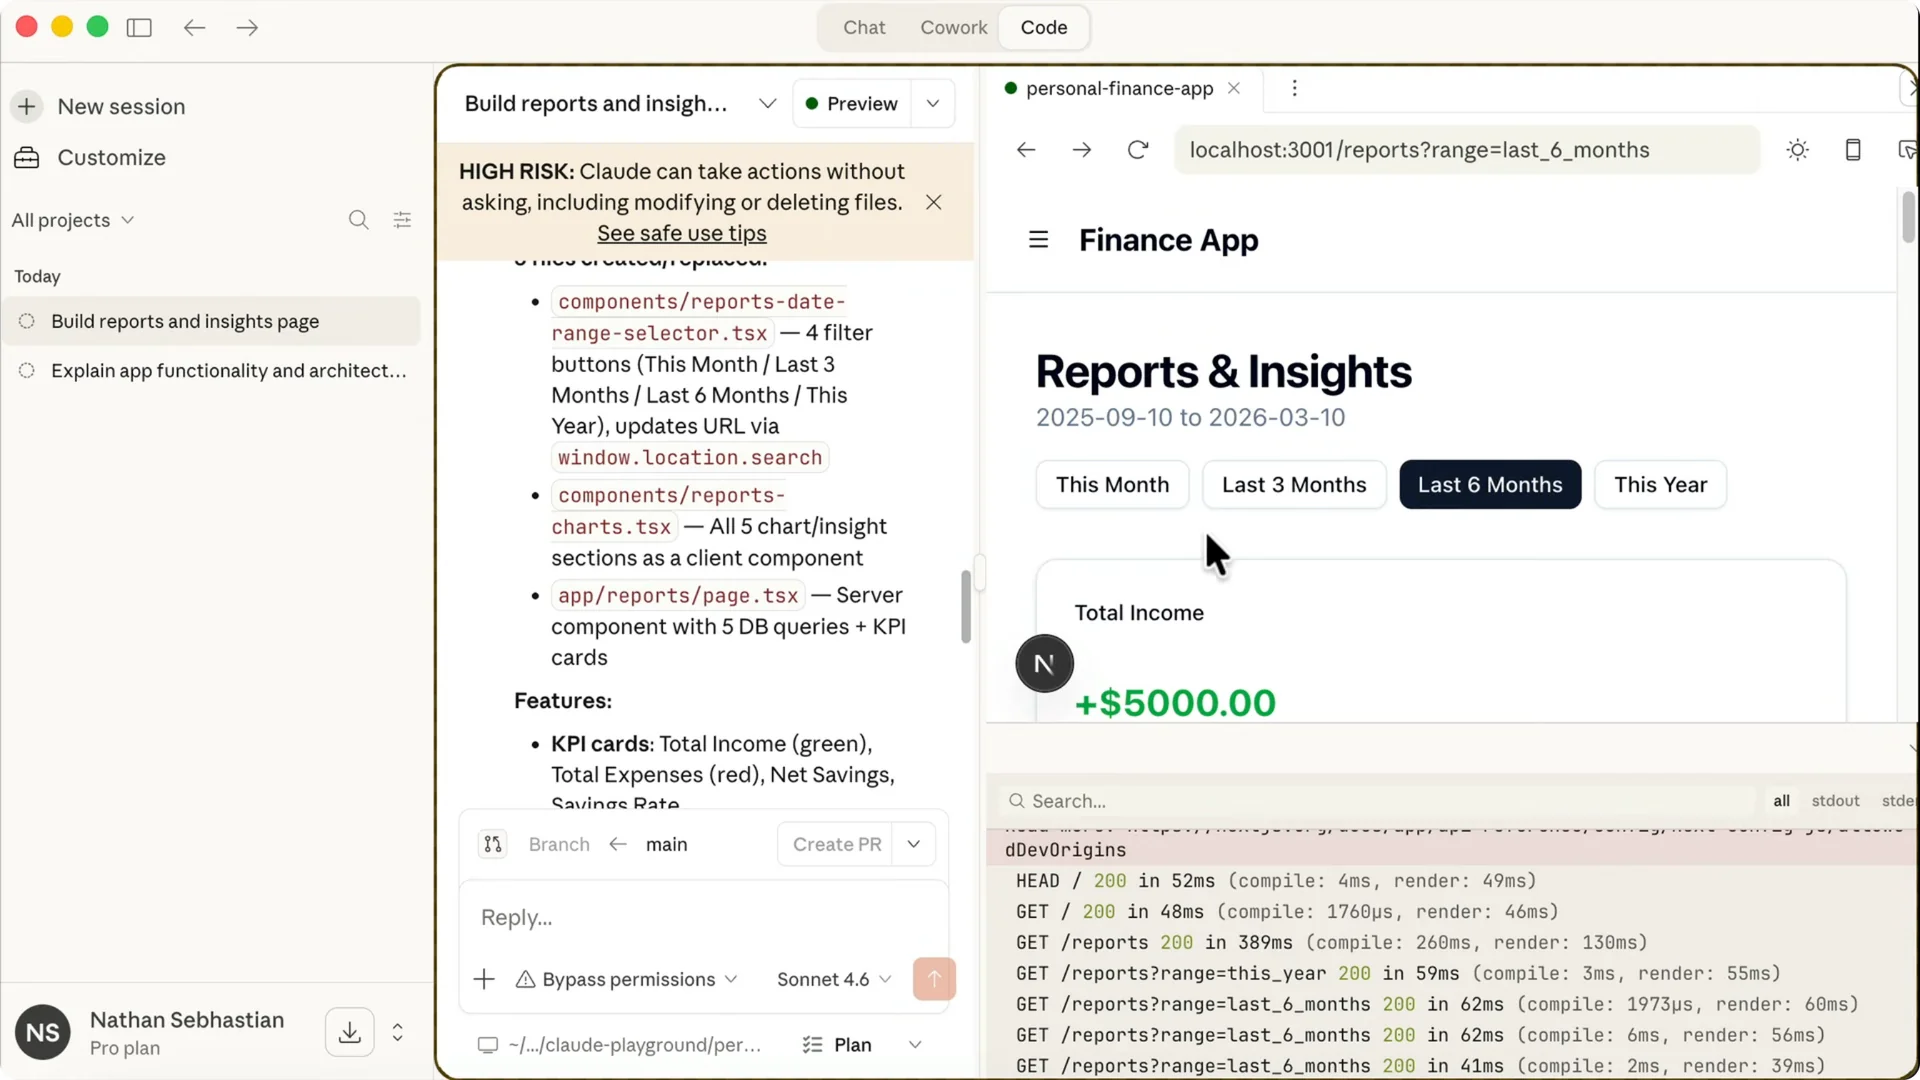
Claude completes the implementation and verifies that the page is working. It tests the charts and the date range and shows screenshots that you do not see in the terminal.
Click the Preview button to open a live preview of the app, with the console output below.
I close the sidebar to focus and try to make the window bigger. It looks like the preview window maxes at about half the screen, even if I close the console. I open the app in the browser instead.
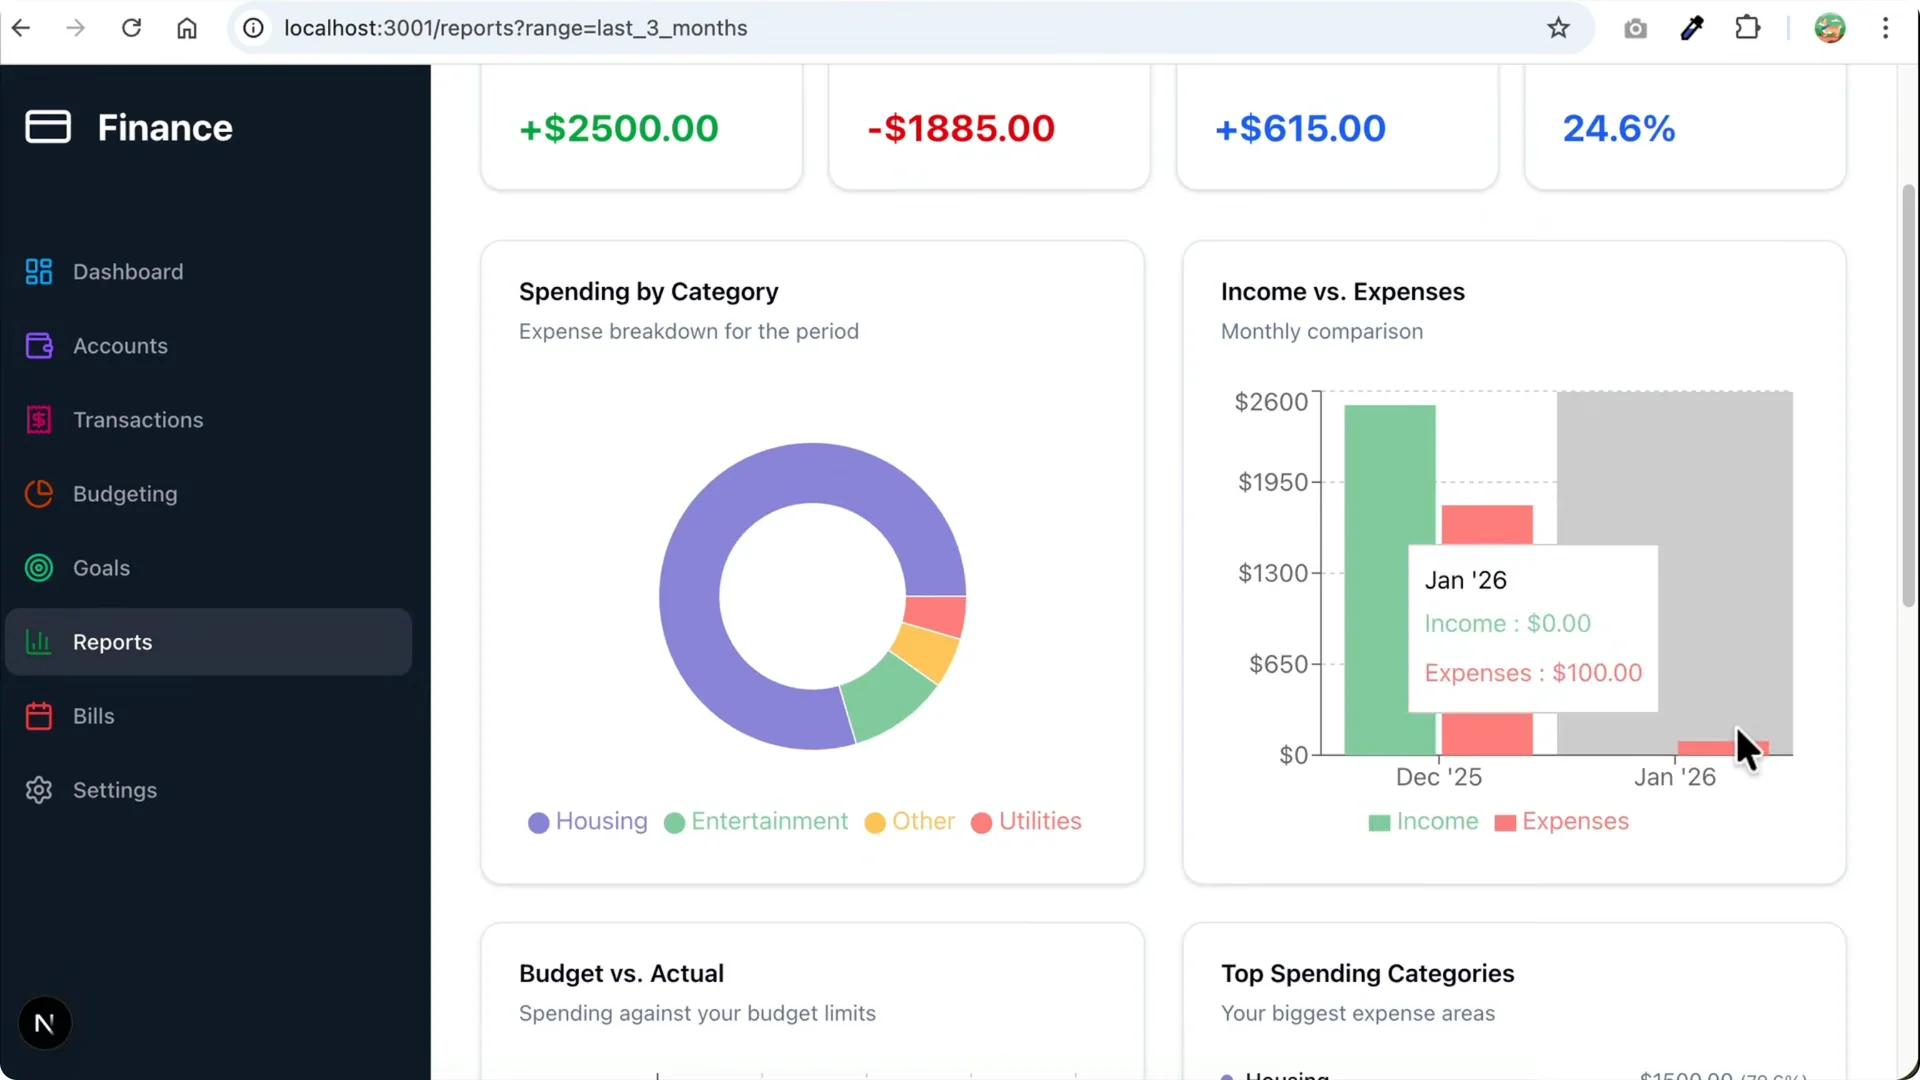
On the Reports page there is nothing for the current month, so I change the filter to the last three months.
Now I see the income versus expenses chart, spending by category, top spending categories, budgets versus actual spending, and the biggest expenses below that.
I switch the filter to the last six months and then up to one year.
Use Claude Code Web
To run Claude Code from the web, create a new session and select the Claude Code from the web option at the bottom right side. This opens the browser and asks you to connect your GitHub account.
Click to authorize and I let it access just one repository for the app I am working on, then install and authorize.
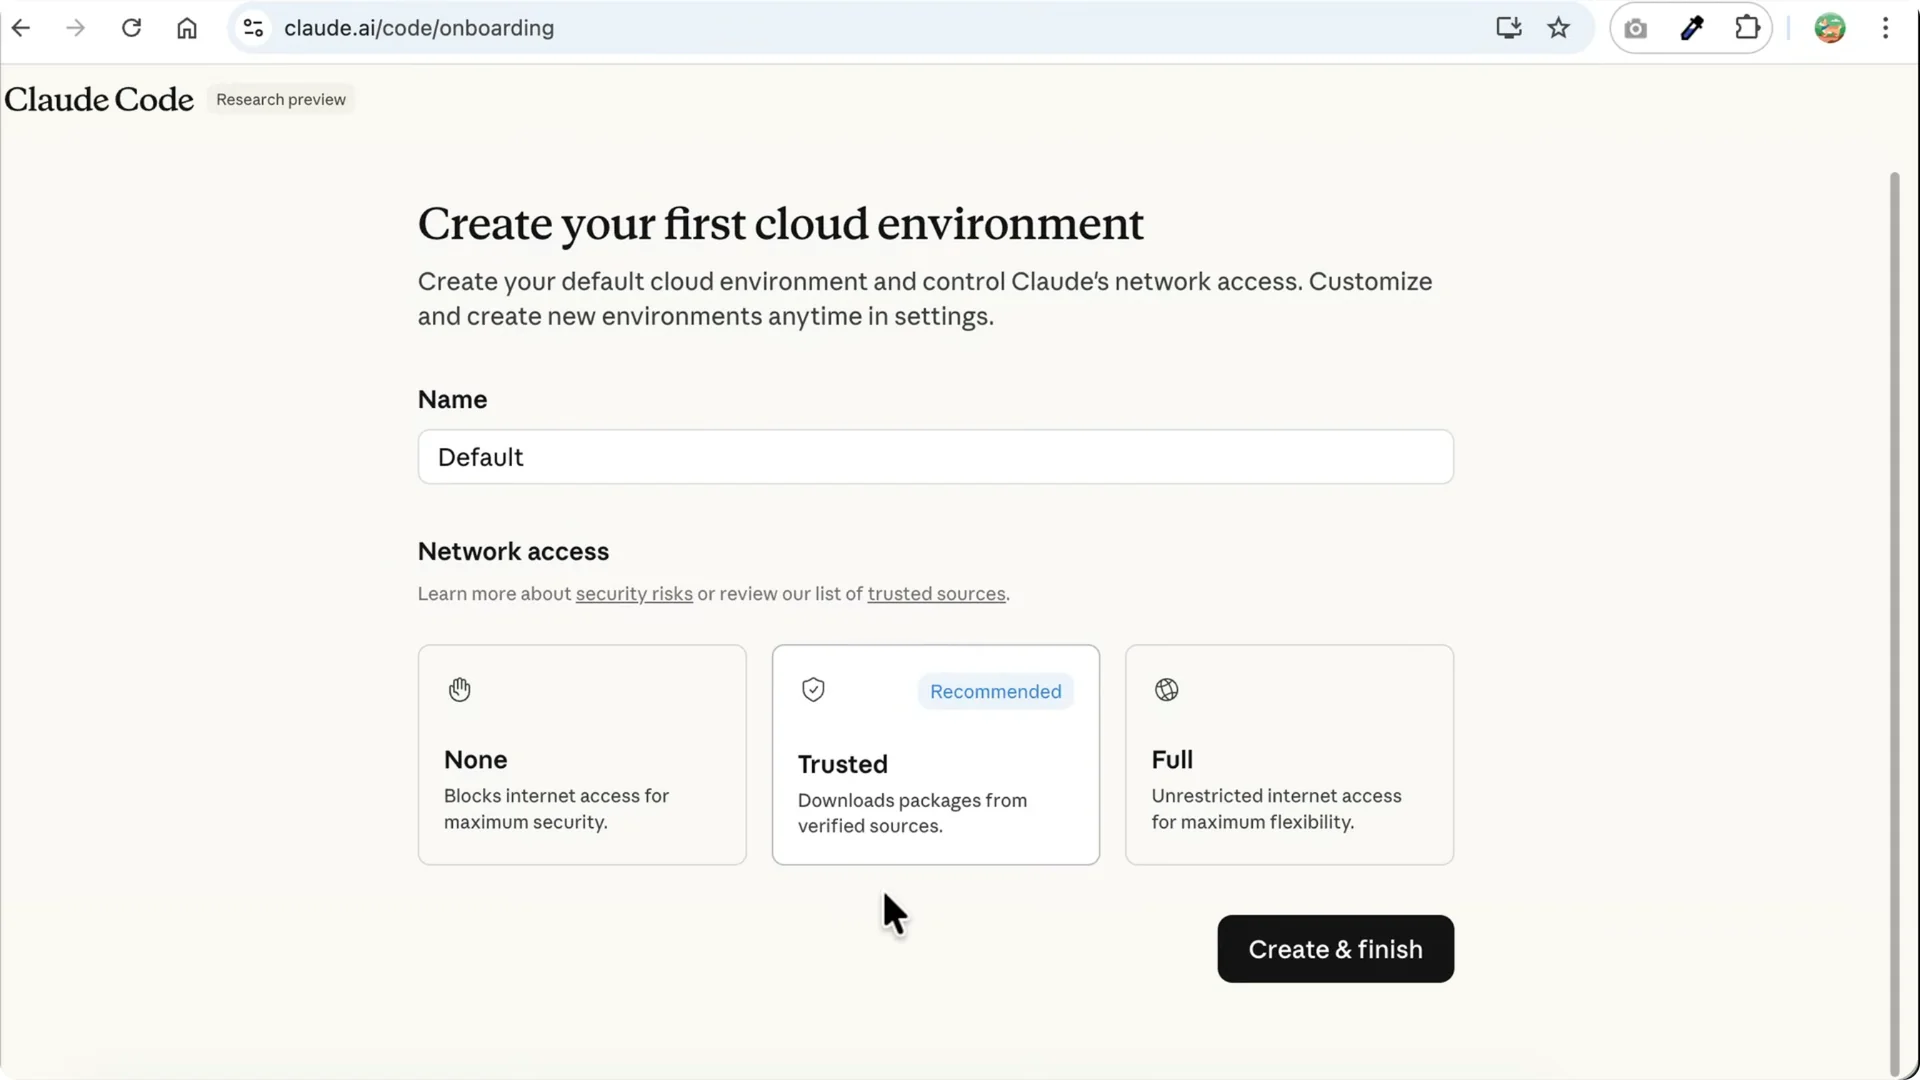
Next, create a cloud environment. I leave the name at default and select the recommended option for network access, then click Create and Finish.
Here is Claude Code Web, which you can use for projects stored on GitHub.
Select the repository you want to work on. While I only granted access to one repository, it seems Claude can find all my repositories here, so I pick the personal finance app.
I ask it to give me an overview of the app and submit the prompt, and Claude works from the cloud environment.
One benefit of using the cloud is if you close the browser and turn off your computer, the request will not be canceled like in the desktop.
Cloud sessions are also synced to the desktop app, so you can view and continue the session from there. This makes long running tasks more reliable.
Plugins in Claude Code Desktop IDE
You can install plugins as in the terminal. Click the plus icon and select Add plugins to see what is available, then install what you want to use. For example, search for the Superpowers plugin.
This plugin teaches Claude Code how to brainstorm and use agents for development, including reviewing, debugging, and testing code. Click Install and the plugin is added. You can use it by running the /ask command.
If you cannot find the command, open Plugins again and select Superpowers to see the available skills. Sometimes it takes a while to load. I select the brainstorming skill and ask it to suggest improvements to the Reports page, then submit the prompt to run that skill.
Current limitations
You cannot get a full overview of the project files inside the Claude Code desktop app unless you open an IDE like VS Code or Cursor.
You can still attach files using the add command, and all files are available. If you want to see their contents, an IDE still helps a lot.
If you want to view edited files, you need to go through the entries in the chat. There is a diff of the changes, and you can add a comment on a specific line, like asking to change an export name. Claude Code treats that like a new prompt, but this workflow feels inconvenient.
I have explored Open Code Desktop and CodEx, which implement this in a better way. You can view all changes in a unified sidebar, click a file to see the changes, and add a comment there.
Other than that, Claude Code Desktop has all the features you can find in the CLI.
You can attach files and images, run slash commands, connect with other apps, and install and manage plugins, skills, and MCP servers.
The agent manager inside the desktop app brings a lot of this together.
It is a fast way to go from plan to working features.
Final thoughts
Claude Code Desktop IDE makes it practical to plan, edit, preview, and verify features without leaving the app. Plan mode, permissions, live preview, and web sessions cover most of my daily workflow. For full file overviews, I still open VS Code or Cursor, but the agent manager is already very useful.