You can create multiple agents in Google Anti-gravity inside your workspace by opening Agent Manager, opening a workspace, and starting a new conversation for each agent. Click Open Agent Manager, click Open workspace, then click Open new workspace, and use Start conversation to add your first agent, then click Start conversation again for each additional agent.
Each agent runs in parallel, handling front end, back end, and everything in between.
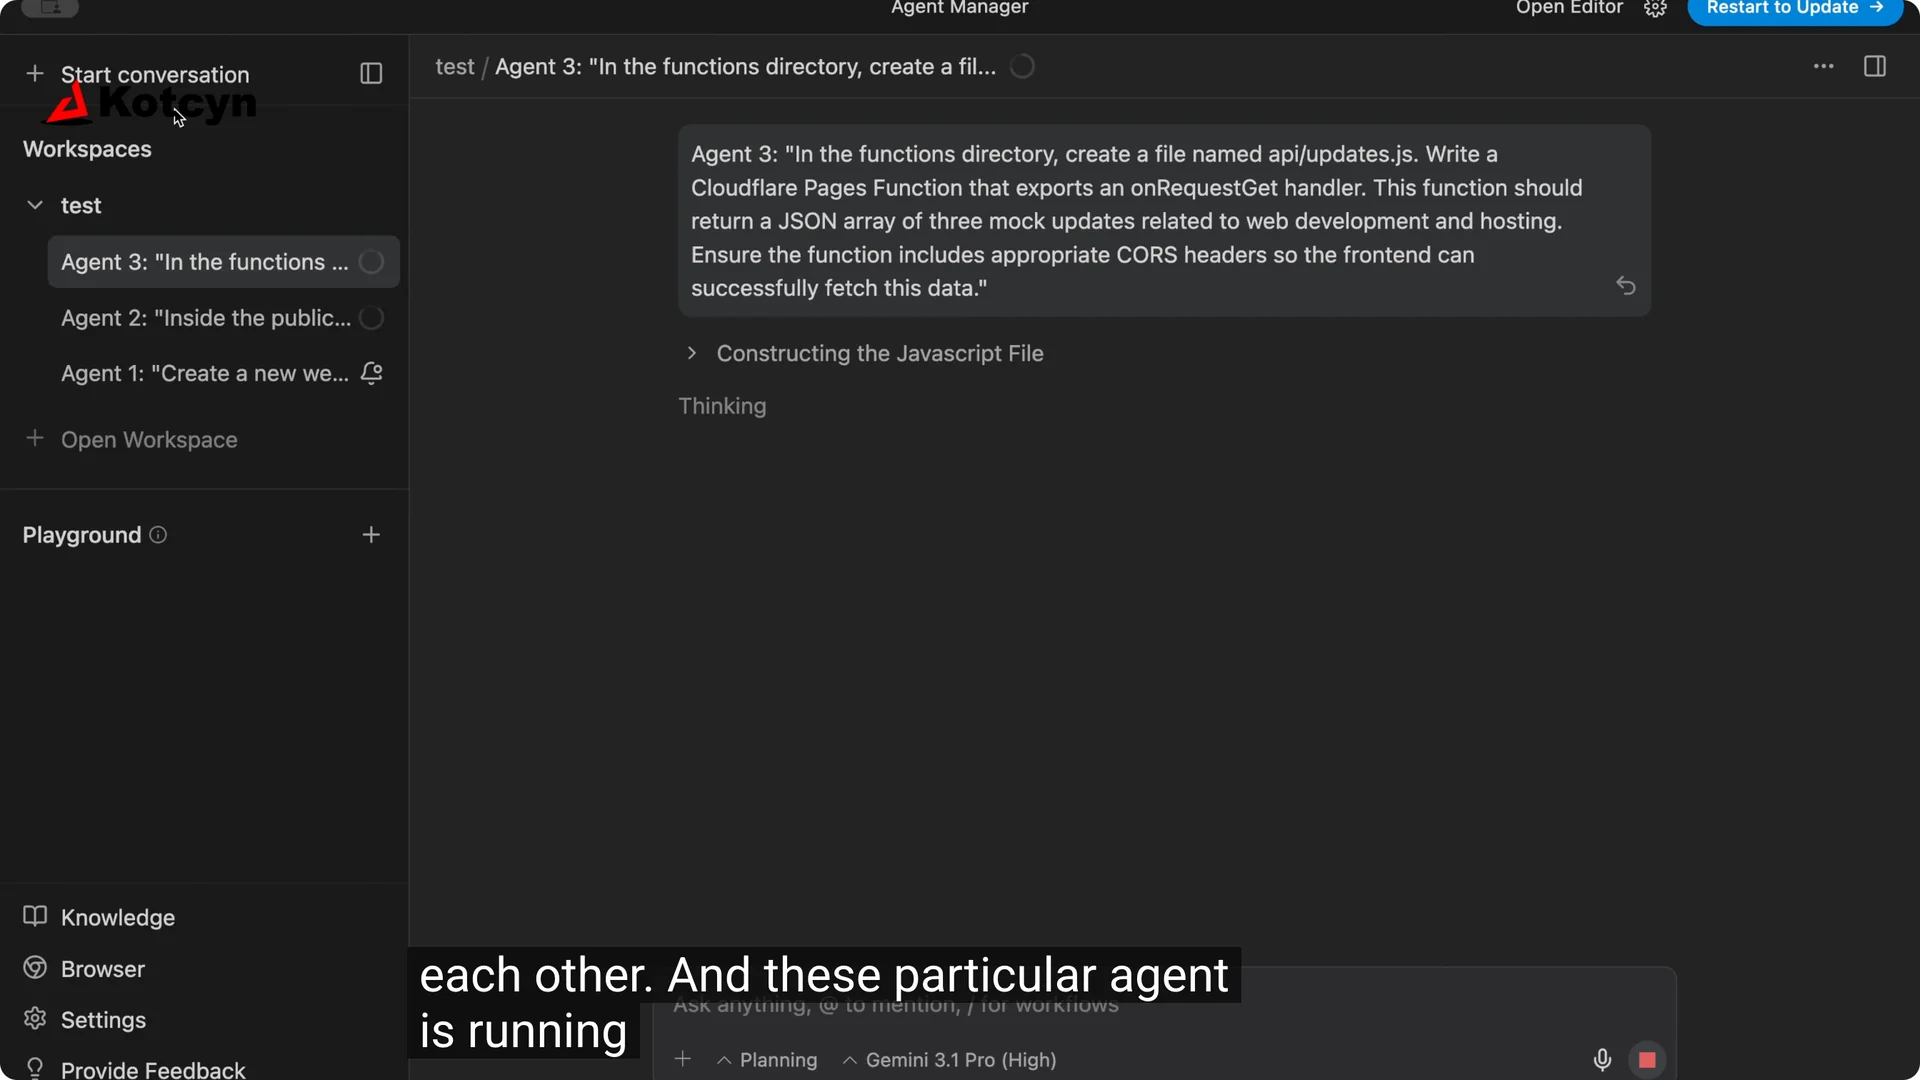
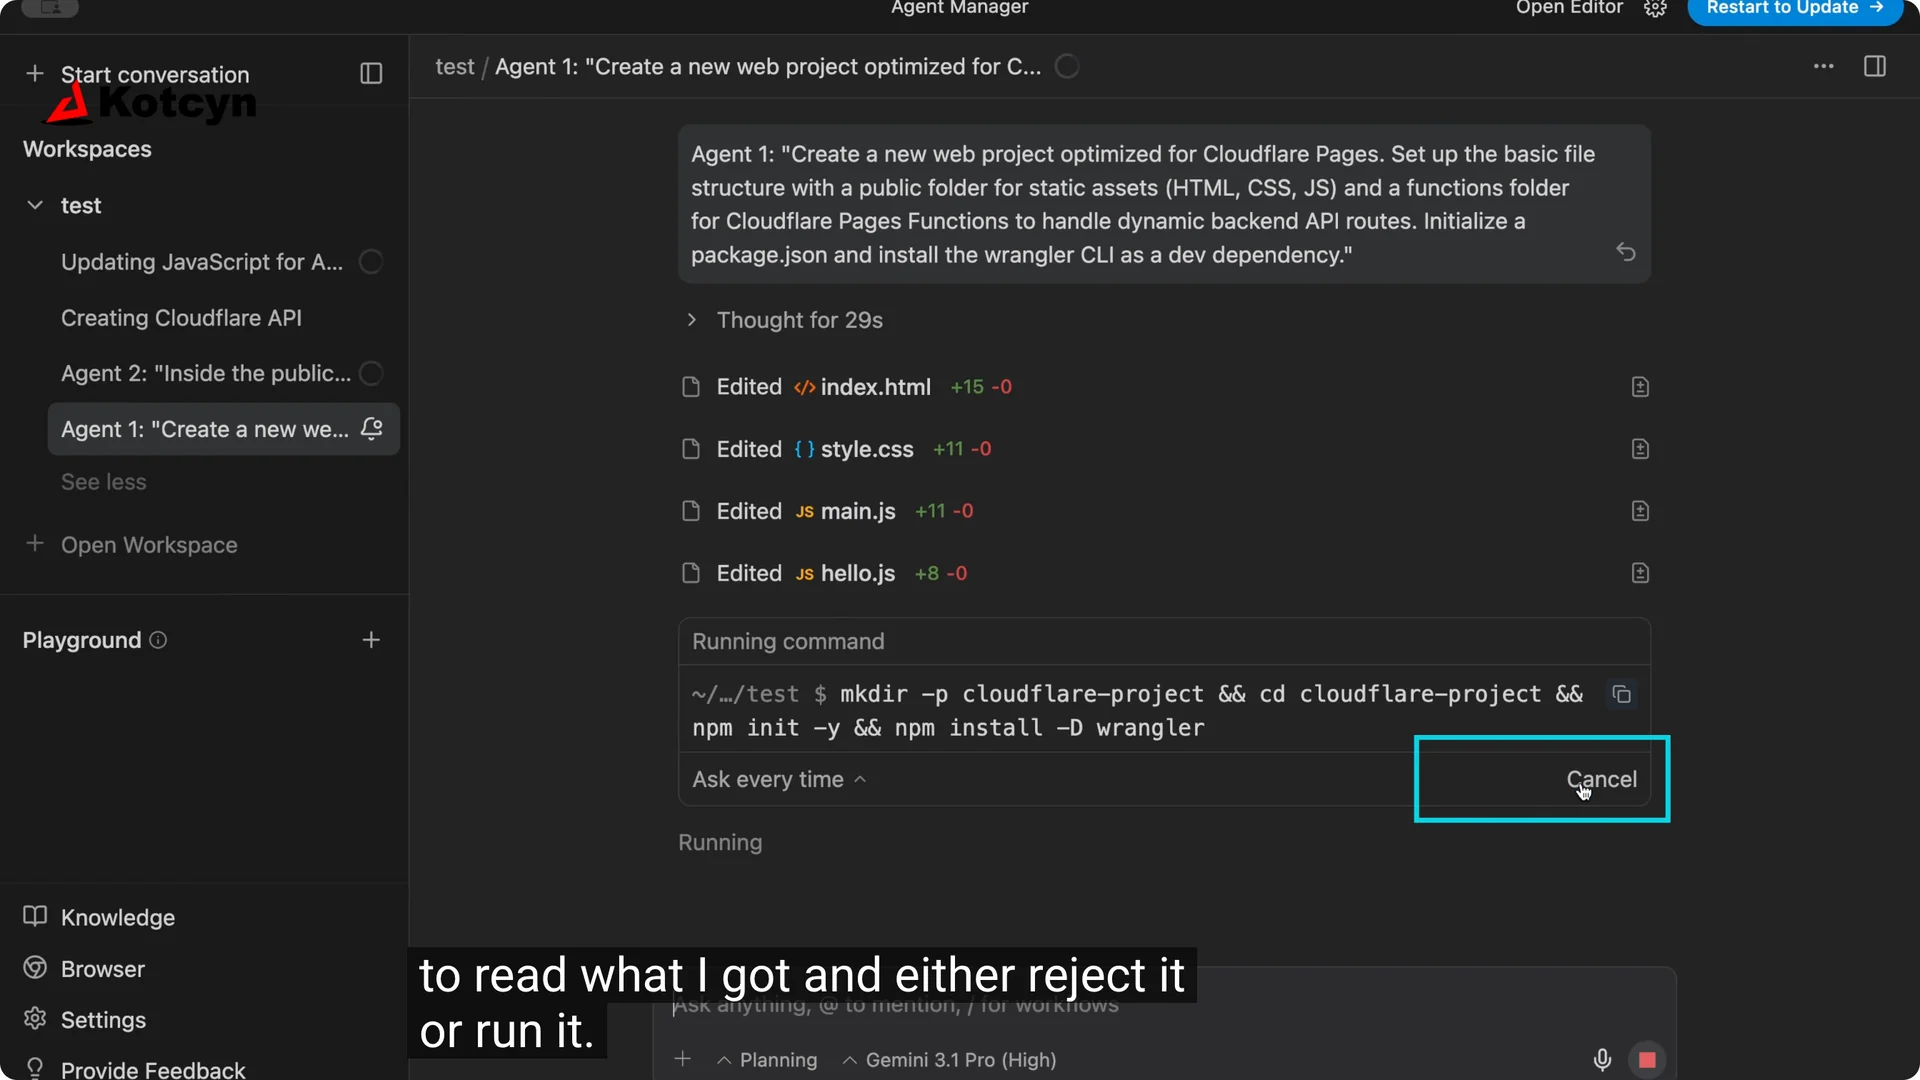
Watch the notifications. The blue dot and the bell icon tell you when an agent wants you to approve something. Click the bell, read the request, and choose Run or Reject so the work keeps moving.
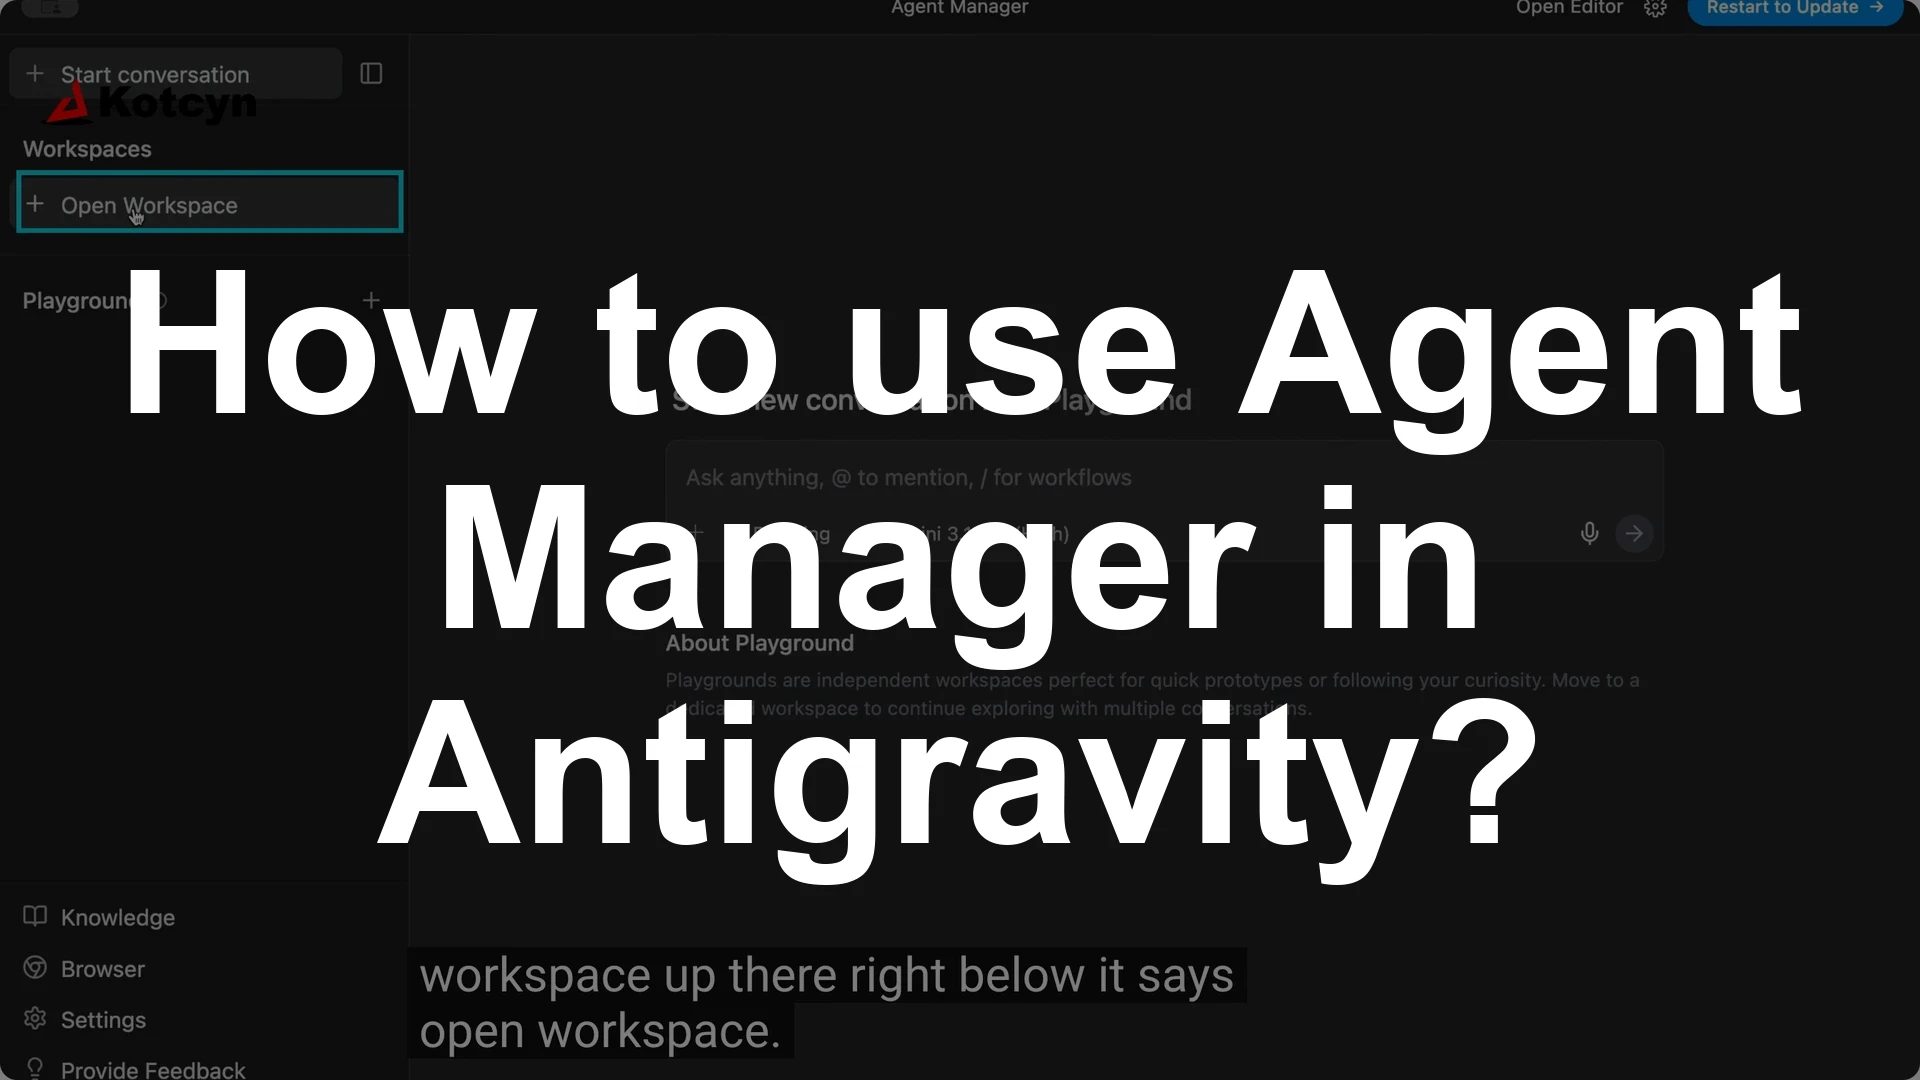
Get into Agent Manager
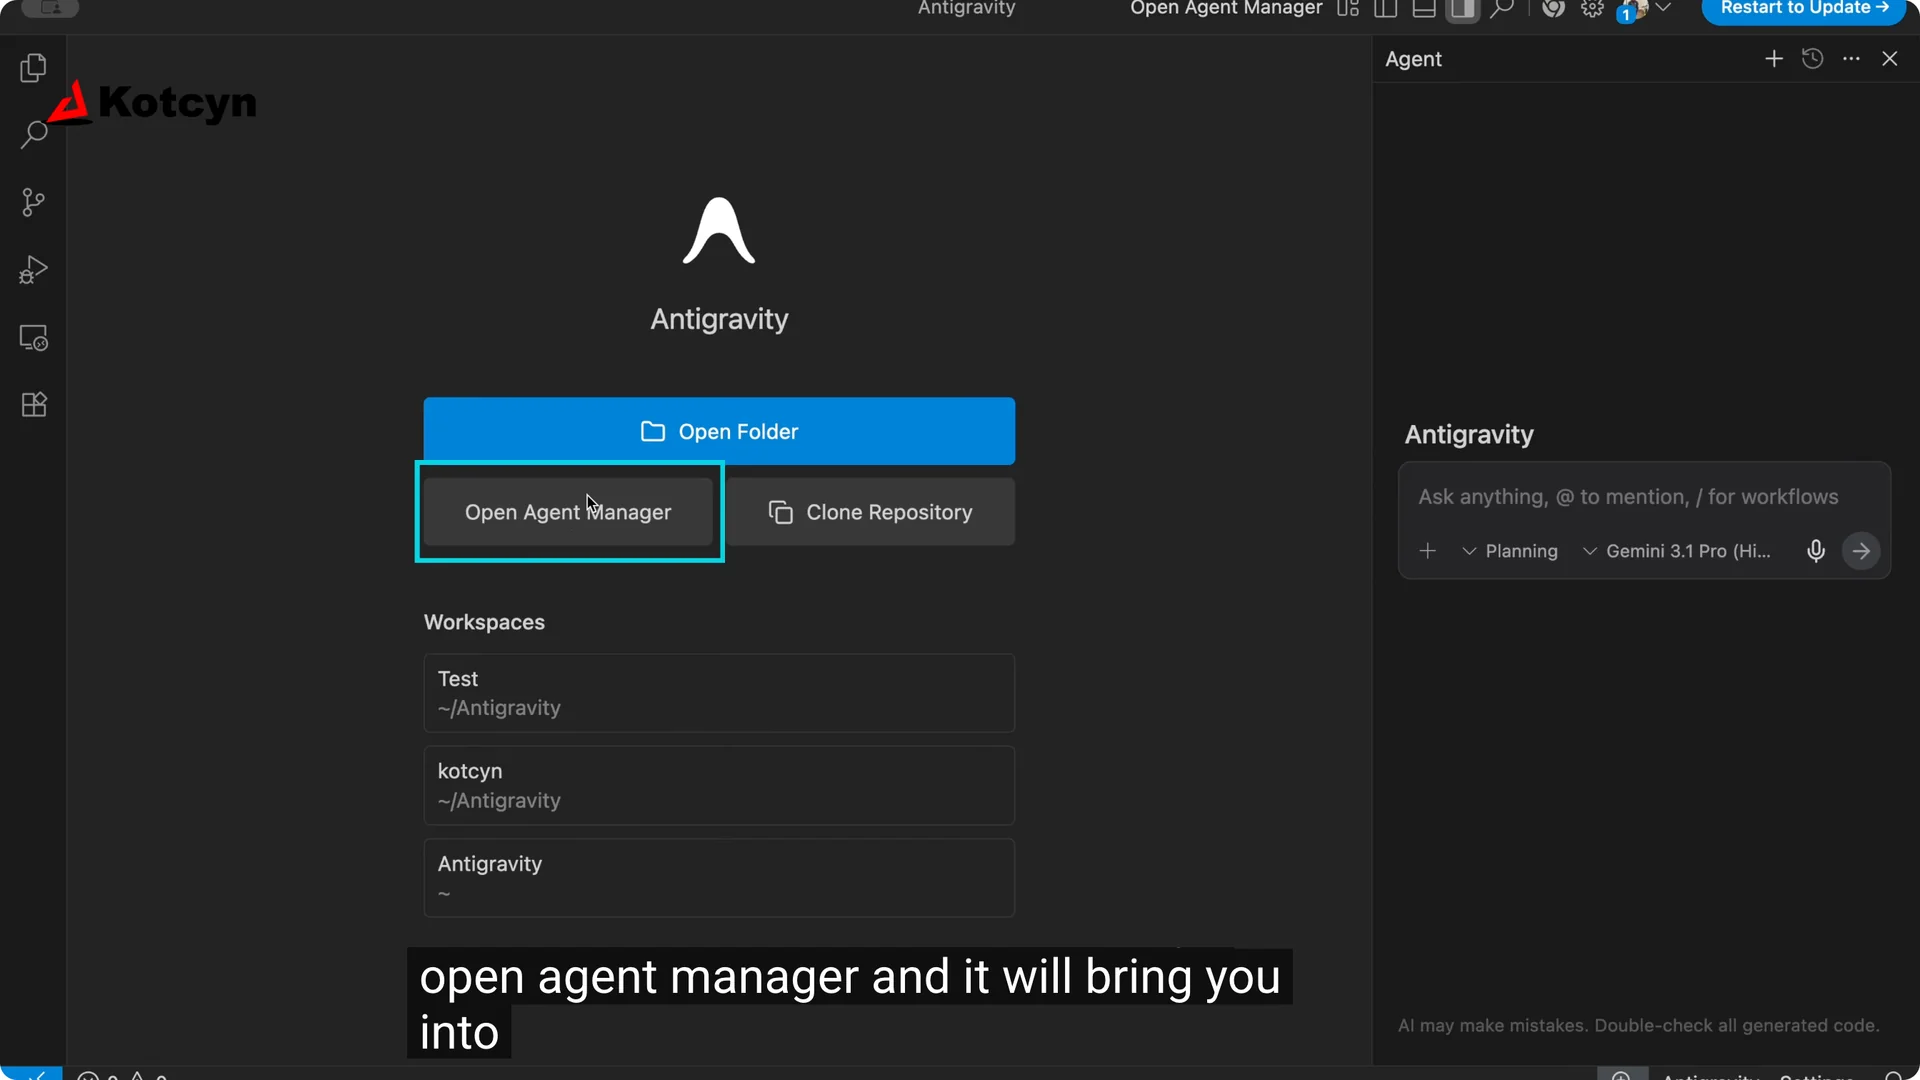
When you open Google Anti-gravity, you may see a traditional IDE view.
If you are not in the Agent Manager, click Open Agent Manager.
That takes you to the place where you control conversations and agents.
On the right you may see Start new conversation in playground.
I used that before to isolate agents from my regular code so there were no mishaps.
Today I am showing it directly in your workspace.
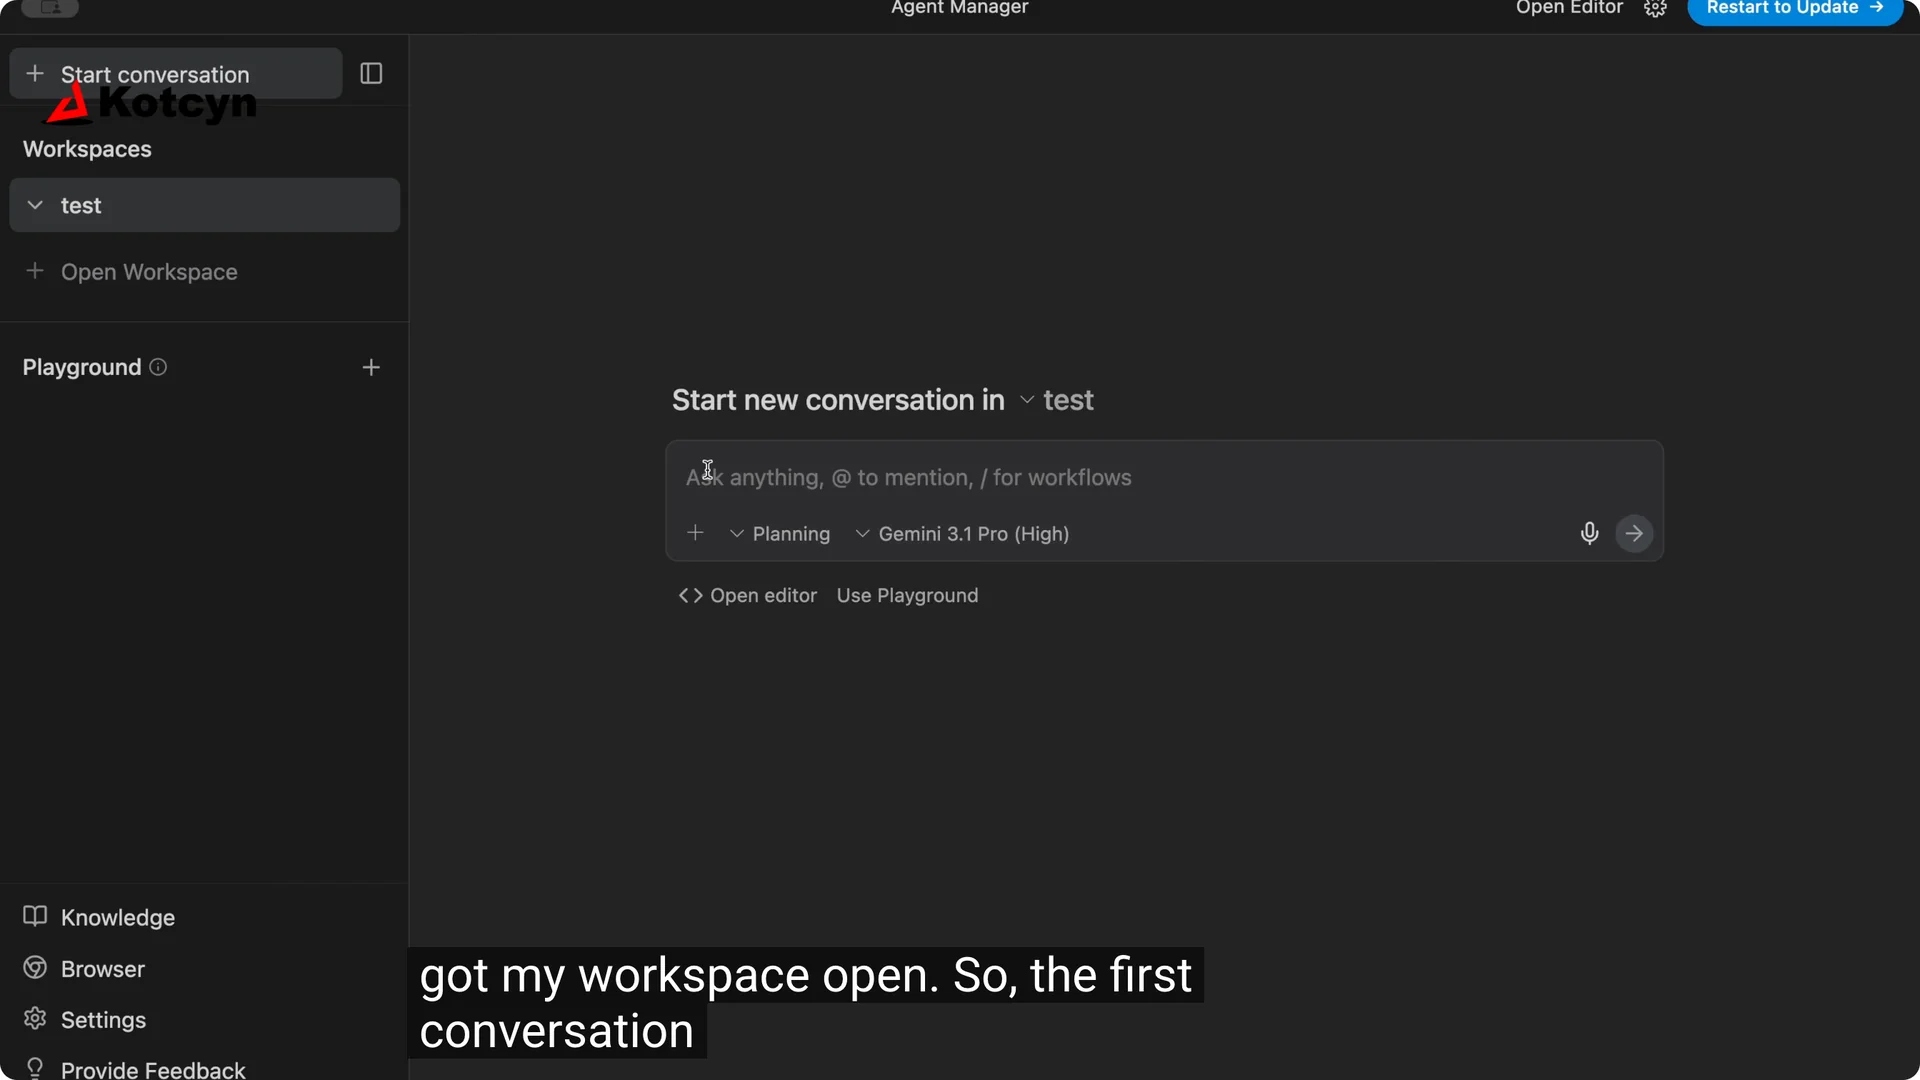
Use your workspace
Click Open workspace.
Then click Open new workspace.
Pick or create a folder and click Open.

With the workspace open, you will see Start new conversation on the right.
That first conversation is ready for your agent.
This is where you spin up each agent with its own prompt.
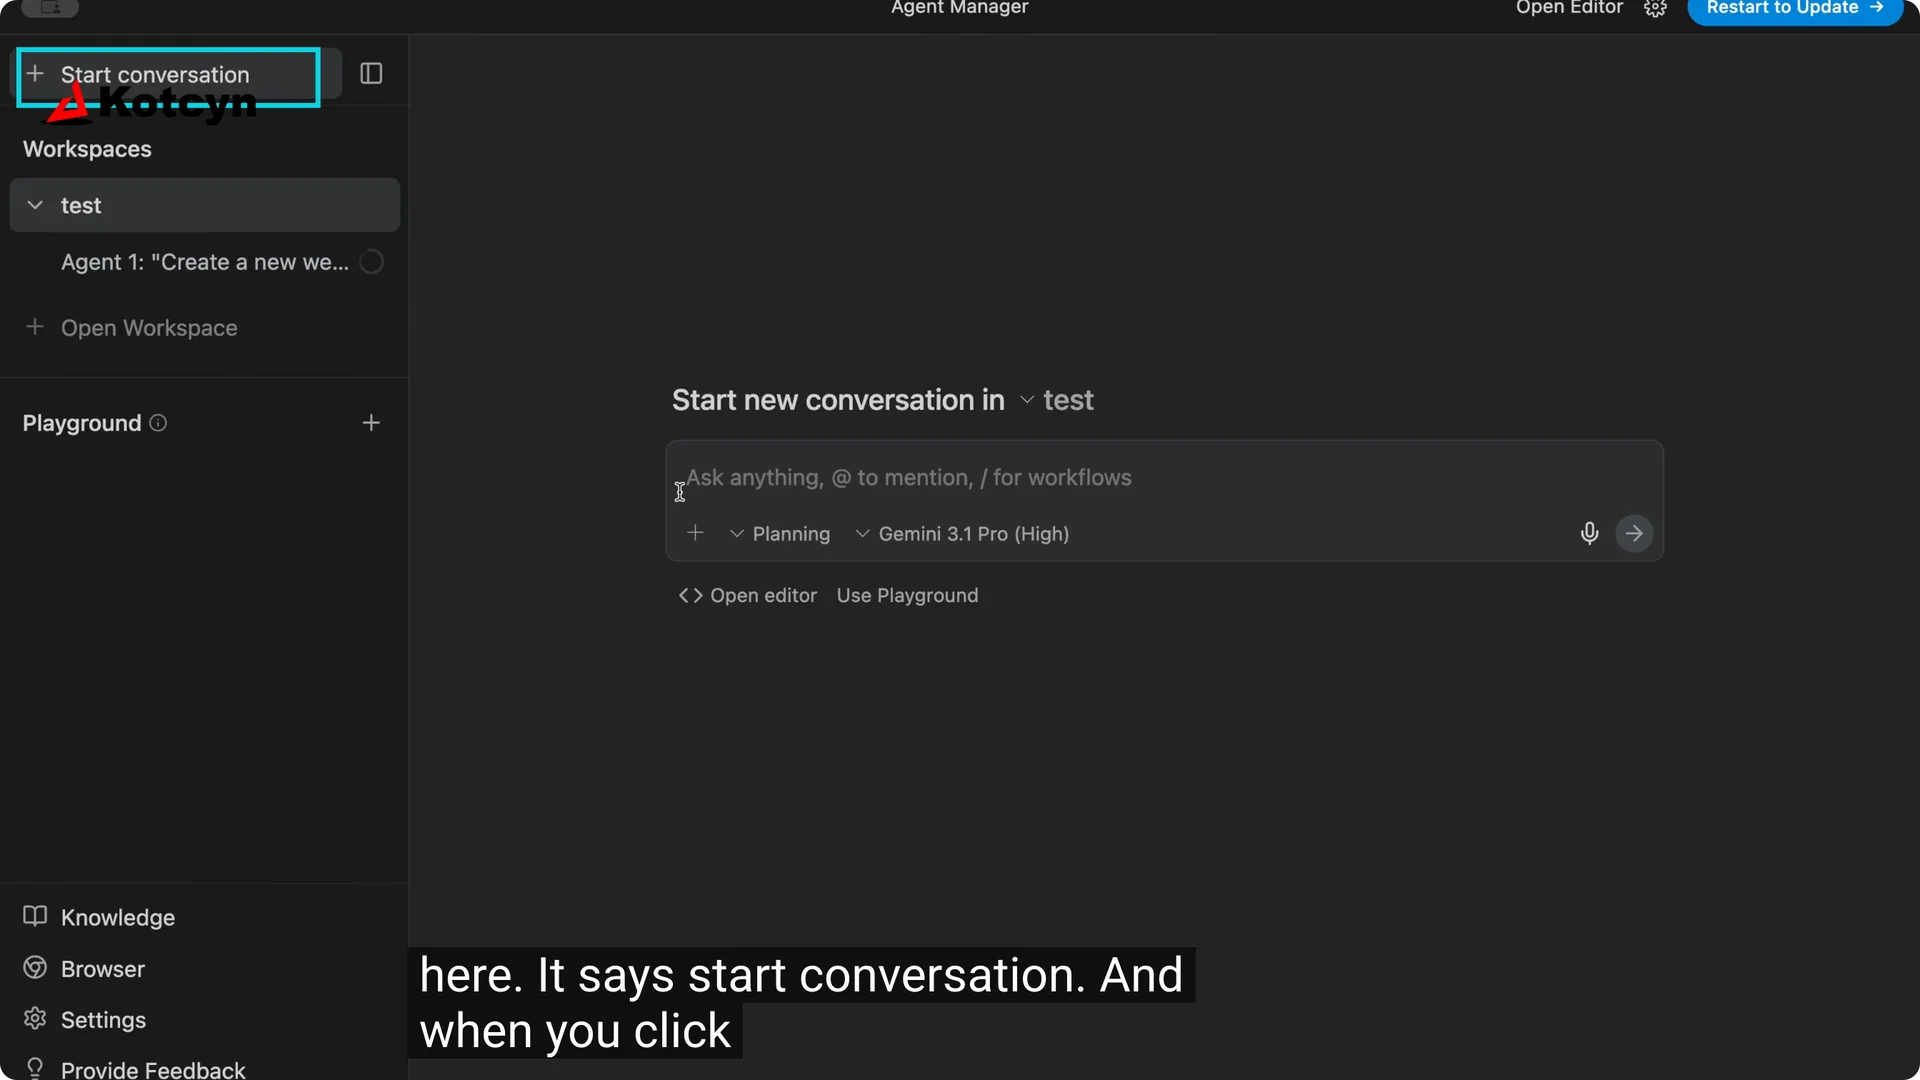
Start the first agent
I like to label them so I can show how many I have running.
I called the first one Agent 1.
For the prompt, I used: Create a new web project with automatic Cloudflare.

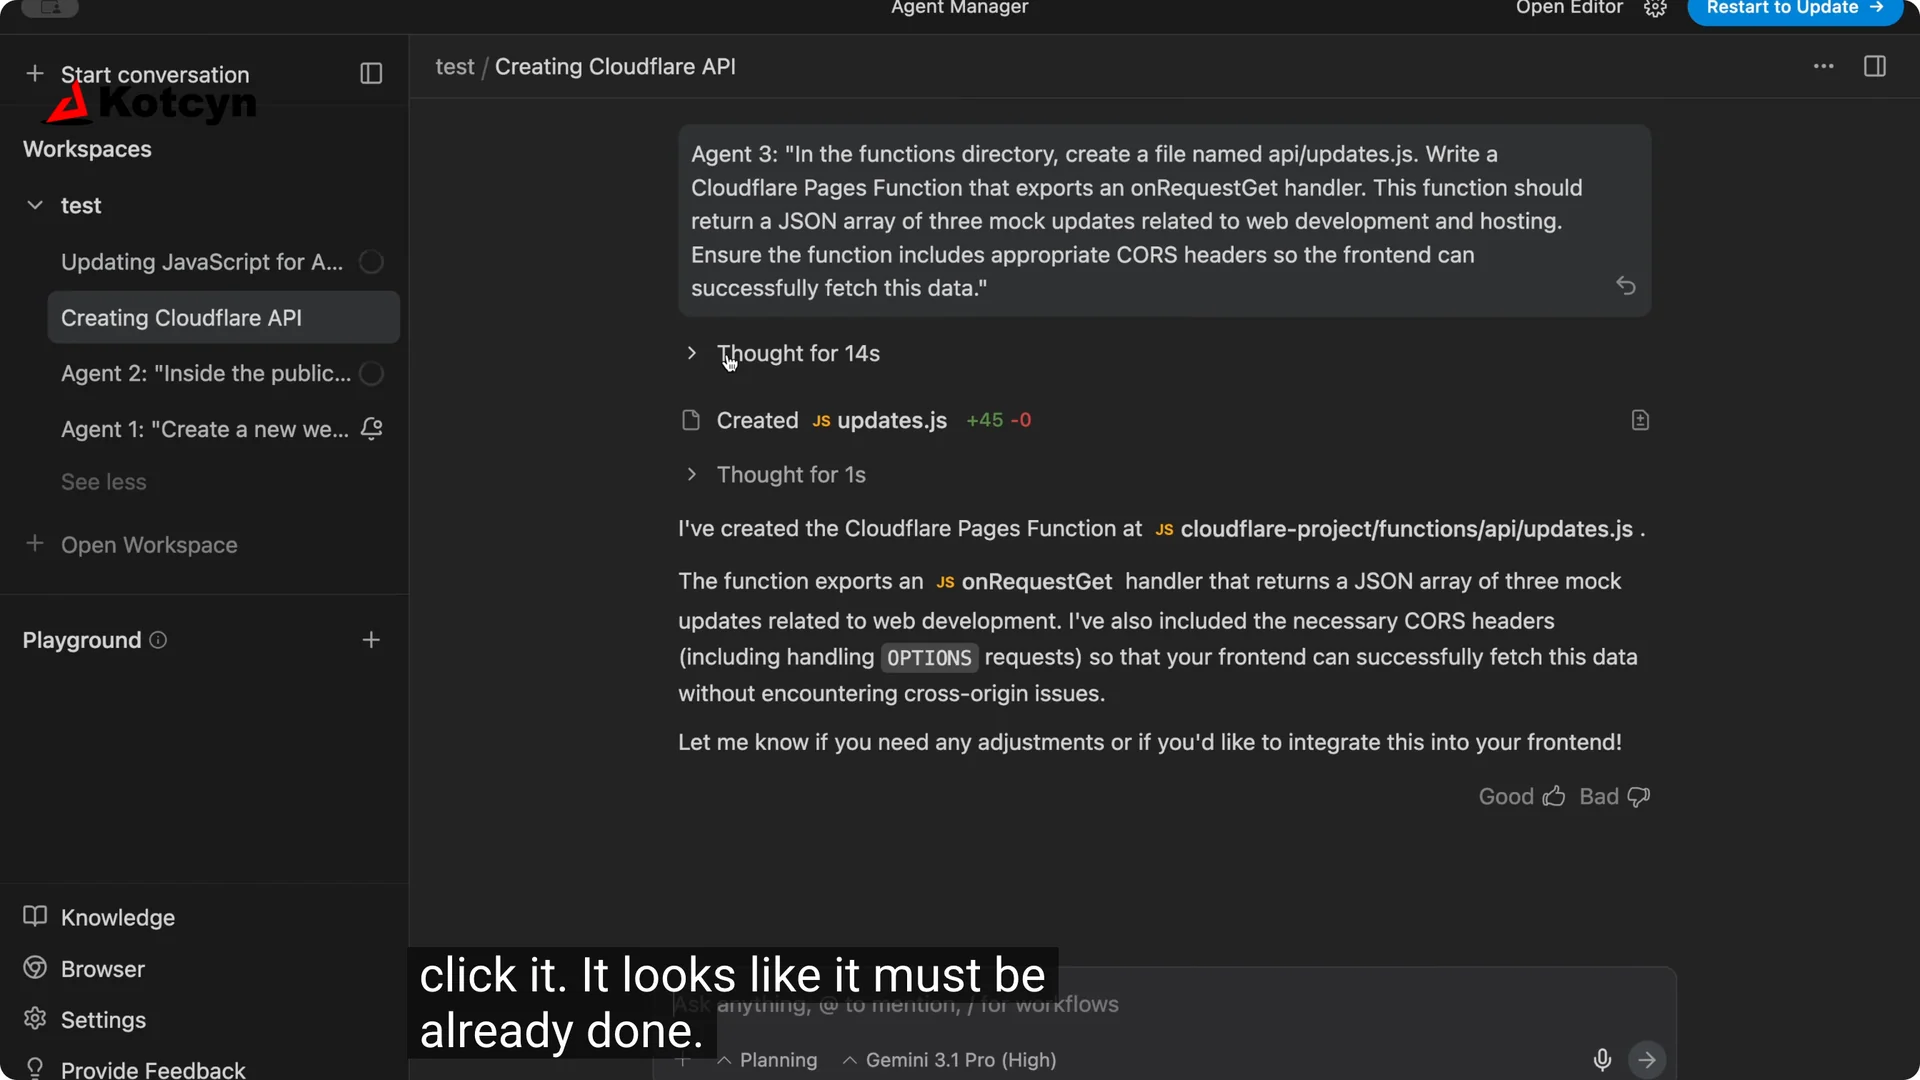
Click Send and you will see it generate. That is Agent 1 working through everything.
You are the architect here and you tell it what to do.
For stronger coding prompts and role wording, see these practical ideas in Claude code skills.
Add more agents in parallel
Go back up and click Start conversation again. It is ready for another agent prompt.
I called this one Agent 2 and clicked Start.
We now have two agents running. Click Start conversation again to add a third agent. I called it Agent 3 and clicked Send.
Just for kicks, I added a fourth to show you can put as many agents as you want. They run in parallel and handle the back end, the front end, and the parts in between.
I had four running side by side with no fuss.
If you like building in a dedicated desktop environment while you coordinate agents, this overview of the Claude Code desktop IDE is a helpful companion.
Manage notifications
Look for the little bell icon and the small blue dot. Those indicators tell you an agent needs a decision.
The blue dot can mean a step finished, and the bell means you should review and either Run or Reject.
Click the bell, read what it wants to do, and select Run.
It continues until the job is done. That is all you need to keep multiple agents moving.
Quick recap
Open Agent Manager, open your workspace, and start a conversation for each agent you want. Name them clearly like Agent 1, Agent 2, Agent 3. Approve actions from the bell when asked.
Final thoughts
That is how I start agents in Google Anti-gravity and run as many as I want in parallel. Front end, back end, and functions can all proceed at the same time. You are the boss, you set the prompts, and the agents do the work.