
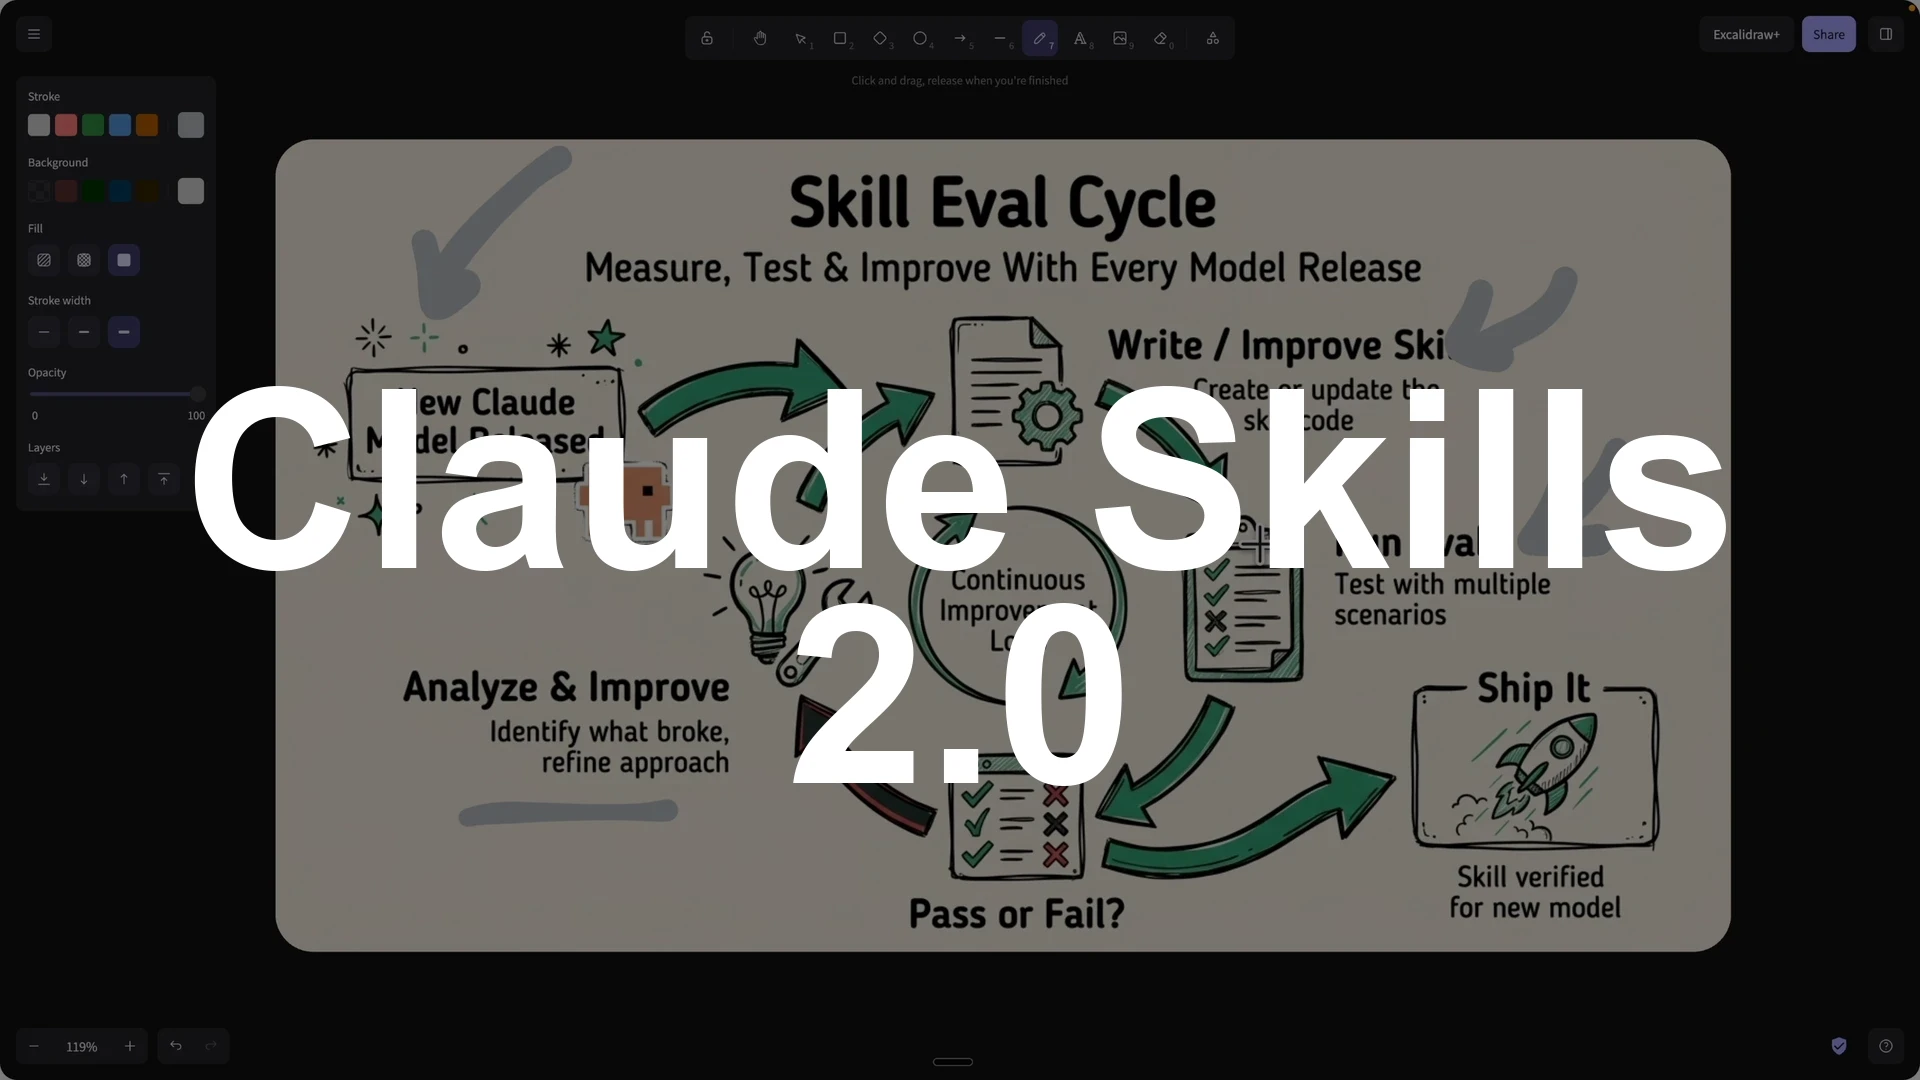
Claude Skills 2.0 adds an evaluation layer that lets you write a skill, run scenario based tests, analyze the pass or fail results, and keep improving until accuracy is high.
Use it to verify if a skill is still useful as models evolve, to reduce token spend by removing obsolete skills, and to prevent inaccurate results from outdated prompts.
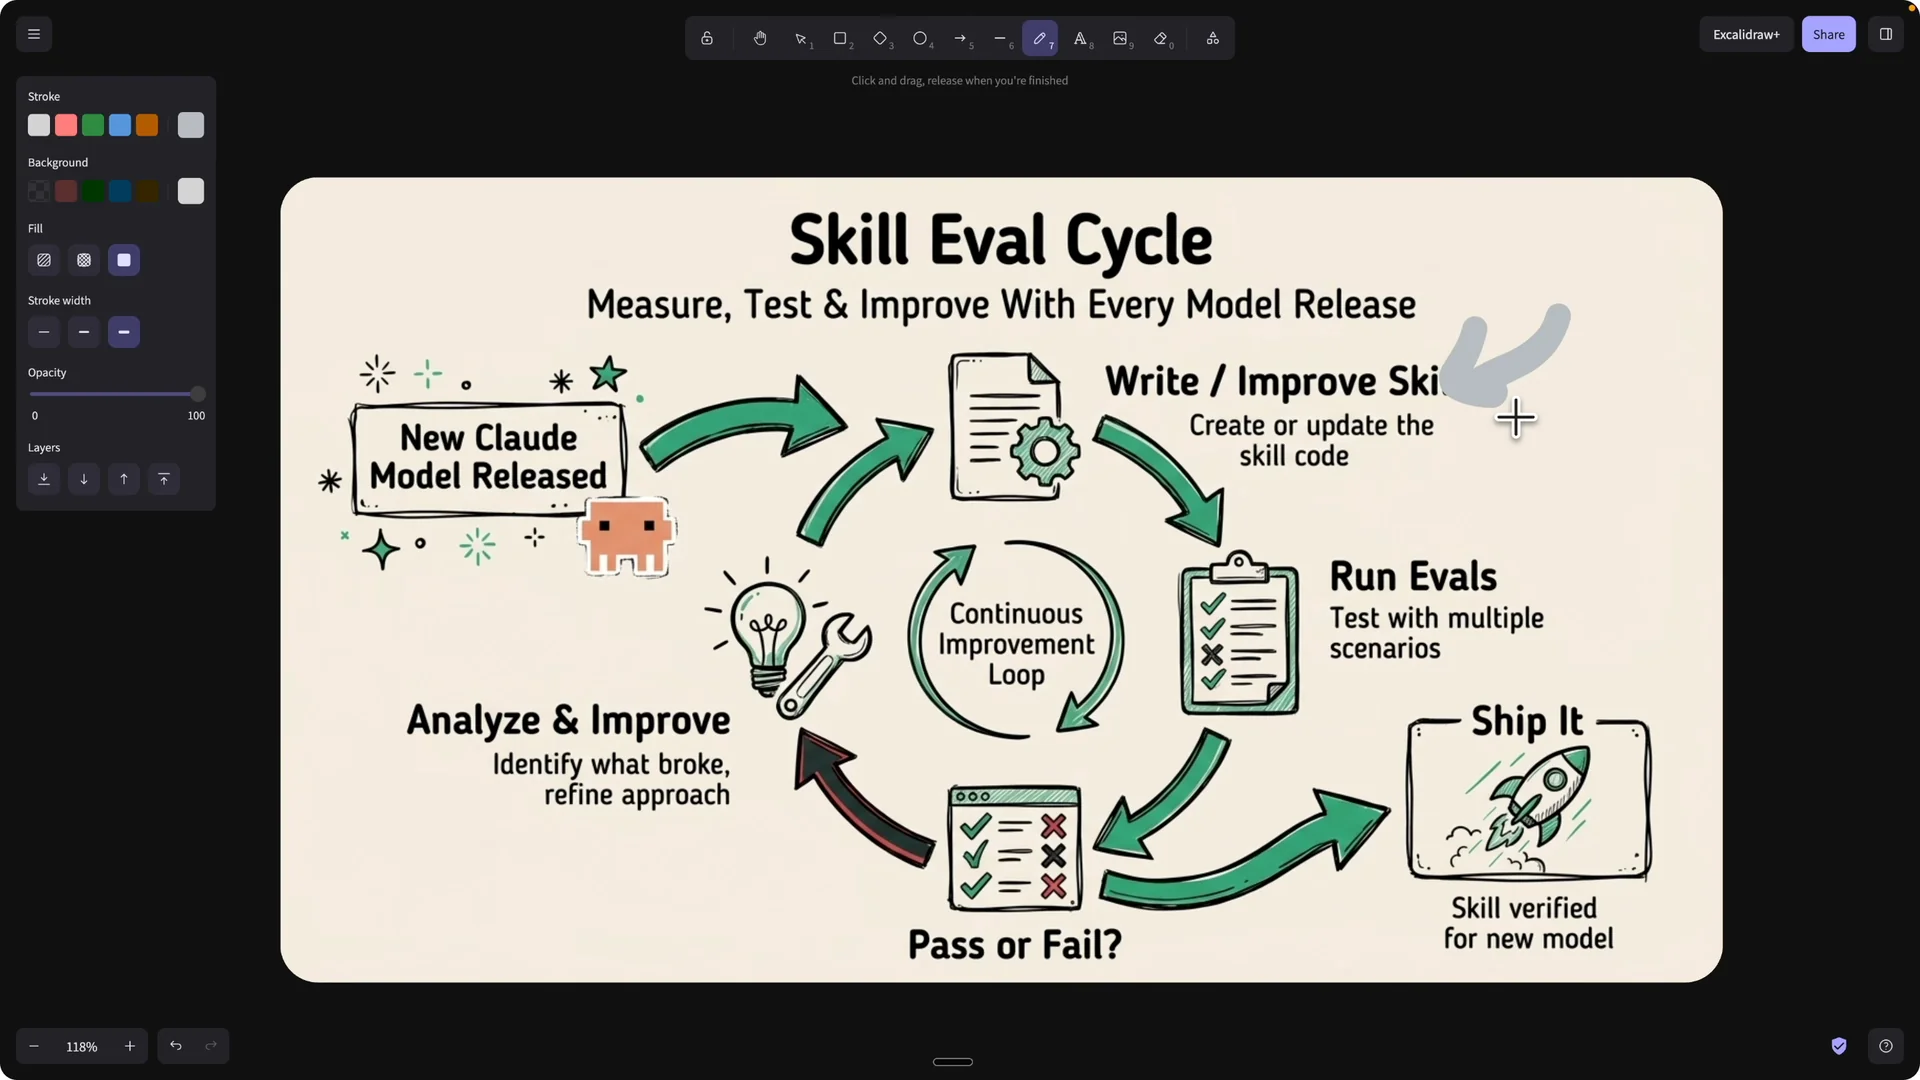
The flow is simple. Create a skill through conversation, attach a repeatable eval cycle, run tests across the scenarios you care about, and only ship the skill when the tests pass. If tests fail, analyze the misses, refine the skill or the checks, and rerun until you get consistent, high accuracy outcomes.
Why evaluate skills
We often create Claude Code skills through conversations, reuse them across projects, and share them with others. The problem starts when the model improves itself across versions like Opus 4.6 to 4.7 to Opus 5 and beyond. Skills that once added value can become obsolete, burn tokens, and even cause bad results.
You need a reliable way to tell if a skill is still needed or if the latest model already knows it.
The eval loop makes that decision measurable, repeatable, and fast.
If you are deciding where to run your stack, see this comparison of tools in context here: compare Claude Code with Antigravity.
The eval cycle
Think of it like CI and CD for skills. Every time you propose a change, you run tests like unit checks, integration checks, and end to end checks against clear pass and fail criteria.
If it passes, you ship it, and if not, you iterate until it does.
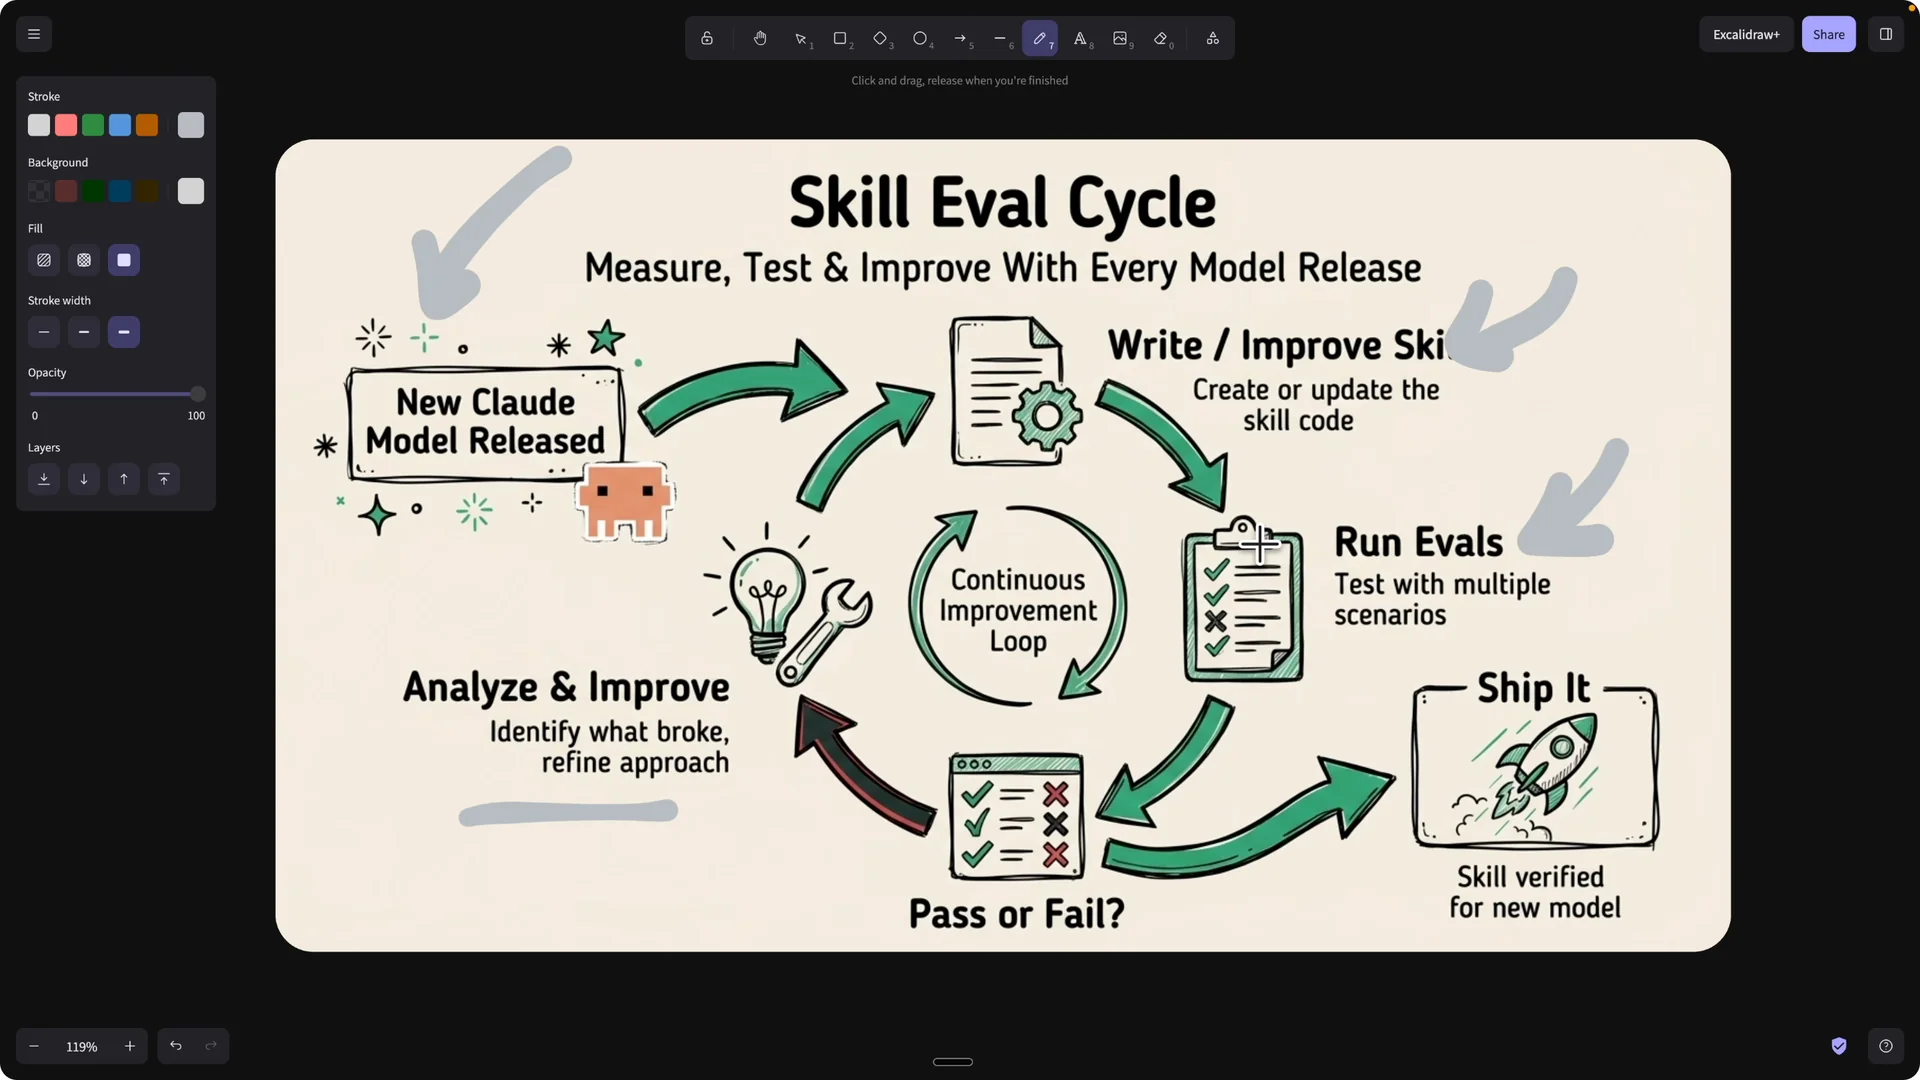
This same loop also protects you when a new model drops.
You rerun the suite, see what breaks, and use the same improvement loop to update the skill.
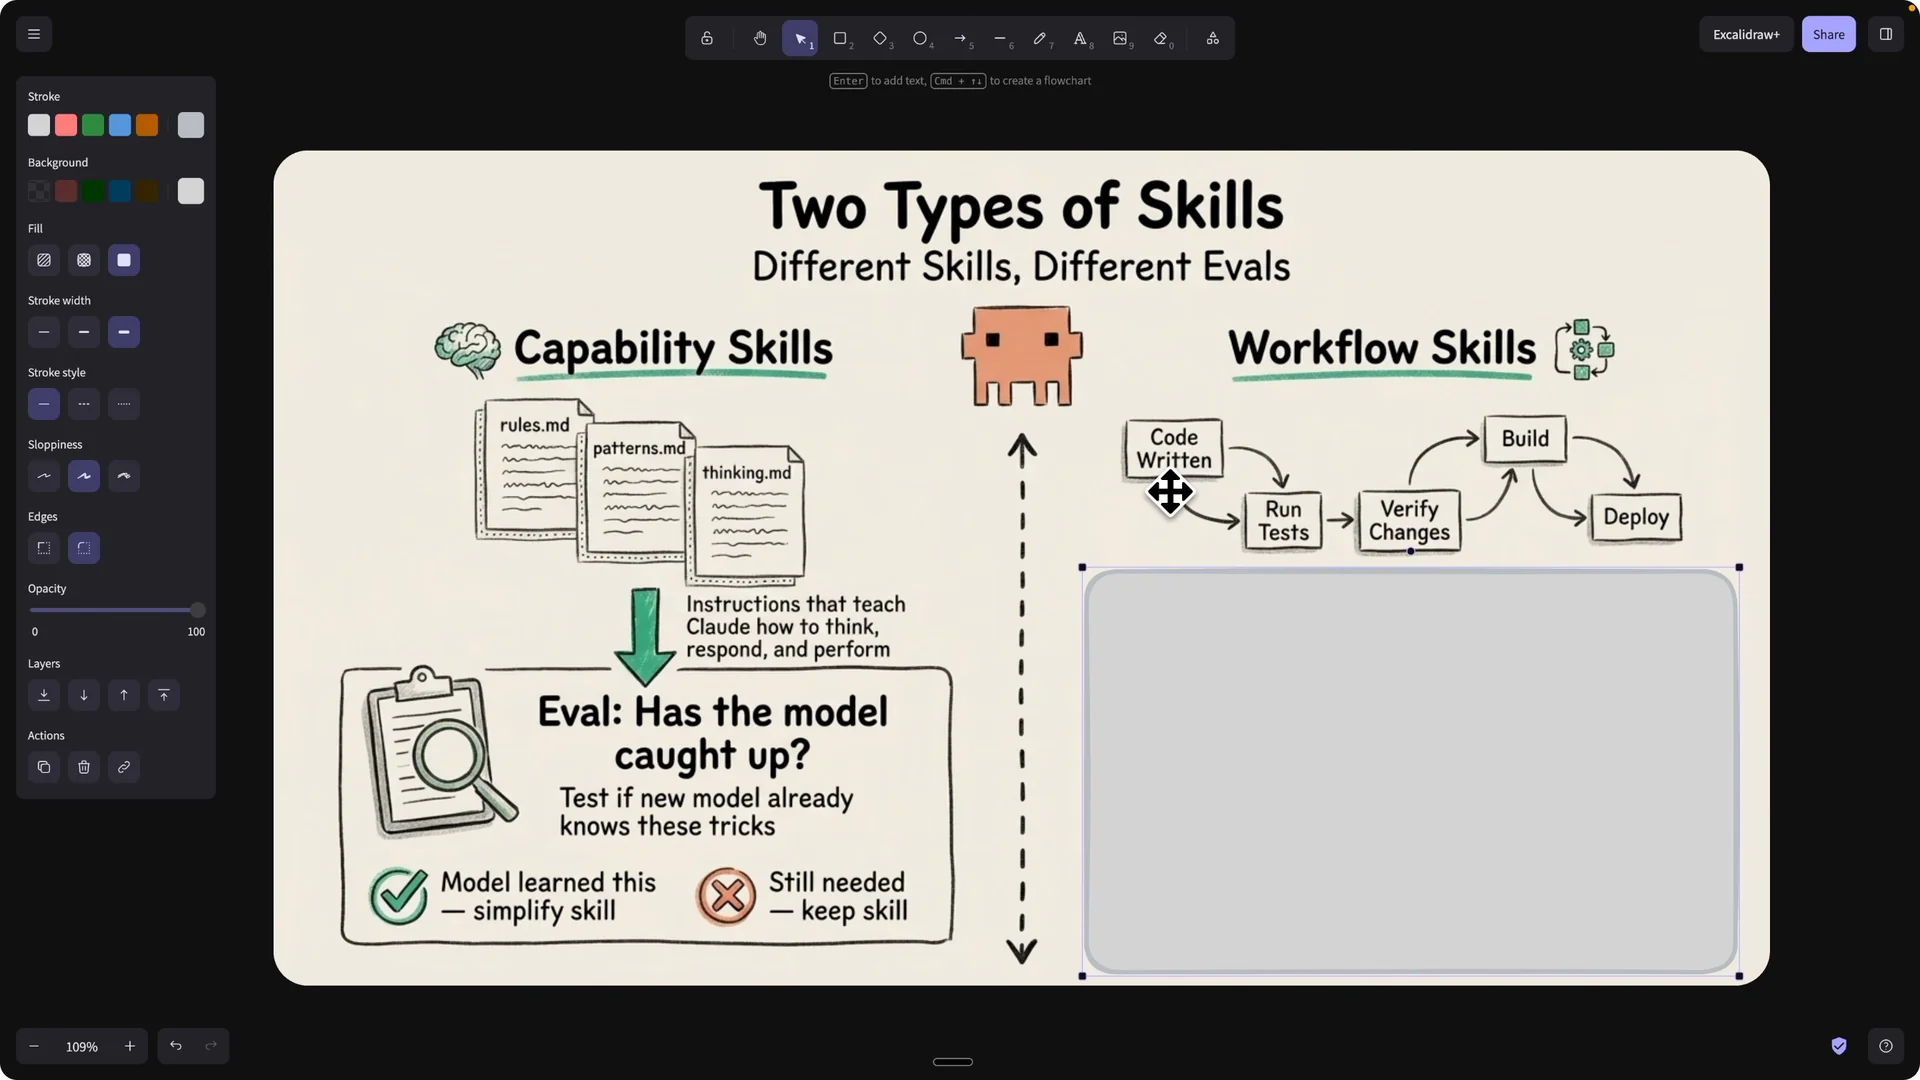
Skill types and how to test them
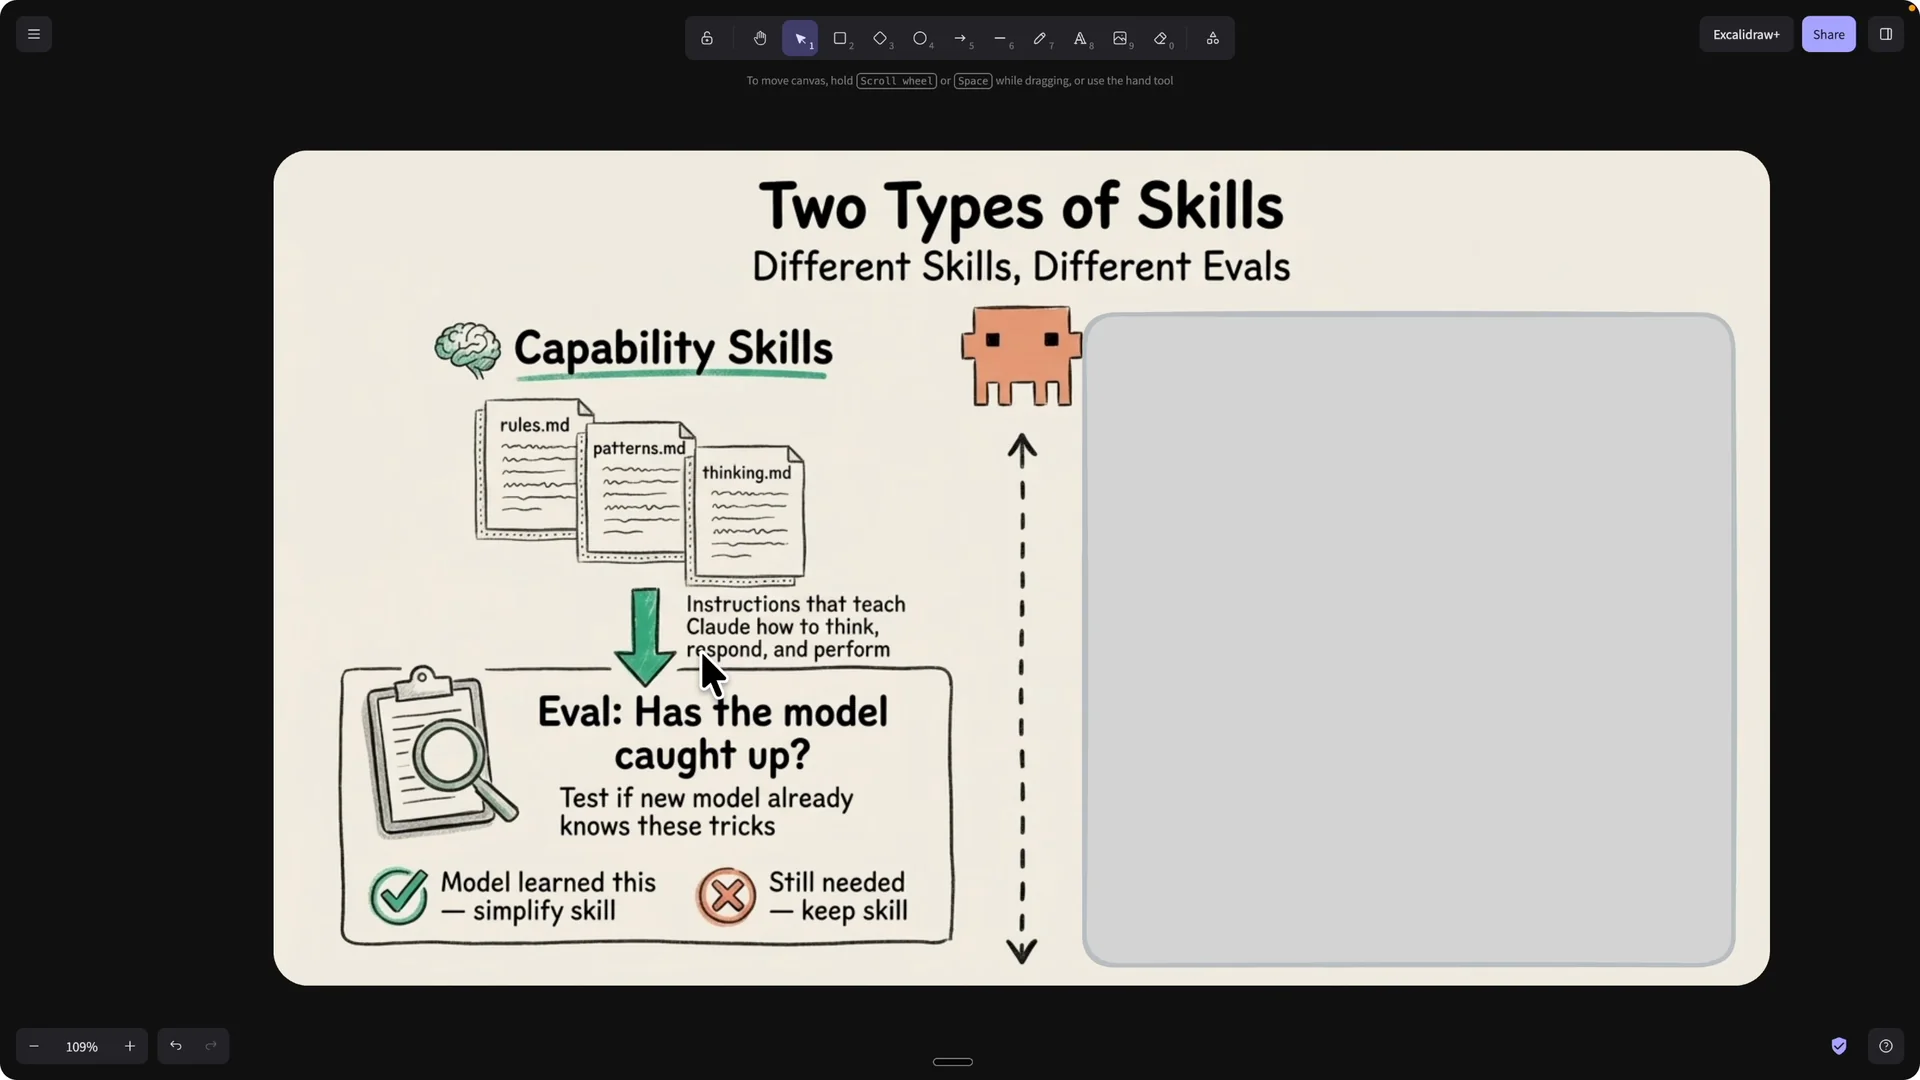
Capability skills teach Claude how to think, behave, and respond to a category of questions.
You evaluate them by probing the model to see if it has already caught up with that knowledge and by checking that the answers follow your rules and patterns.
Workflow skills automate a sequence like coding, testing, verifying, building, and deploying.
You evaluate them by comparing the workflow outputs to your expected outputs and by confirming the workflow delivers what you asked for.
Practical setup
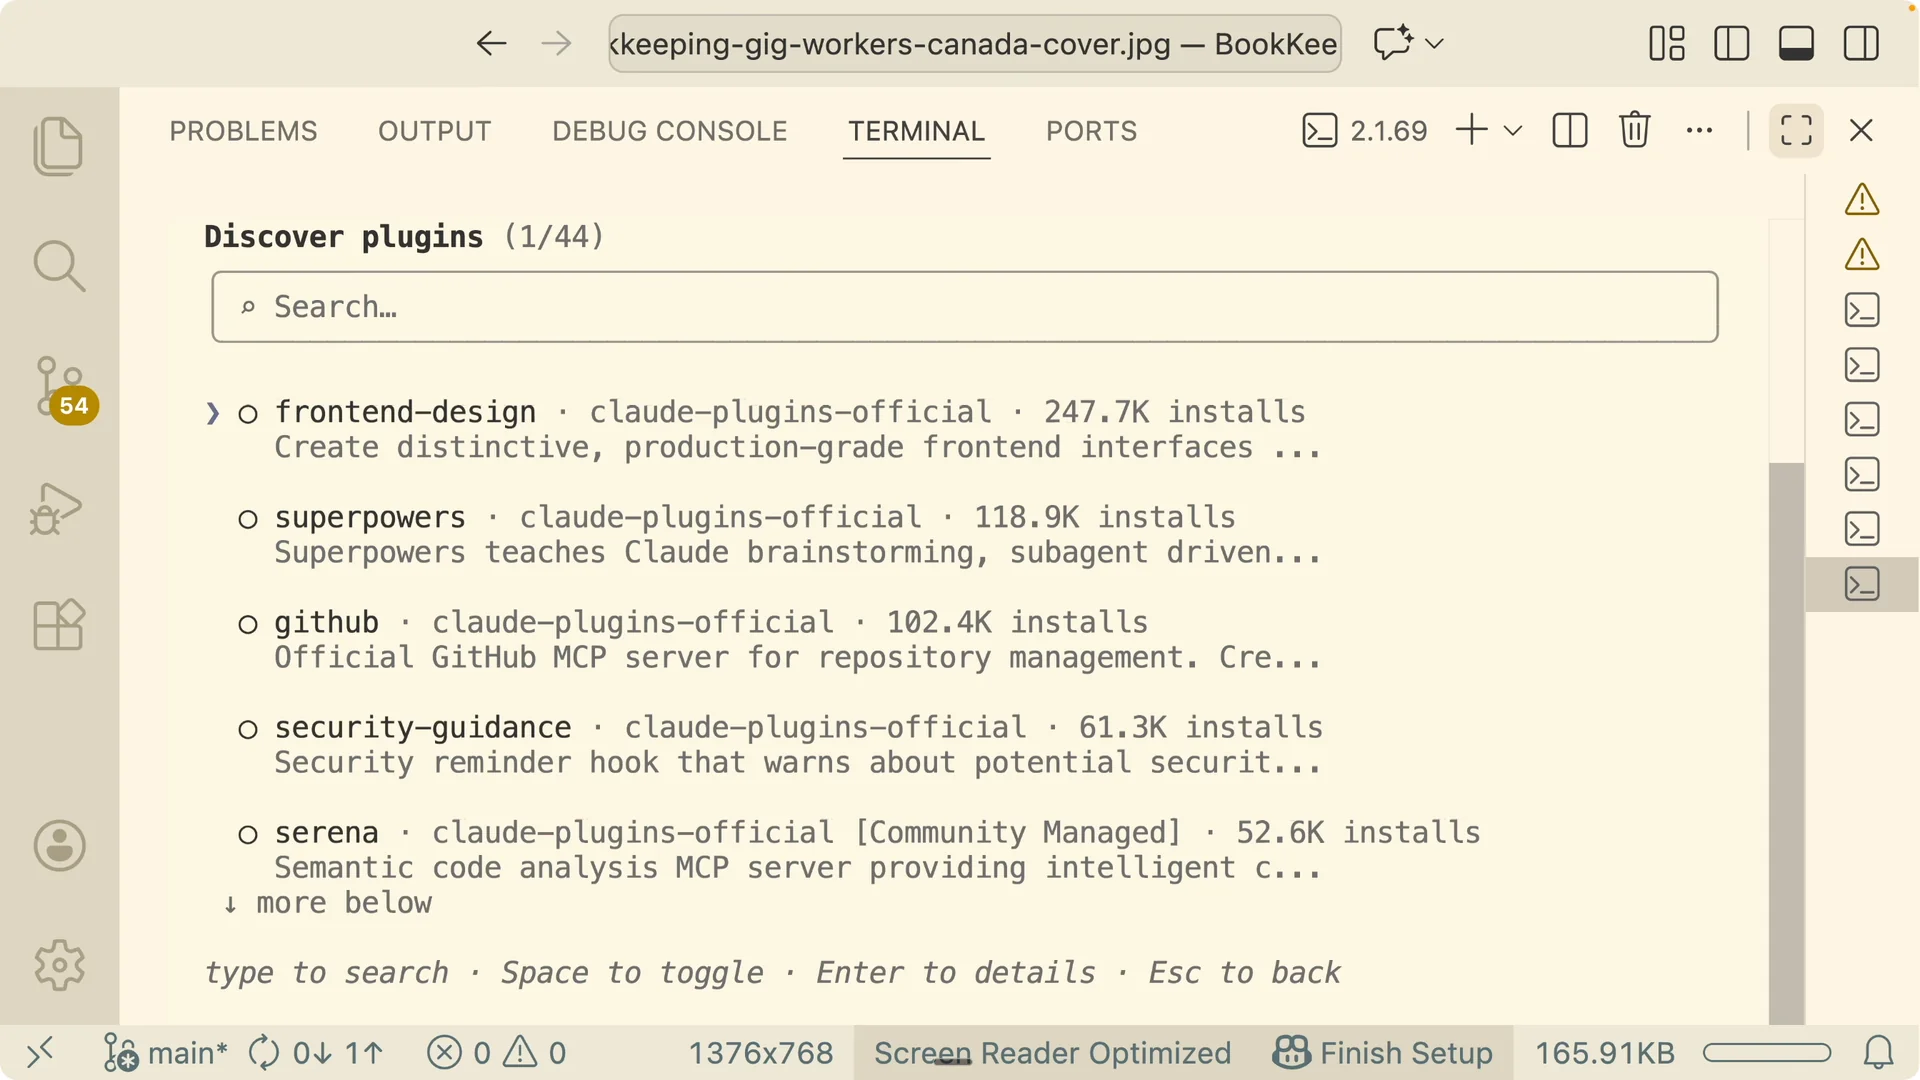
Install Skill Creator
In Claude Code, open the command box and type /plugins.
Search for Skill Creator and install it.
If you need a setup guide for your environment, this walkthrough helps: install Claude Code in Antigravity.
Define the blog image skill
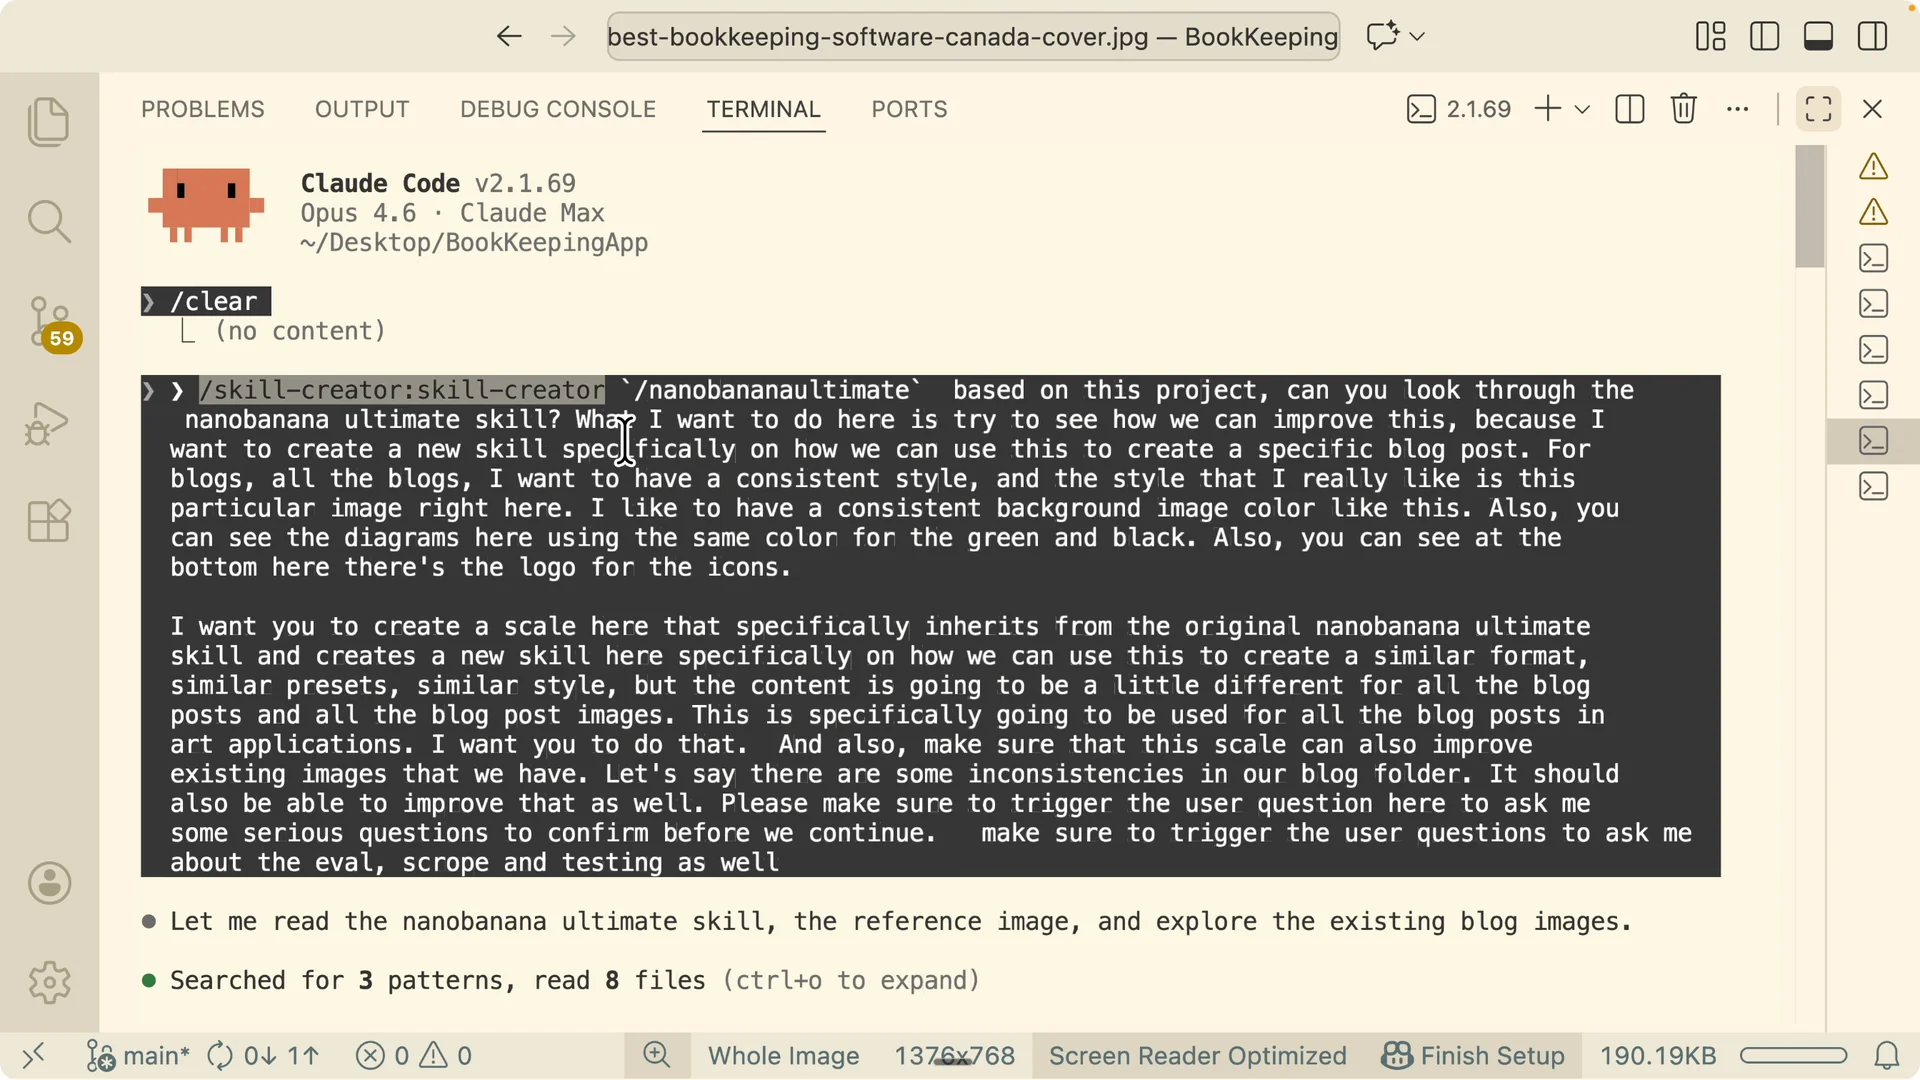
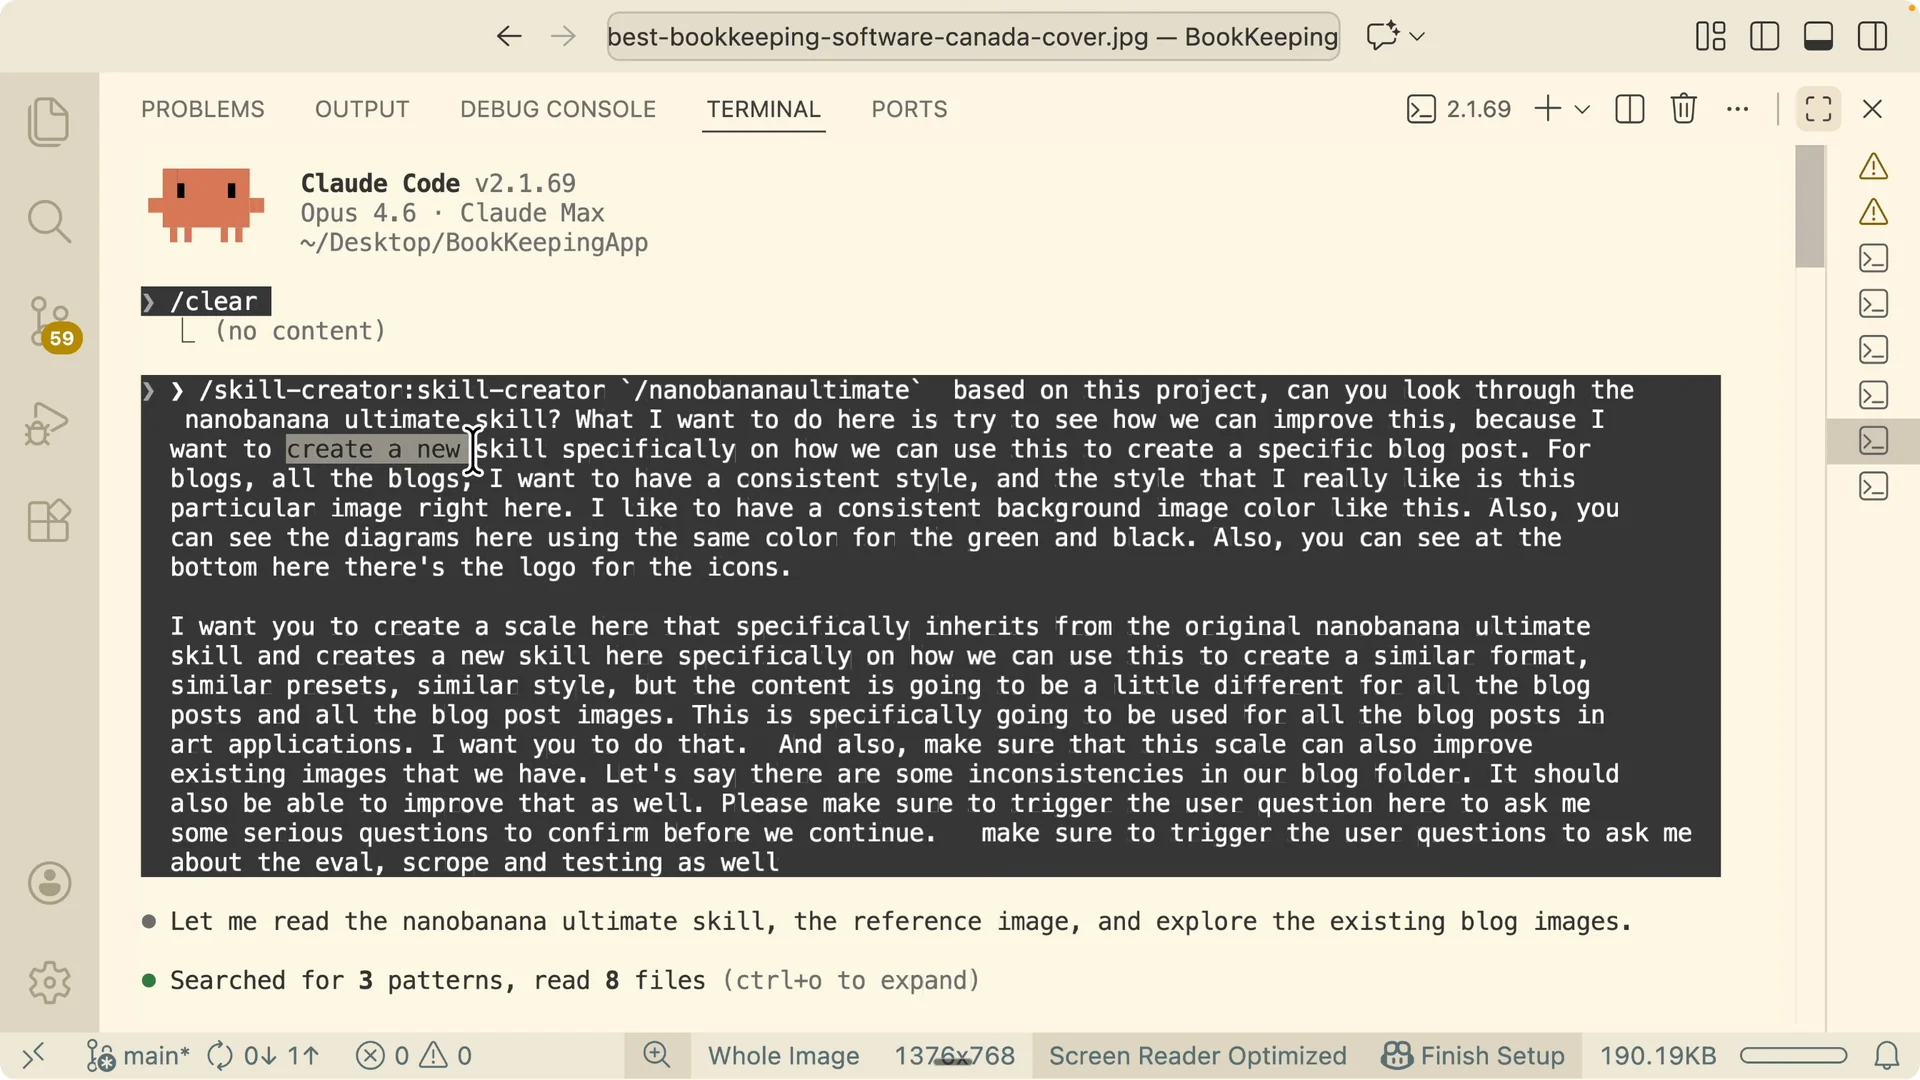
I improved my Nano Banana 2 ultimate skill by creating a new skill focused on blog images.
It inherits the parent actions for generate image and edit image but narrows the scope to keep a consistent blog style.
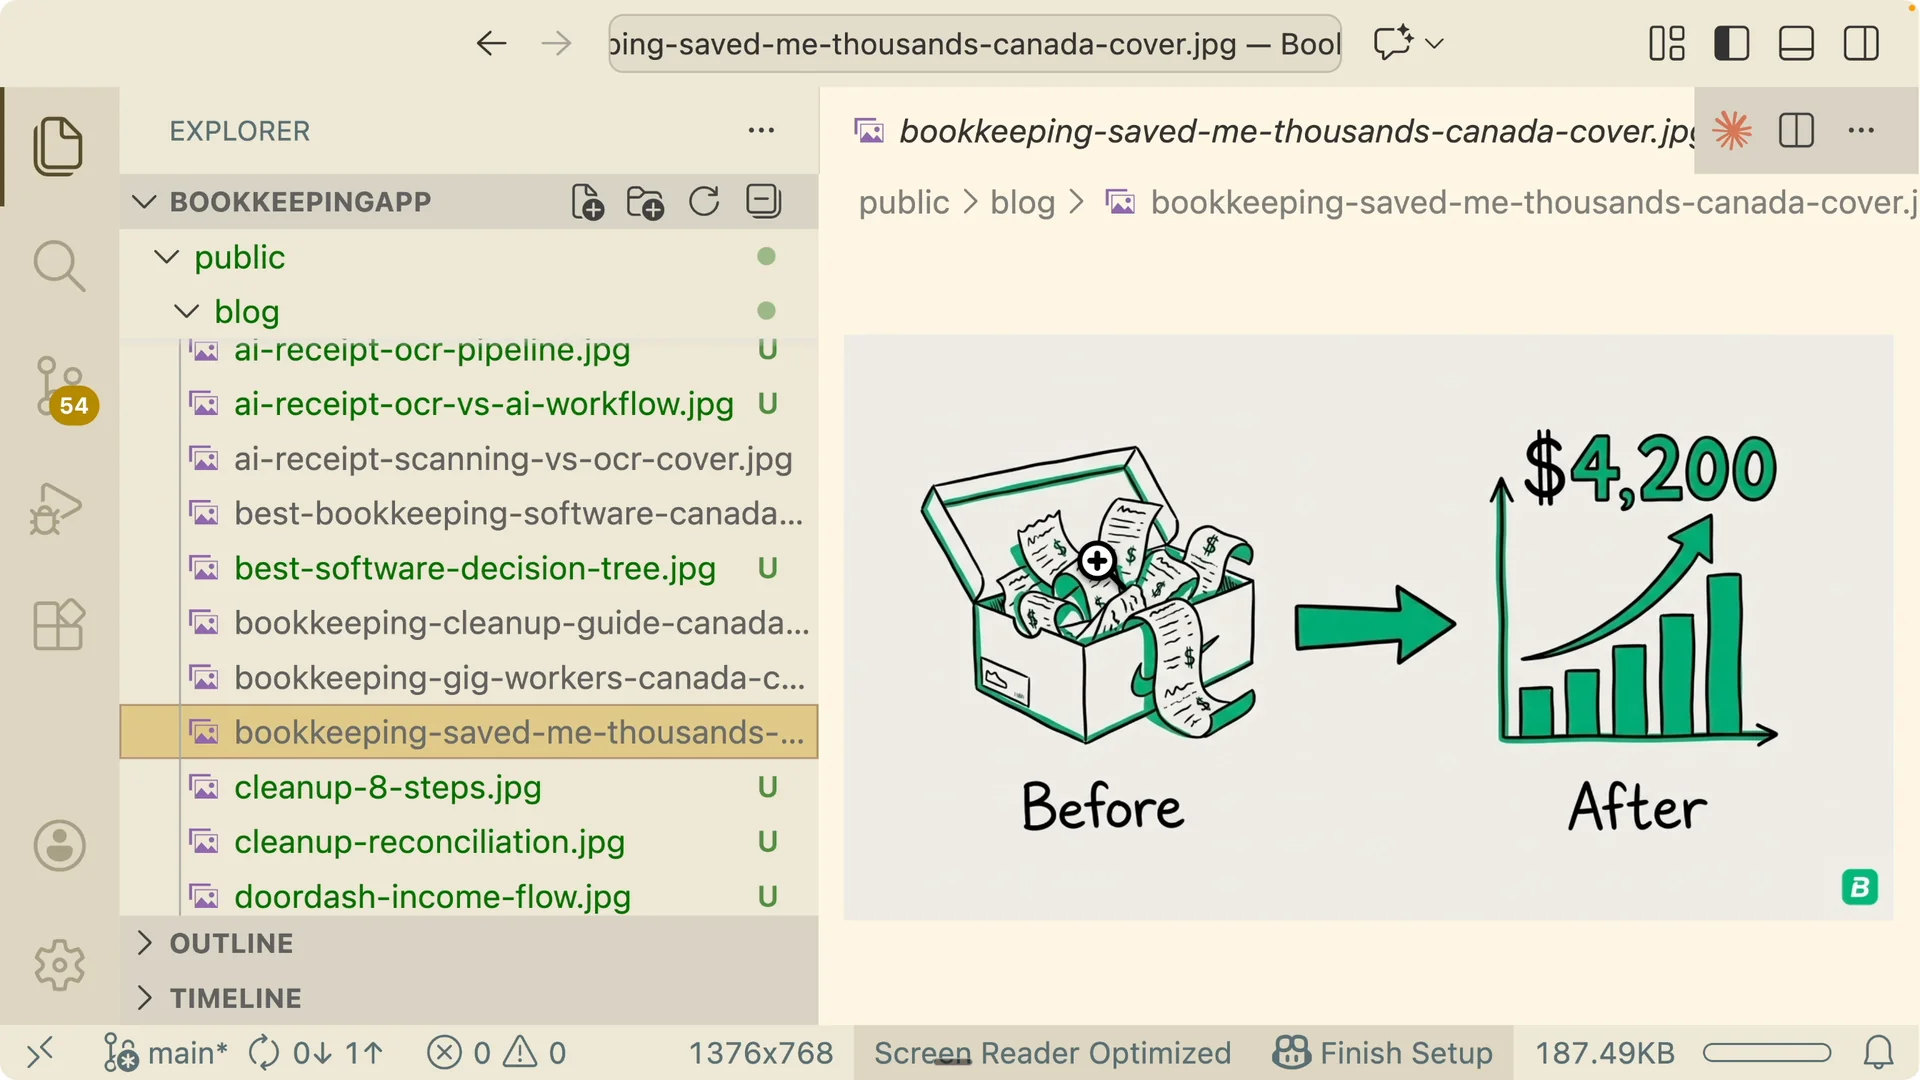
The goal is consistent backgrounds, clear text, and a clean layout so the images match across posts.
Style consistency is the key metric.
Establish scope and criteria
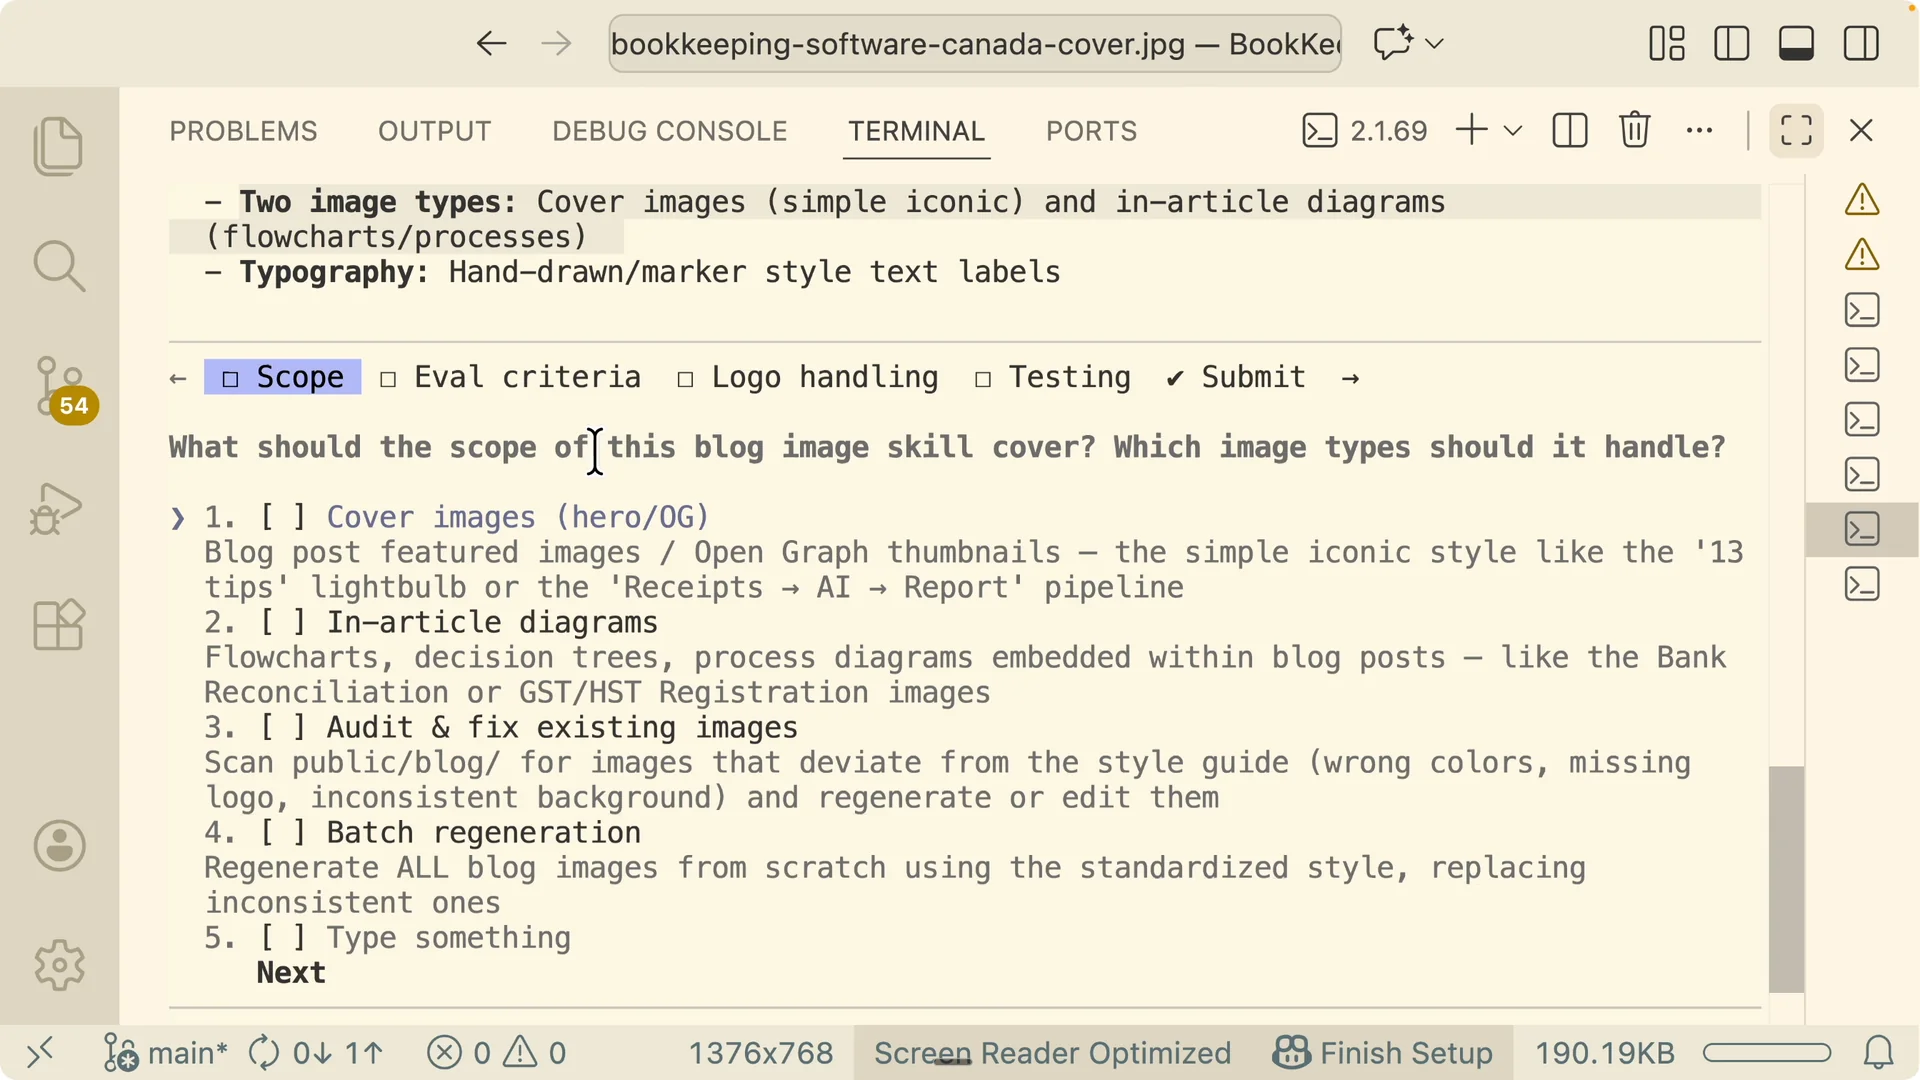
I set the scope to cover images, in article diagrams, fixes to existing images, and batch regenerations.
This keeps everything for blog visuals under one skill.
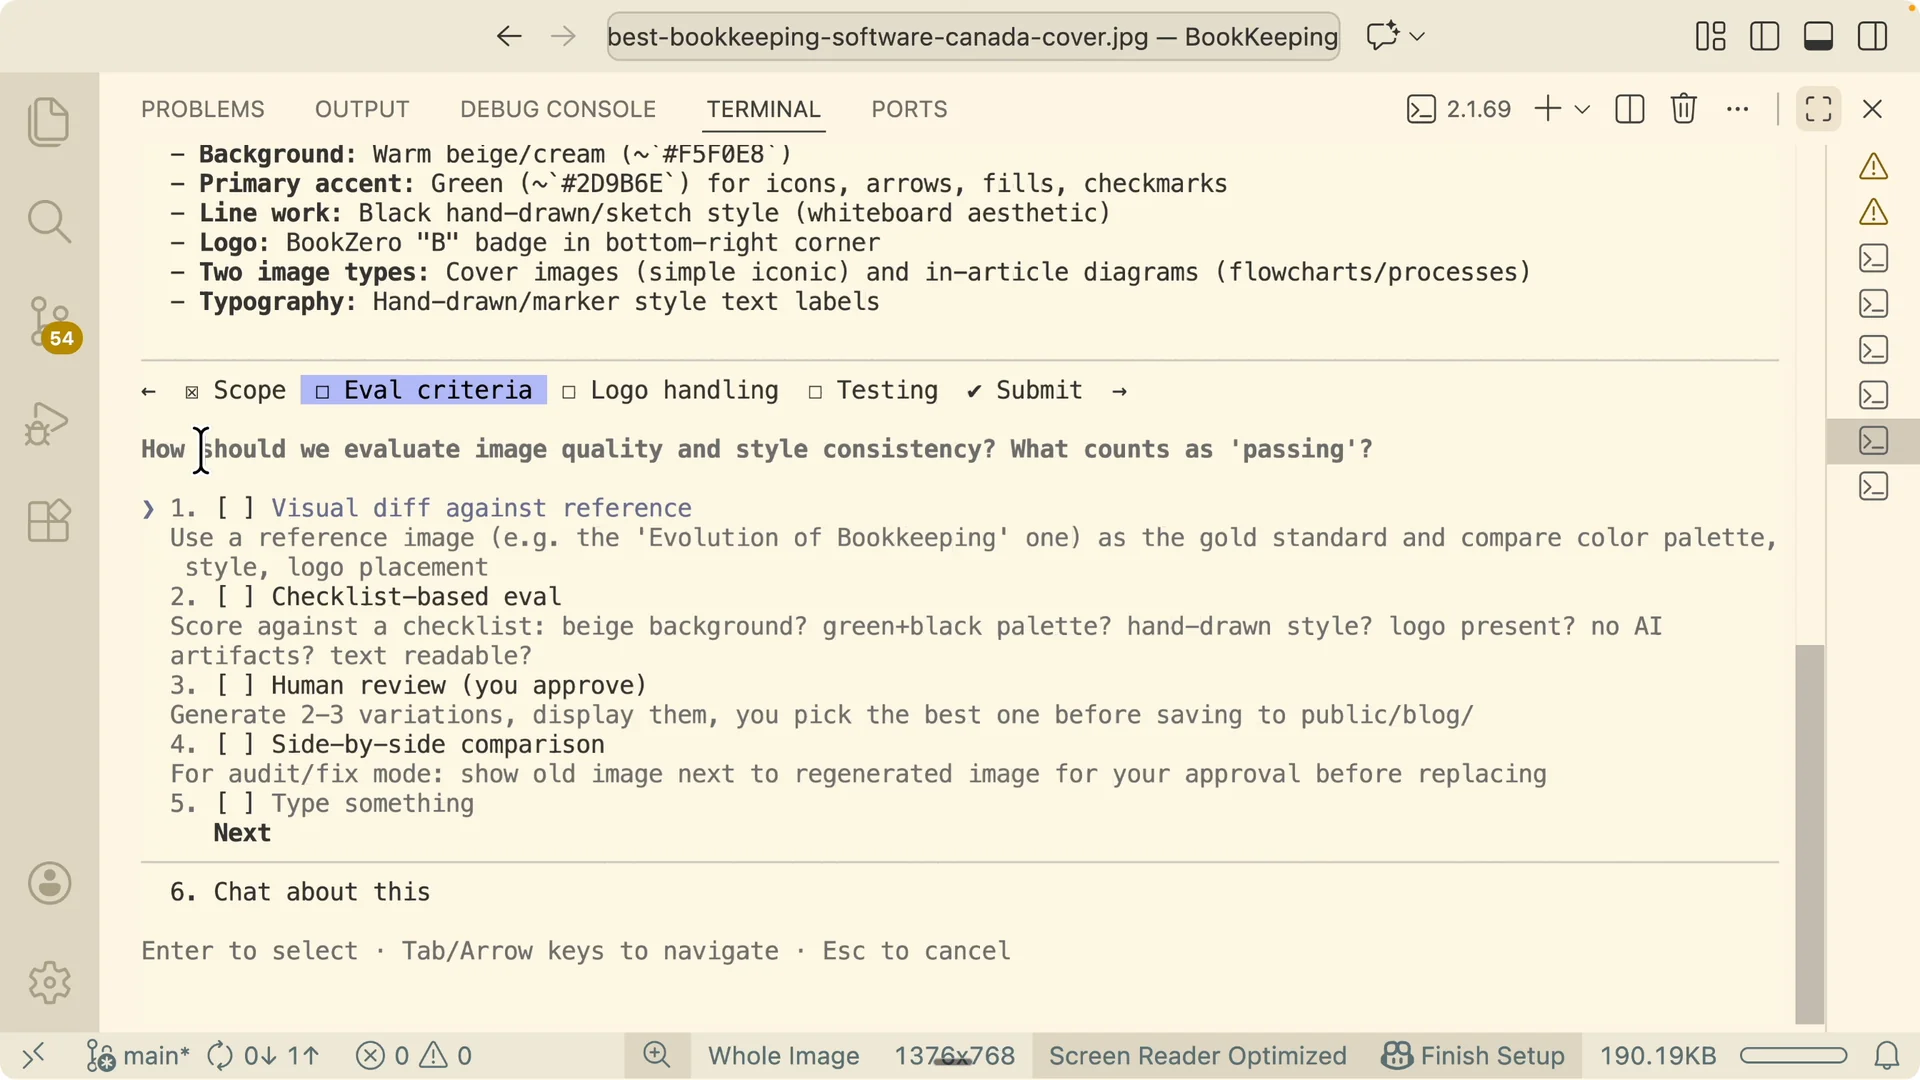
For evaluation, I used visual difference against a reference image as a golden standard, a checklist for backgrounds, green and black palettes, and a hand drawn look, and a human in the loop that generates two to three variations so I can pick the best one.
A side by side view is optional.
Logo handling
The skill asks how to place the logo in the bottom right corner.
I chose to generate the image without a logo, then compose the overlay programmatically with Python Pillow to guarantee consistent placement and reduce token spend.
Baking the logo into the prompt can cause hallucinations, so a programmatic overlay is more reliable. Consistent placement beats prompt guessing.
Verification plan
I enabled a dry run to validate prompts before calling tools. I also tested with one blog post to verify the flow and compared the images to the current ones.
An auto report scans the blog folder, shows what passed, and flags what needs fixing. I skipped cost and budget controls for this run.
Skill generation and inherited actions
After submitting the setup, the tool generated the Blog Image Generator skill.
It lives in its own folder, inherits generate image and edit image from the Nano Banana 2 ultimate skill, and composes the logo through Pillow.
The test suite was created with commands and instructions for running evaluations.
You never touch the test folder during runs and you pass a test flag or an output tag to send results to a temp path.
Tests and commands
Use the dry run mode to validate prompts and style compliance without calling the API. A python run command can mock the API, verify the right prompts are called, and write results to a temp folder.
There is also an audit of existing images that shows what passed and what failed, then produces coverage. The generated test commands make this reproducible.
Run the dry run and audit
I asked Claude to run the dry run for cover images and diagram images, and both worked. Seven of seven style checks passed.
I then audited all existing images. Ninety two of ninety three passed. For the one that failed, I prompted fixes, improved the skill, adjusted the checks, reran the tests, and got all green.
If you want a broader library of reusable ideas, this collection points you to patterns that work: a curated list of strong Claude Code skills.
Iterate with new requirements
Later I tightened the requirements and reran the suite. Forty four images failed under the new checks and nineteen were clean.
I asked for the exact lists of passing and failing files so I could label them. After I confirmed which ones were wrong, the tool understood the difference between good and bad.
Strengthen the checks
It added new checks for background color and background uniformity such as detecting a green paper texture. I did not write code for this. I just defined cases through prompting and it embedded the rules in the evaluation.
I approved the plan and it updated the skill and the audit thresholds.
Self fixing loop
It proposed a small test batch to verify the prompts. It picked five failing tests, regenerated images, audited them against the threshold, and kept fixing until they passed.
The regenerated images had a cleaner look with a clear bottom right logo. I asked it to perfect all remaining failures and it finished with sixty three of sixty three images passing with consistent white backgrounds.
Step by step
1. Open Claude Code and install Skill Creator with the /plugins command. Confirm it is installed.
2. Initialize a new blog image skill that inherits from your Nano Banana 2 ultimate skill. Narrow the scope to blog images.
3. Define evaluation criteria using a reference image, a checklist for style, and a human pick of two to three variations. Keep the side by side view optional if you do not need it.
4. Choose programmatic logo placement with Python Pillow for a guaranteed bottom right placement. Skip baking the logo into the prompt.
5. Enable a dry run and test a single blog post. Add the auto report to scan the blog folder for pass and fail status.
6. Generate the skill and accept the tests. Use the provided test flag or output tag to write results to a temp path and run the python run command for audits.
7. Review the report, label passing and failing images, and explain what makes a good result. Ask Claude to add checks for any misses such as background color and uniformity.
8. Approve threshold updates and run a small test batch. Let it regenerate failing images and audit again.
9. Expand to the full set of images and rerun until all tests pass. Commit changes once the results are clean and consistent.
Tips to reduce tokens and errors
Remove skills that the latest model already knows so you do not pay tokens to trigger them. This also reduces hallucinations by clearing irrelevant instructions from context.
Prefer programmatic overlays for logos and similar elements. Dry run your prompts before hitting tools, and keep a human choice for final image selection to lock style.
Final Thoughts
Claude Skills 2.0 gives you a measurable loop to write, test, and improve skills until they meet strict accuracy standards. Use reference based checks, programmatic overlays, dry runs, and human picks to keep style tight and costs under control. Keep the loop running as models evolve and your skills will stay current, consistent, and efficient.