MOS TTS Nano is a multilingual text to speech tool with realistic voice quality that runs smoothly on a basic CPU. It supports more than eight languages, offers built in voices, and can clone your voice from a short 10 second sample for natural sounding speech. Here is the exact way to install it on Windows and launch the local interface with zero GPU.
Install Anaconda, create a Python 3.10.11 environment, set up FFmpeg, Visual Studio Build Tools, eSpeak, and Git, then clone the official repository from
GitHub. Inside the project folder, install requirements, fix any conflicts by removing torch and transformers from the requirements file, install CPU torch and a stable transformers version, then run the main script to open the local URL in your browser. You can select a built in speaker or upload a 5 to 10 second wav sample, type your text, and click generate to hear results in real time.
Key capabilities
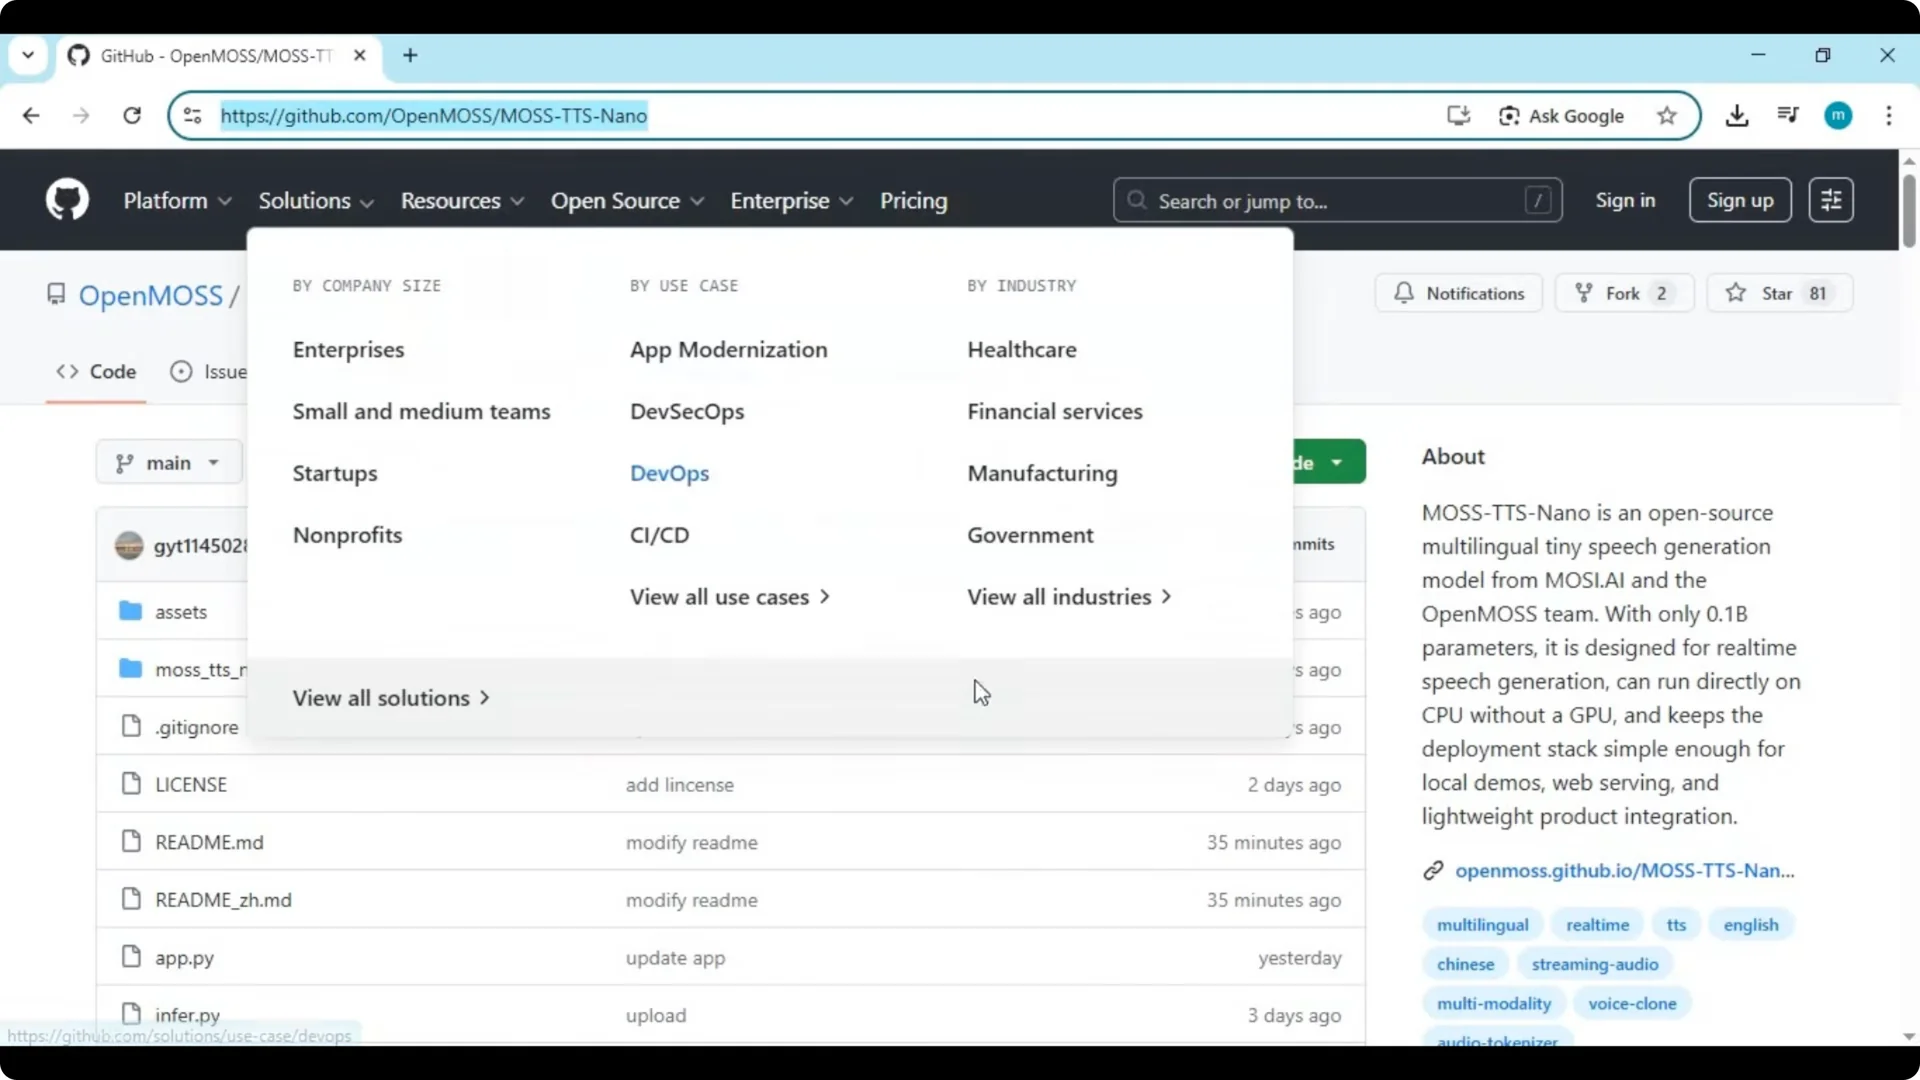
MOS TTS Nano is lightweight at about 0.1 billion parameters and runs on a simple CPU with smooth performance. The voice quality is impressively realistic for content creators, developers, and voice projects.
It does not need any graphics card.
It supports multiple languages and gives you built in voices or the option to upload a short 5 to 10 second voice sample. The cloned output sounds natural.
This makes quick prototyping and production use practical on modest hardware.
If you also work with tiny models for creative work, see our notes on nano scale workflows in this quick overview of
Claude Code Nano Banana AI images.
Prerequisites on Windows
Install Anaconda and ensure you have Python 3.10.11 available for the environment. Install Git for Windows to clone the repository. Set up FFmpeg, Visual Studio Build Tools, and eSpeak NG.
Confirm FFmpeg and eSpeak are in your PATH. Open a new terminal and run:
ffmpeg -version
espeak --version
Both commands should print version information.
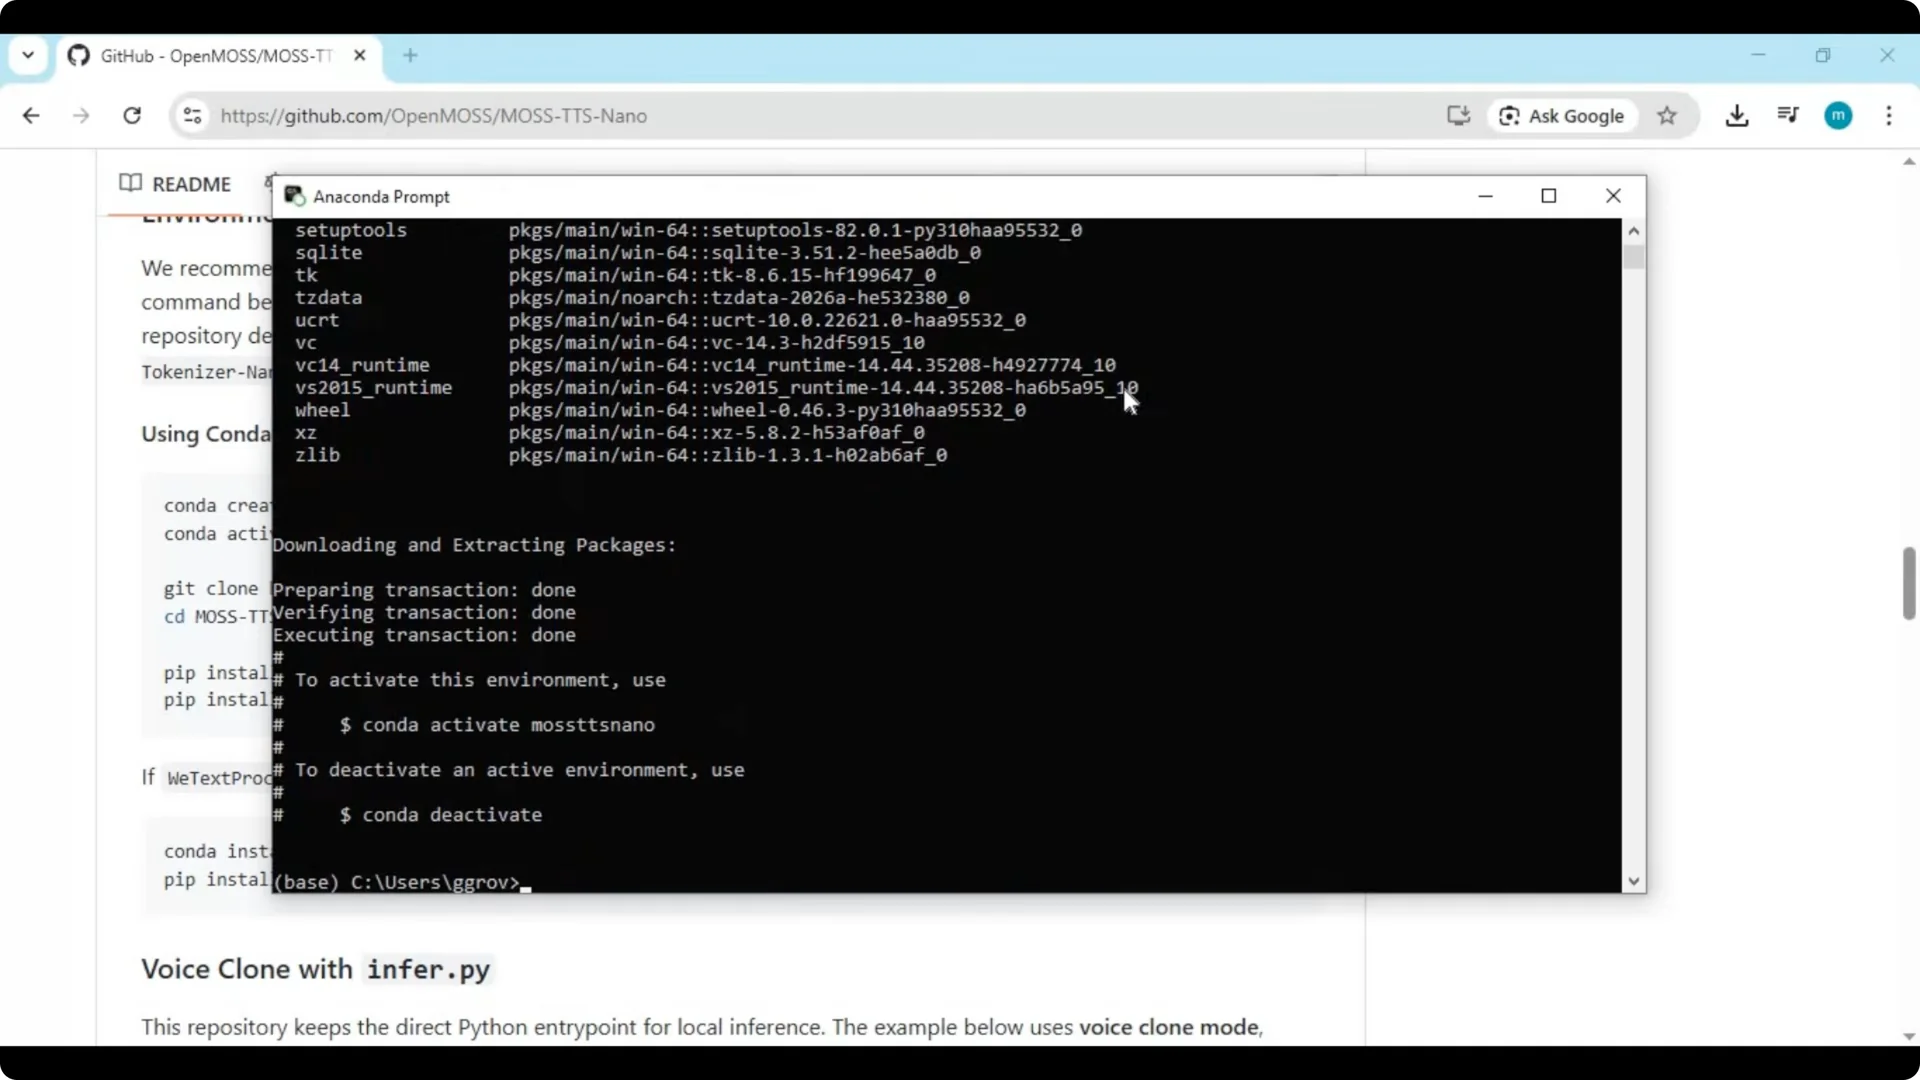
Create the Conda environment
Create the environment and activate it. You can choose a different name if you prefer.
conda create -n mos-tts-nano python=3.10.11 -y
conda activate mos-tts-nano
After the environment is created, always activate it before working with the project.
Get the source code
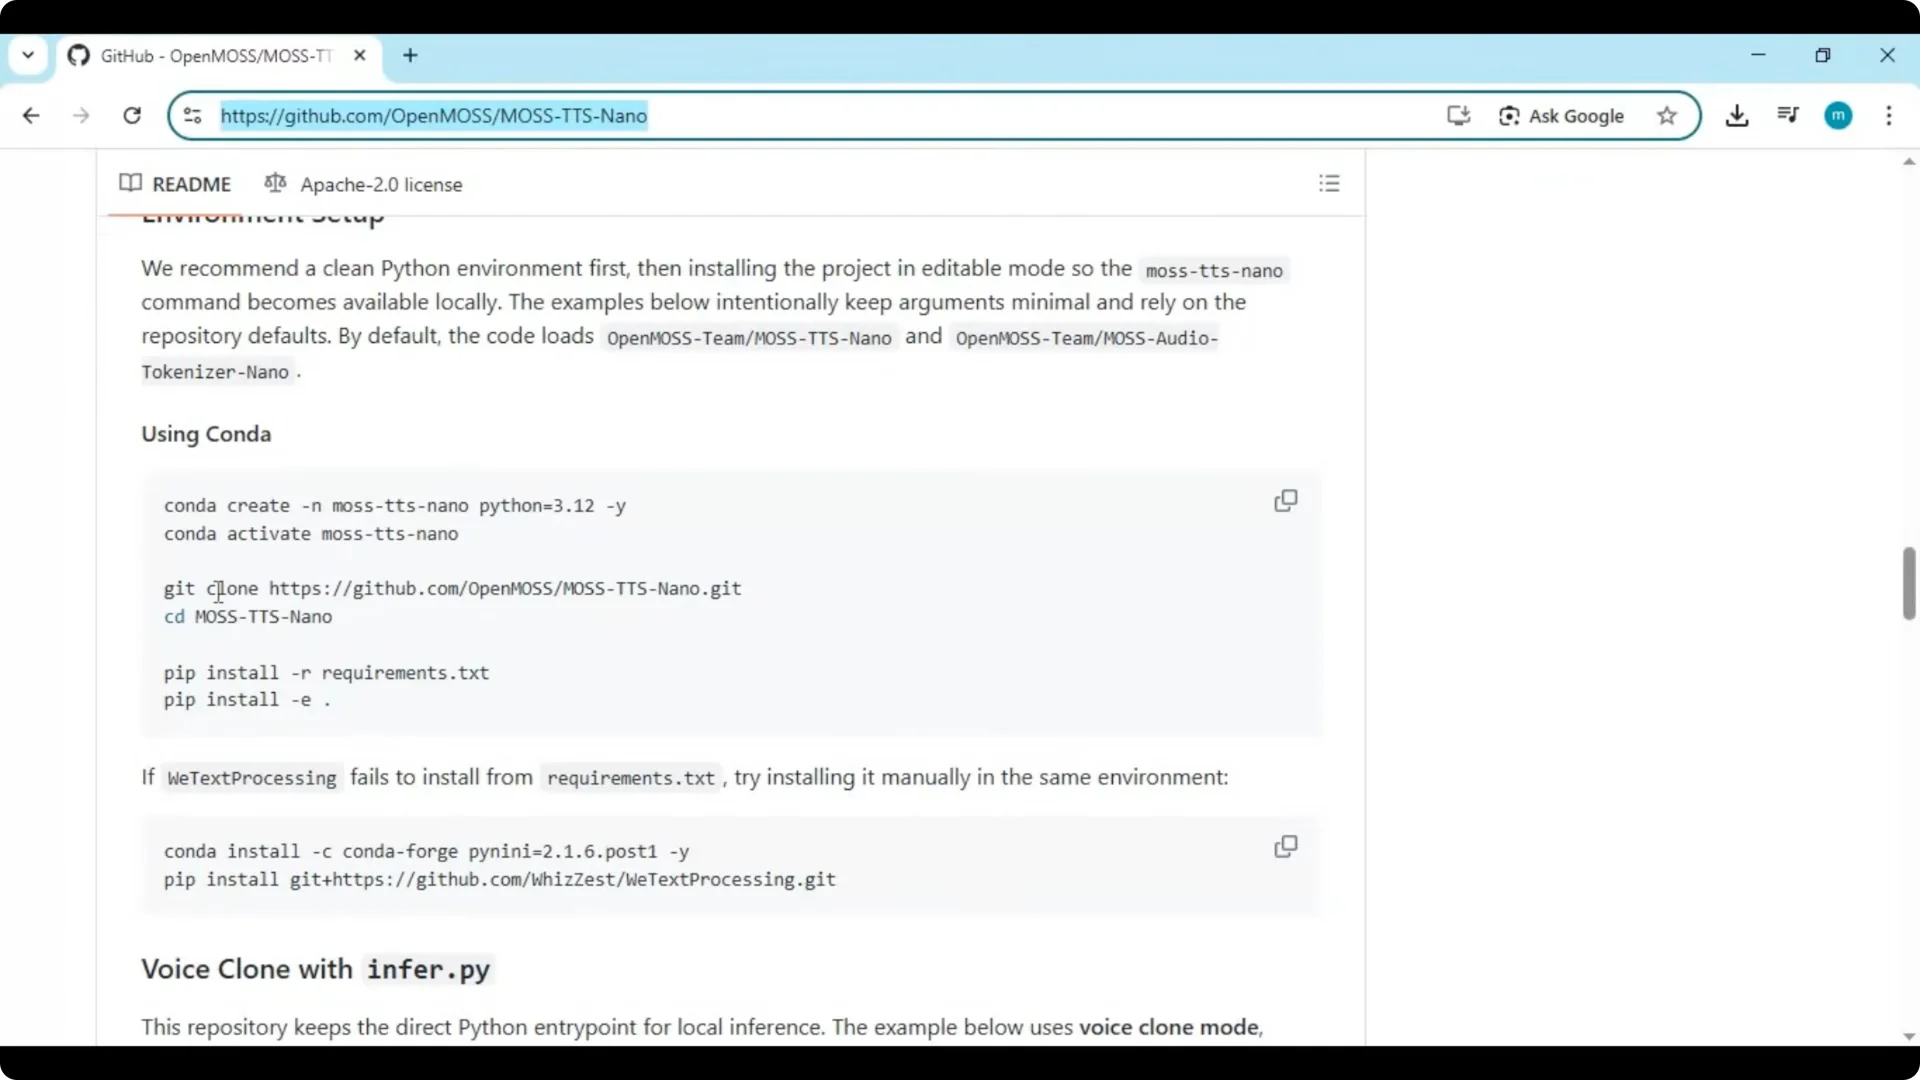
Choose a drive or folder outside C drive for better system stability. Never install any tool in the C drive if you want Windows to keep more free space. Go to your chosen folder and clone the repository.
cd /d D:\Tools
git clone https://github.com/OpenMOSS/MOSS-TTS-Nano.git
cd MOSS-TTS-Nano
Install Python dependencies
First try installing the requirements directly. If you see conflicts with torch or transformers in this environment, follow the next step to adjust.
pip install -r requirements.txt
If you run into version errors, open requirements.txt and remove any lines for torch, torchvision, and transformers. Save the file, then install CPU torch and a compatible transformers release.
pip install torch torchvision torchaudio --index-url https://download.pytorch.org/whl/cpu
pip install transformers==4.39.3
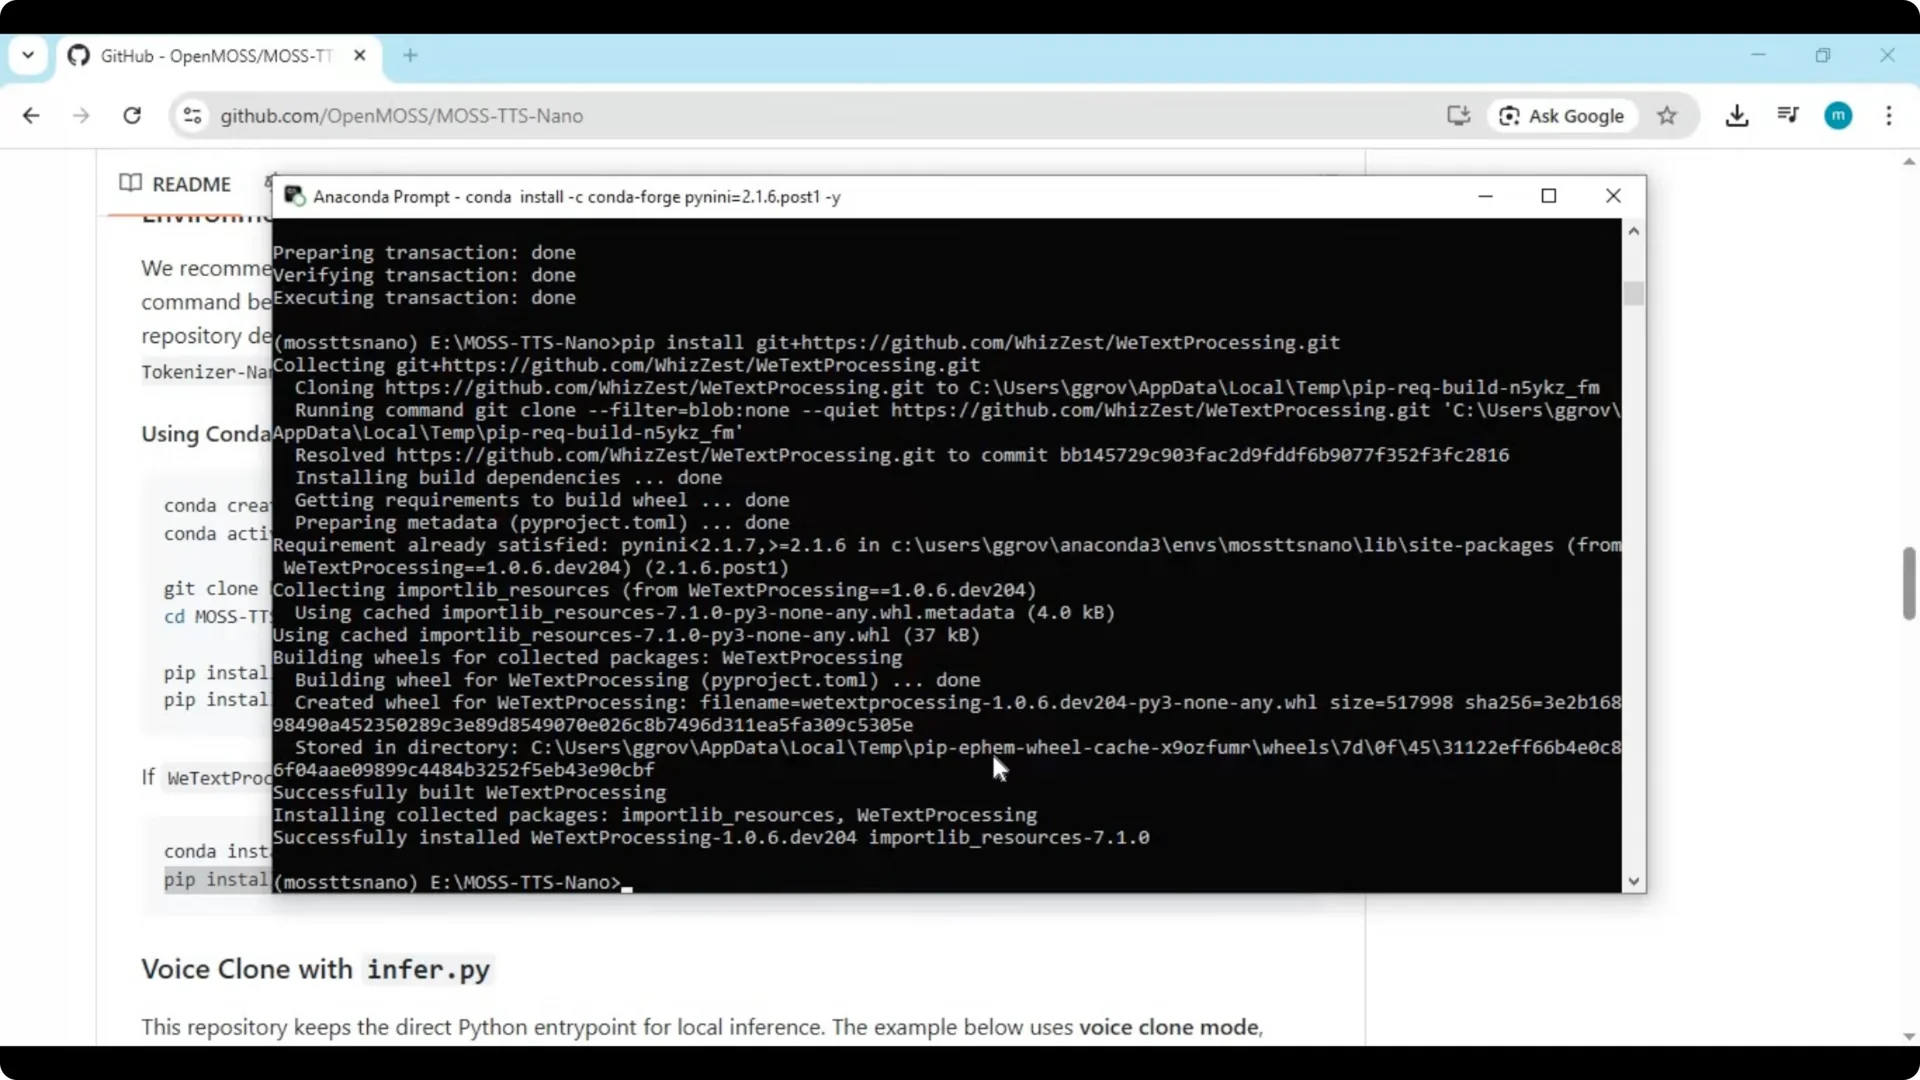
Add language front end packages
For multilingual text processing and Chinese pinyin support, install these helpers. This resolves front end processing errors.
pip install pypinyin
pip install WeTextProcessing
If the project offers an editable install step, you can also run this from the project root.
pip install -e .
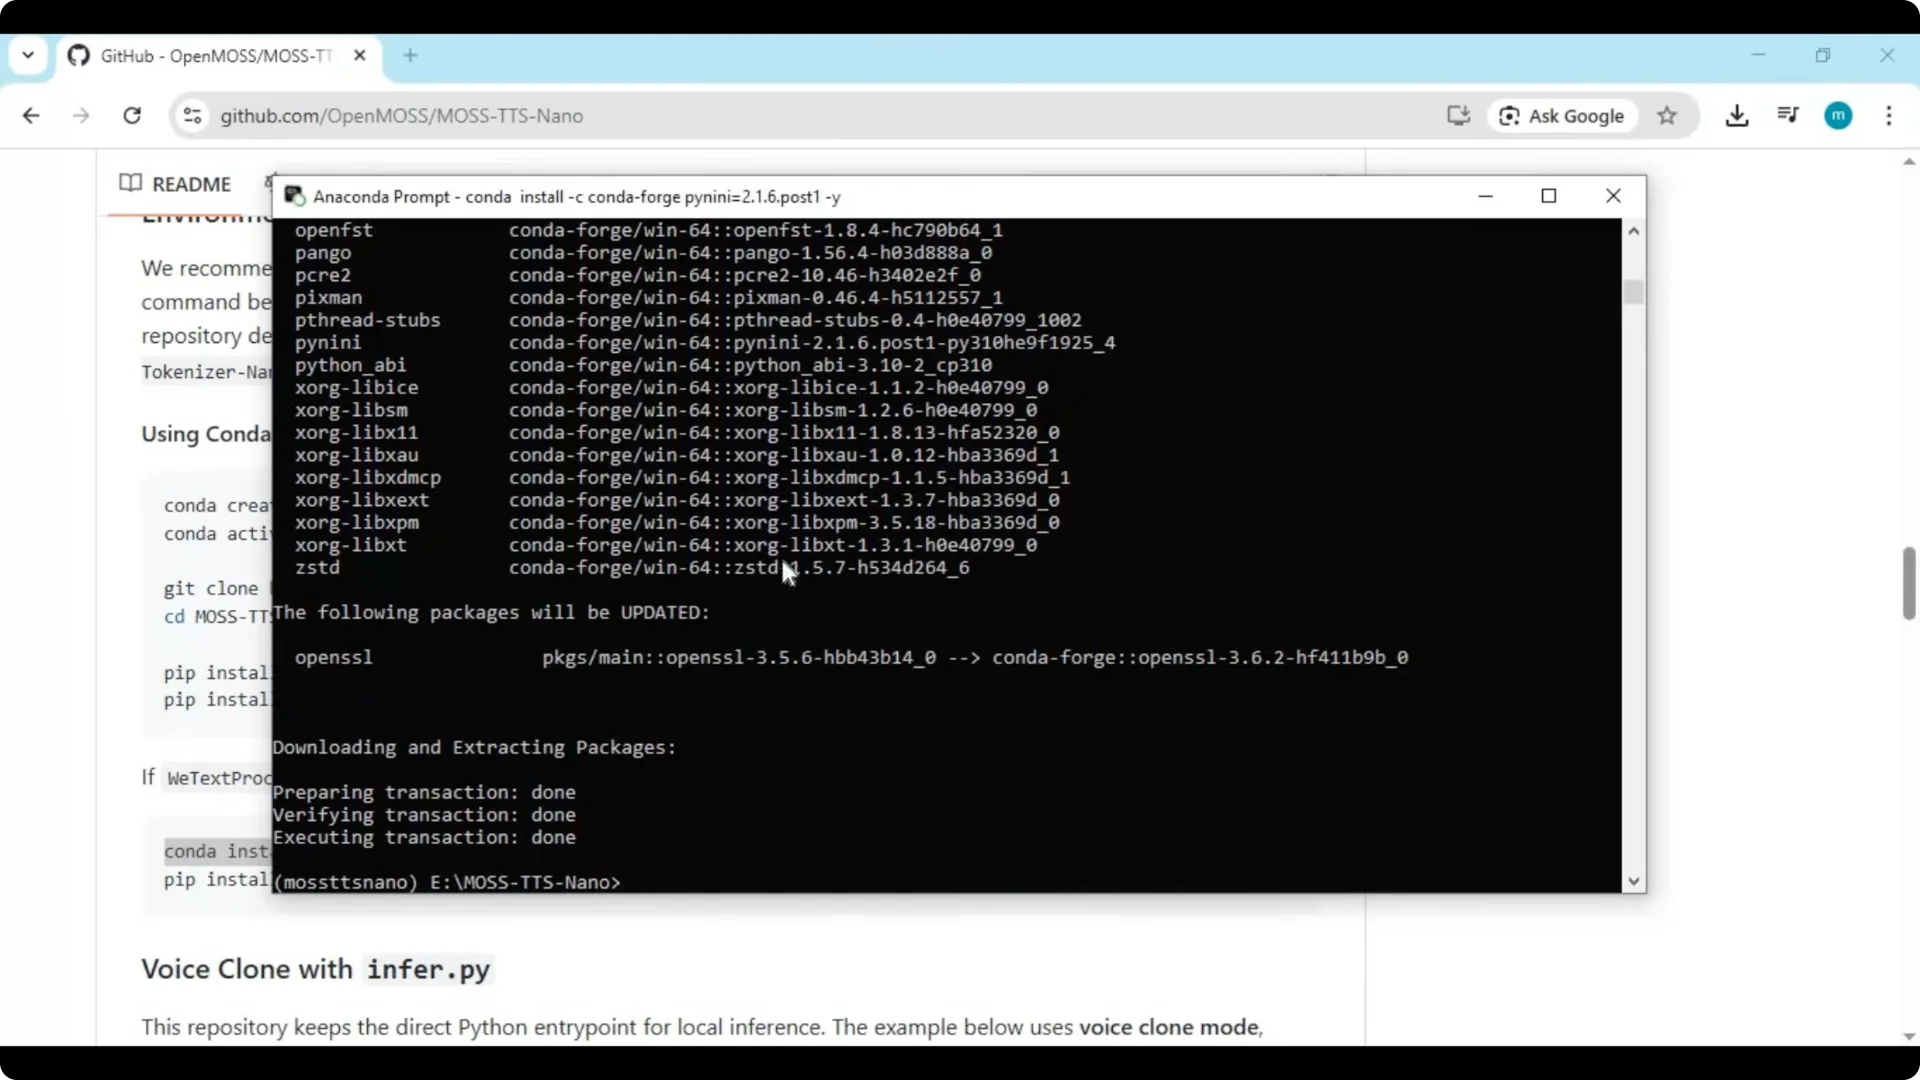
Launch the app
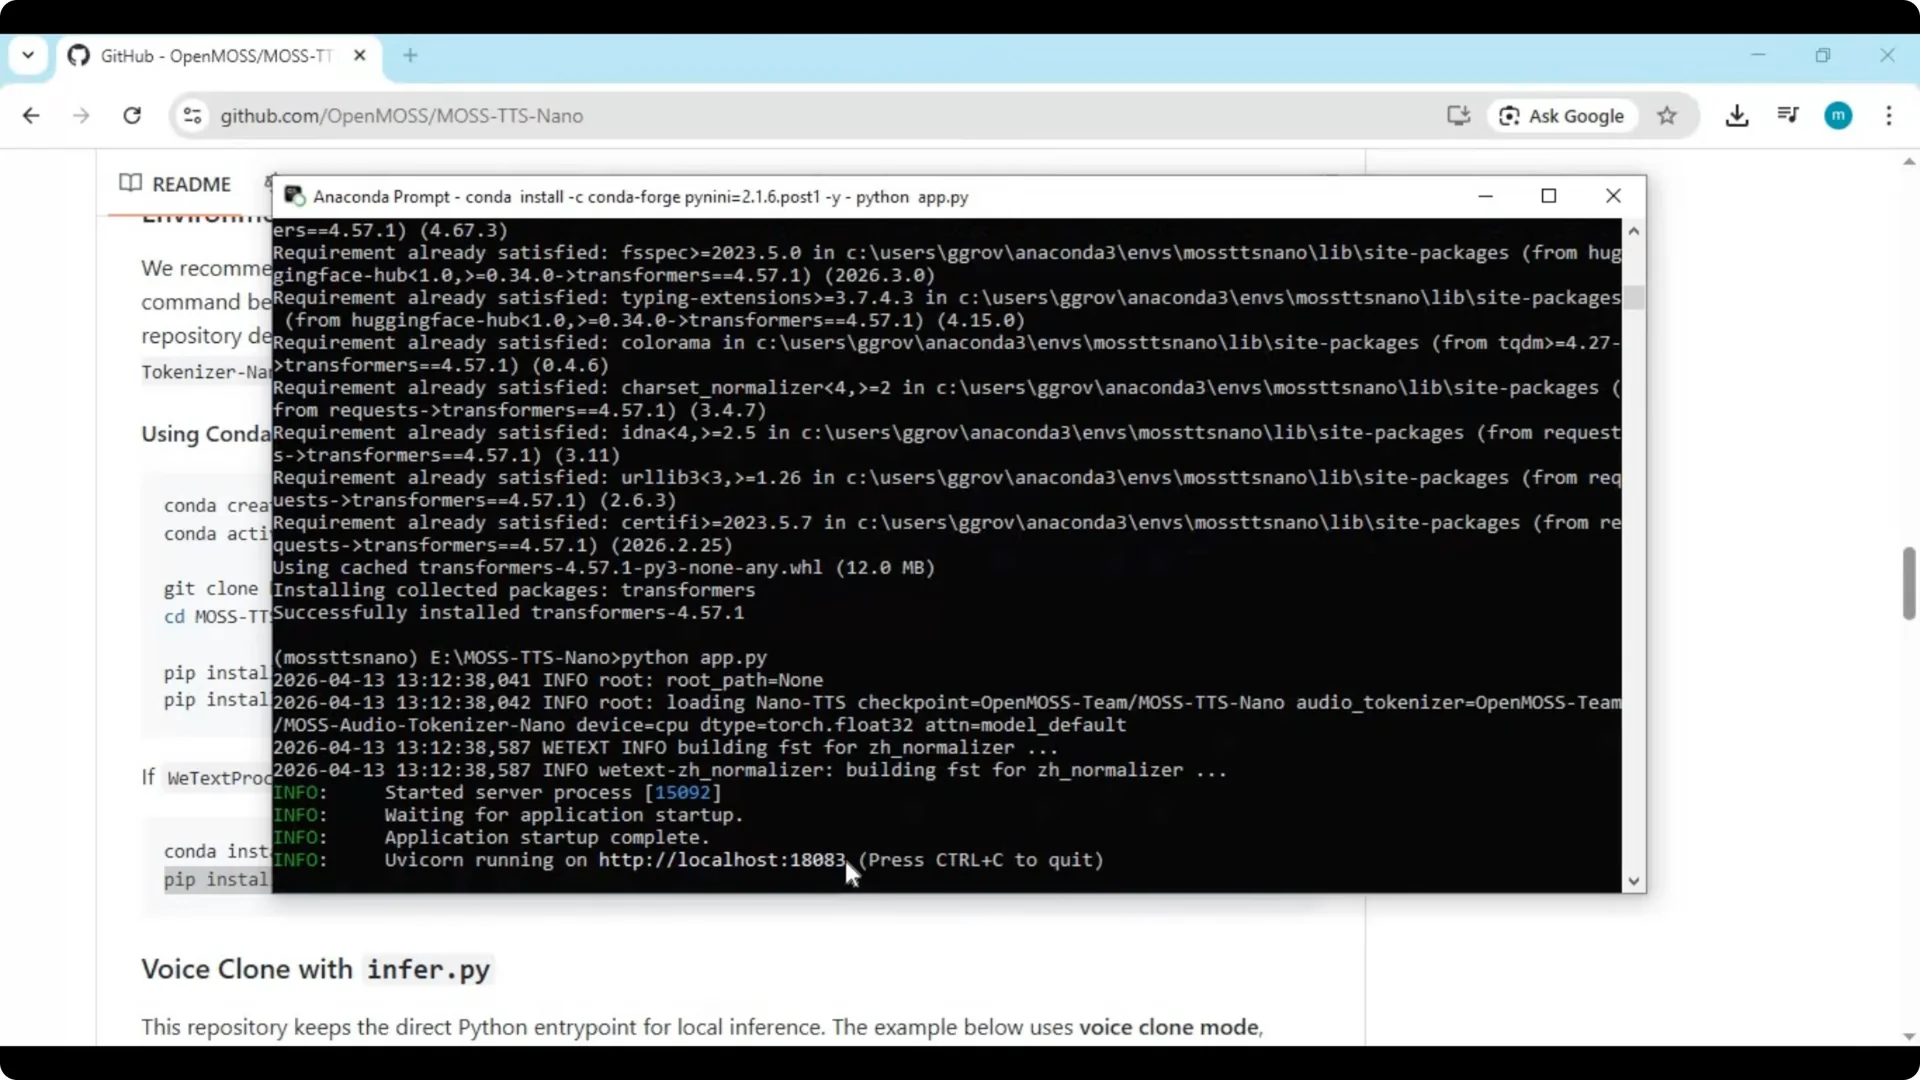
Start MOS TTS Nano and wait for the local URL to appear in the terminal. Copy it into your browser.
python main.py
The interface loads in your default browser after you open the printed local URL.
Read More:
Google Ai Pro Subscription Antigravity Quota
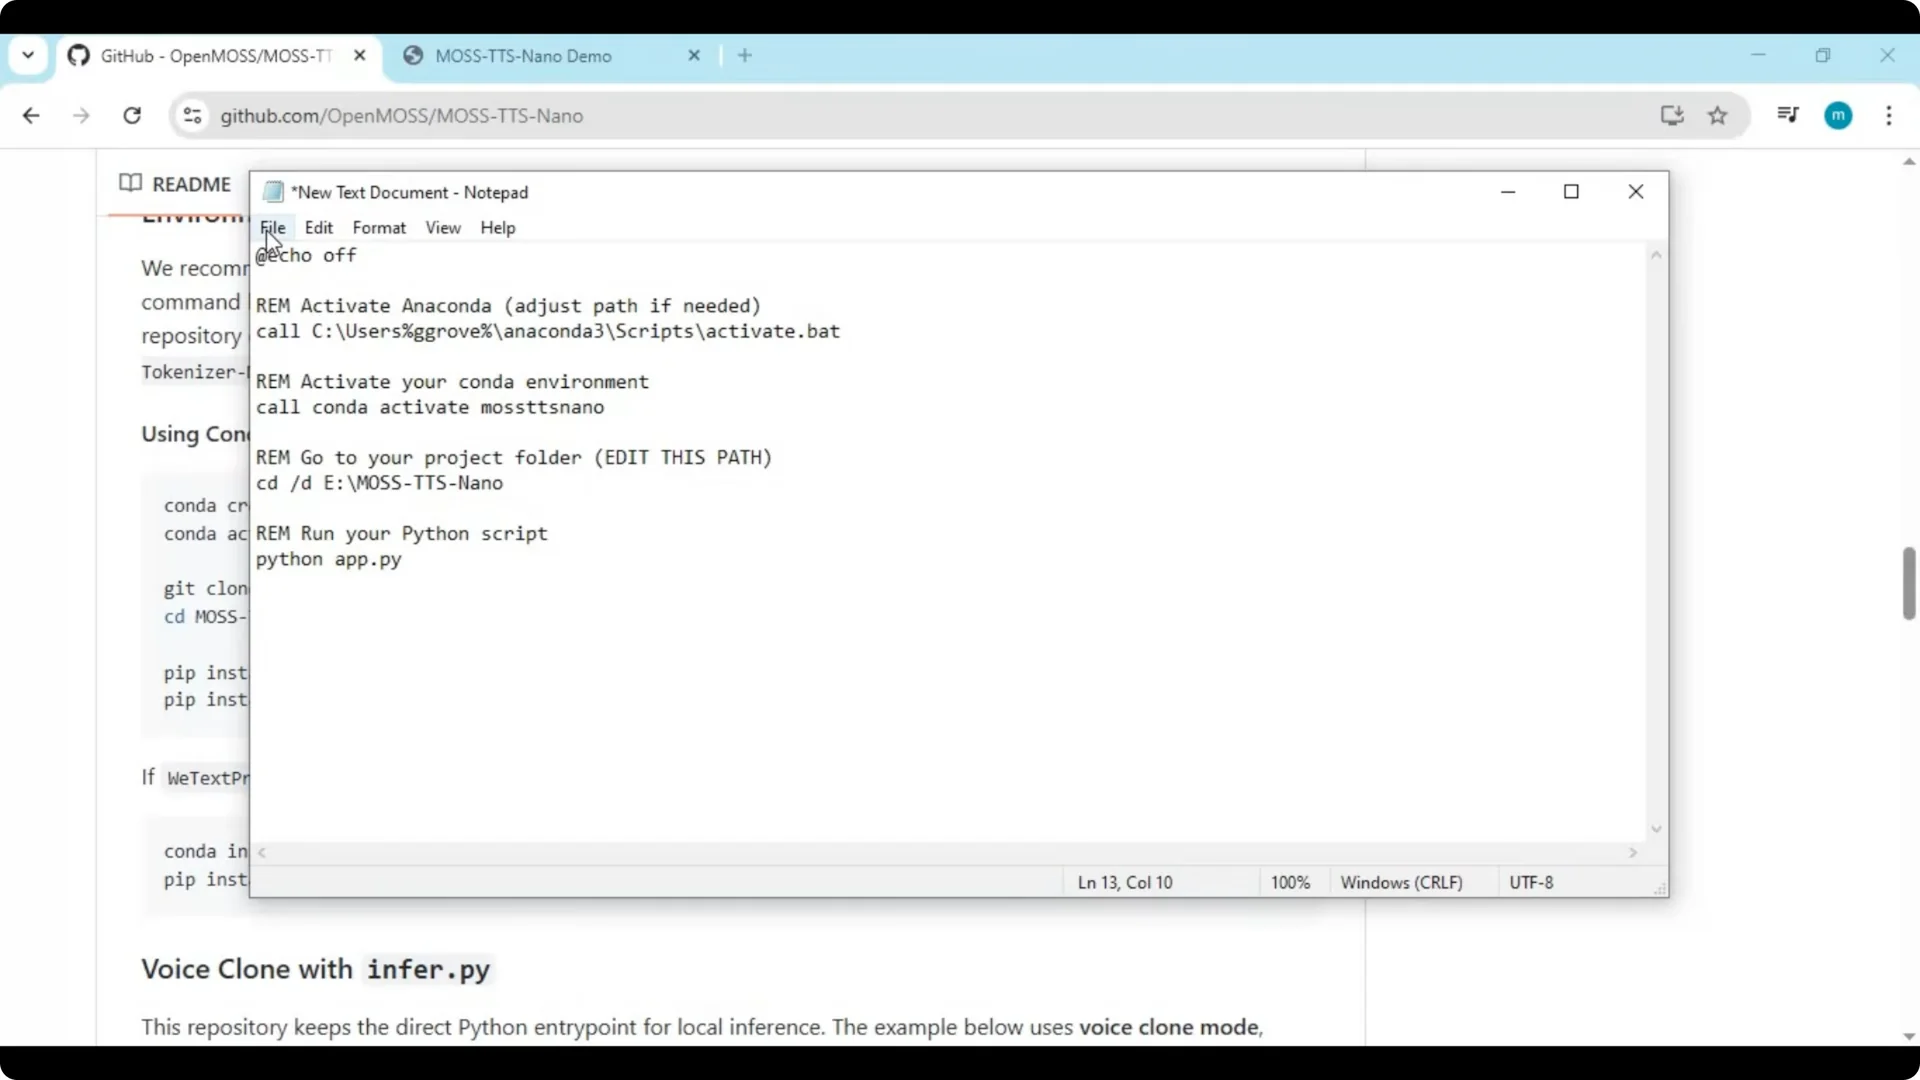
Create a Windows run file
To relaunch it quickly, create a batch file in the project folder. Replace YourUserName with your Windows username and update the install path if different.
@echo off
call "C:\Users\YourUserName\anaconda3\Scripts\activate.bat"
conda activate mos-tts-nano
cd /d "D:\Tools\MOSS-TTS-Nano"
python main.py
pause
Save the file as run.bat in the MOSS TTS Nano folder, then double click it any time you want to start the app.
Using MOS TTS Nano
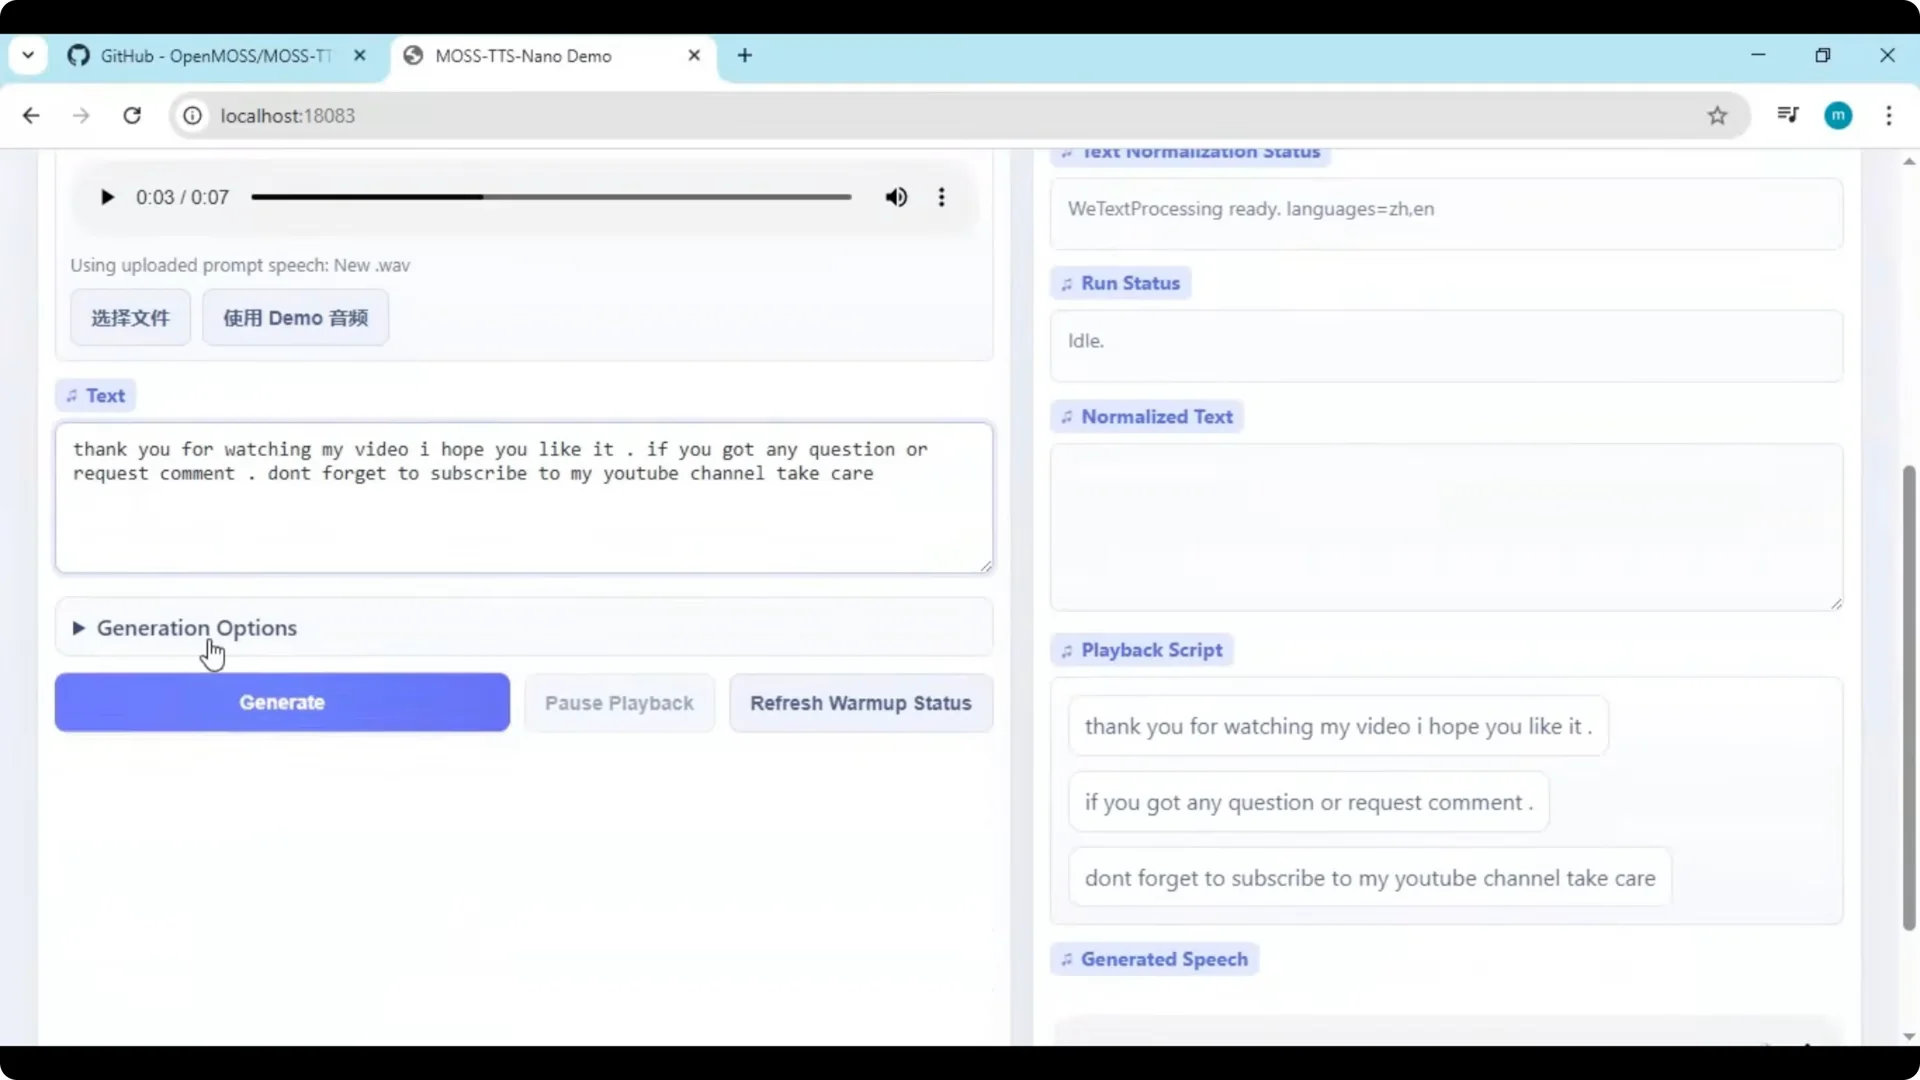
Choose a speaker from the list or upload your own 5 to 10 second audio sample in wav format. Type the text you want to convert to speech and click generate. The tool plays the result in real time.
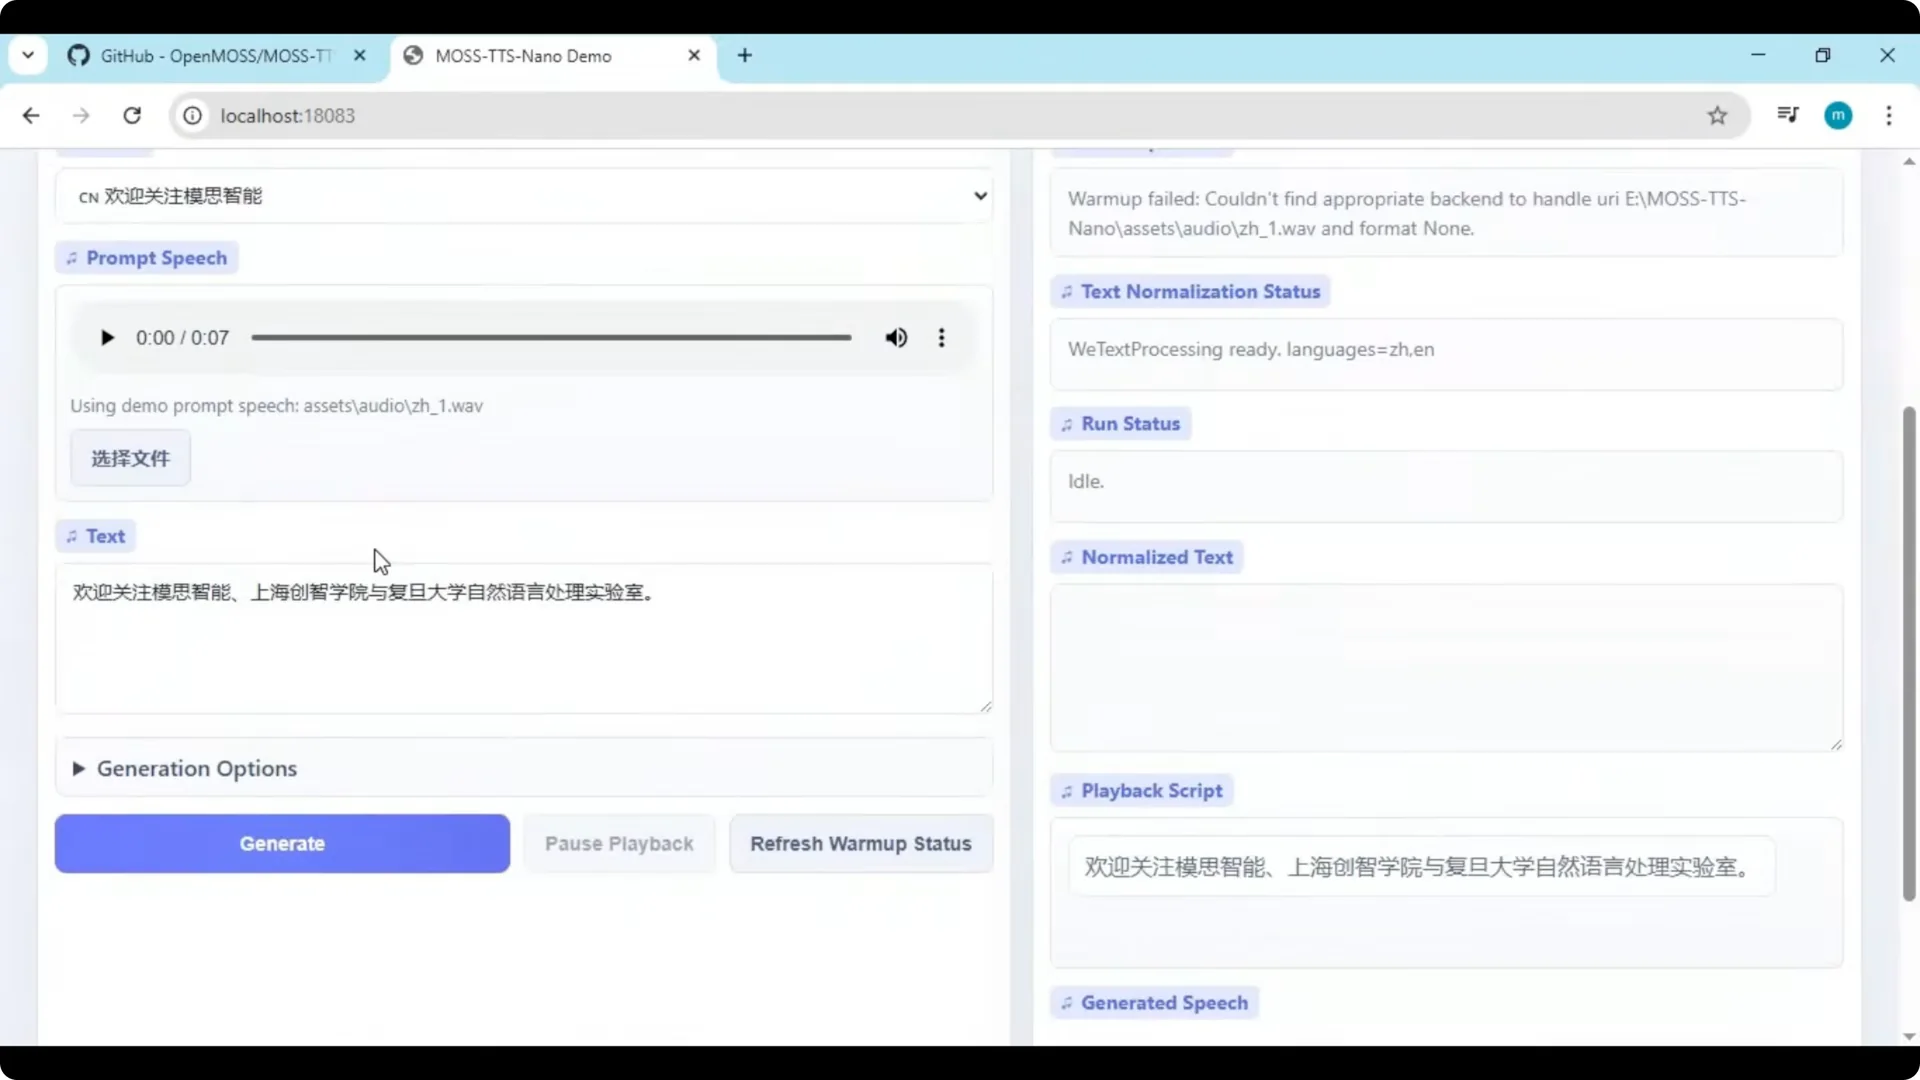
You can try more options inside the interface to tune pronunciation and style. For quick checks, keep your voice sample clean and free of noise.
Short, high quality samples lead to better cloning.
Read More:
Google Ai Pro Subscription Antigravity Quota 2
Troubleshooting tips
If torch refuses to install, make sure you used the CPU index URL and that the conda environment is active. Re run the torch and transformers installs, then try pip install -r requirements.txt again without the removed lines. Close and reopen the terminal to refresh PATH for FFmpeg and eSpeak.
If the browser does not open, copy the printed local URL from the terminal and paste it into your browser. If the port is in use, stop other apps using that port or set a new one with an argument if the project supports it.
Run the terminal as Administrator if folder permissions block writes.
Read More:
Google Ai Pro Antigravity Quota Lockout Error
If eSpeak is not detected, reinstall eSpeak NG and restart the terminal. Make sure its bin folder is added to PATH and verify with espeak –version. Confirm your wav sample is mono or stereo at a common sample rate like 16 kHz or 22.05 kHz to avoid load errors.
For account style access issues in other AI tools, this guide gives context on restrictions and recovery paths. It can help you think through common environment or policy blocks that echo across tools. Read More:
Account Restricted Google Ai Ultra Openclaw
Practical uses
Create narration for tutorials and learning content with consistent voices. Prototype product voices for apps and bots and generate prompts for IVR systems. Build accessible audio versions of articles and documents for broader reach.
Generate multilingual announcements and alerts for tools or dashboards. Localize short promotional messages with a cloned brand voice for quick testing.
You can run all of this locally on a CPU with smooth results.
Final thoughts
MOS TTS Nano gives realistic speech in many languages and runs well on a simple CPU. With the steps above you can install, launch, and generate speech with either built in voices or a short custom voice sample. Keep your environment clean, pin torch and transformers on CPU, and you will have a reliable local TTS setup ready for projects.
Read More:
Claude Code Nano Banana Ai Images